
There’s something truly special about the joy of baking, especially when it leads to delightful treats like Birthday Cake Pops. The moment those colorful candy melts meet moist vanilla cake and creamy buttercream is pure magic. I came across this recipe while trying to find a way to replicate the scrumptious cake pops from my favorite coffee shop—and I was thrilled to discover that I could whip up 30 pops for the price of just two!
Perfect for celebrating birthdays or simply indulging in a sweet treat, these little bites of happiness offer a fun, festive touch to any gathering. Plus, the versatility of flavors lets your creativity shine—think chocolate, ice cream, or even fruity variations! Embrace the satisfaction of creating something homemade that not only saves you money but also brings smiles to your friends and family. Let’s dive into this delightful culinary adventure together!
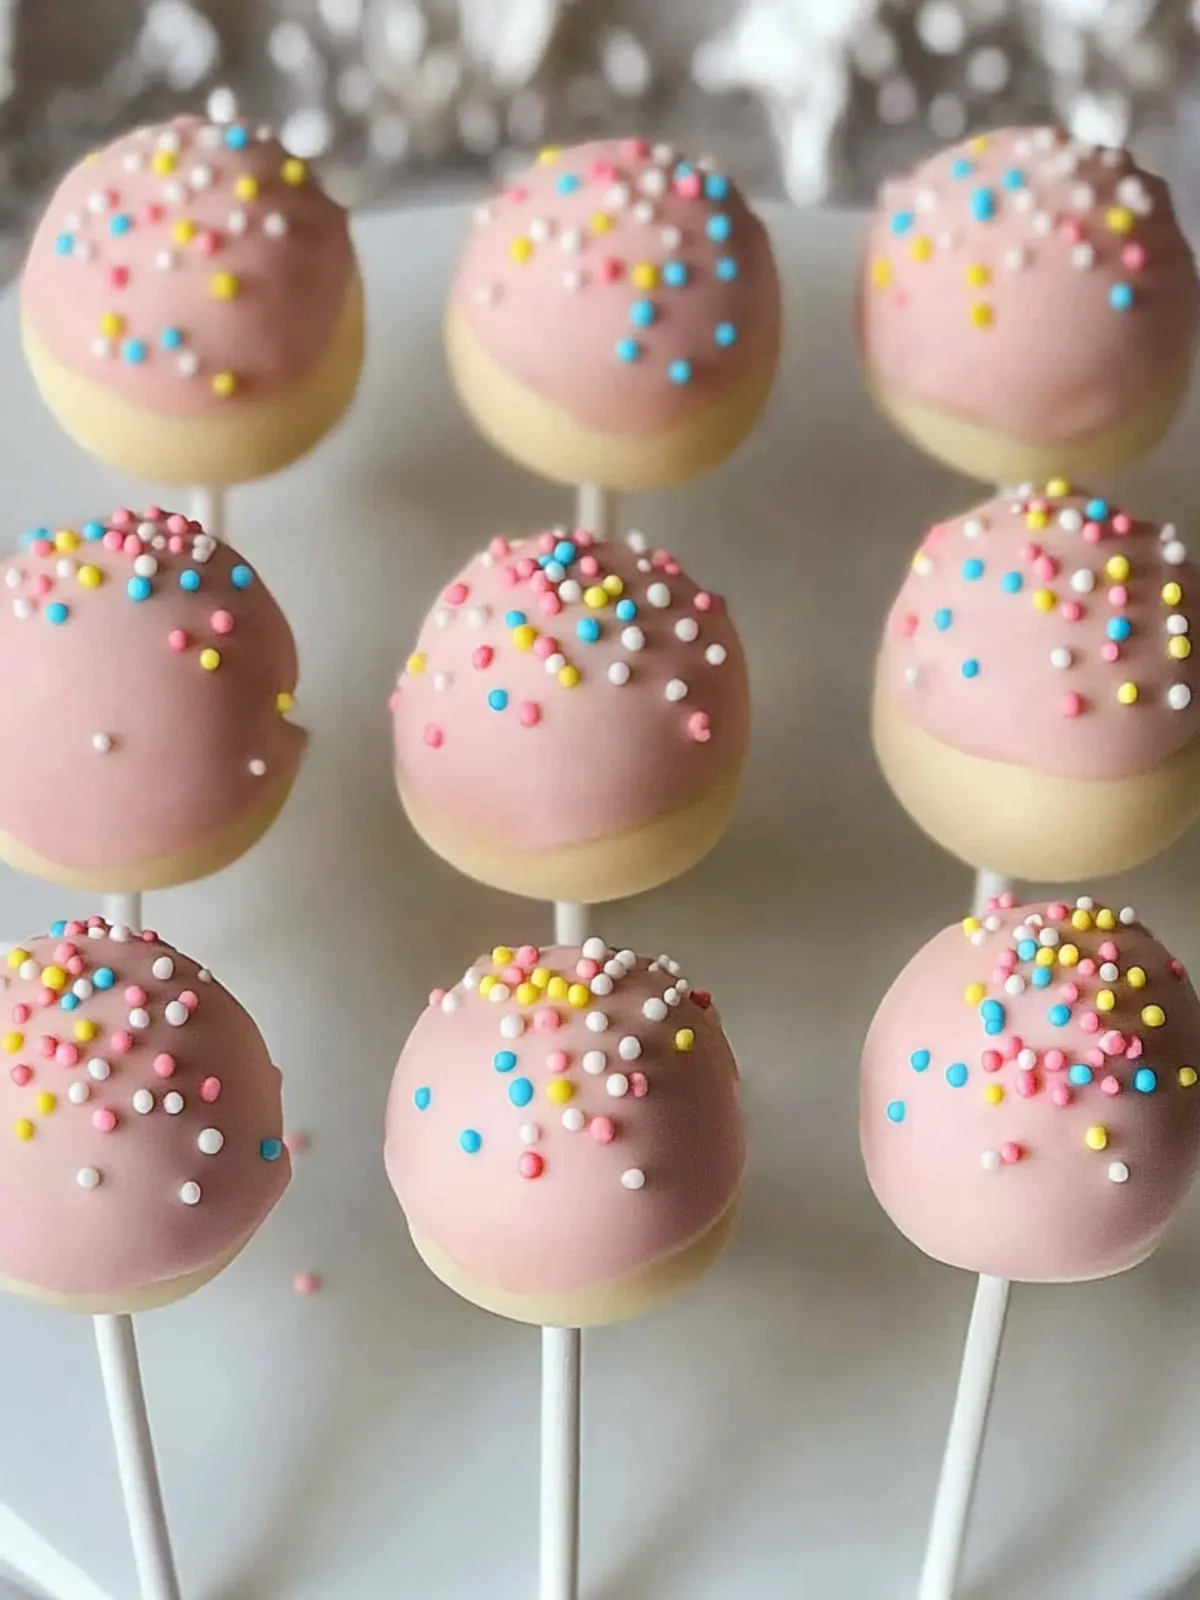
Why are Birthday Cake Pops a must-try?
Irresistible Appeal: These Birthday Cake Pops are sure to be a hit at any gathering, combining nostalgia with a modern twist.
Easy to Make: With simple ingredients and steps, you’ll impress your guests without fuss.
Endless Flavor Variations: From classic vanilla to decadent chocolate or even fruity choices, it’s fun to experiment!
Perfect for Any Occasion: Whether it’s a birthday party or casual get-together, they add a festive touch to every celebration.
Cost Effective: Save money by creating 30 irresistible pops at home for the price of just two from your favorite café!
Birthday Cake Pops Ingredients
For the Cake Batter
• Cake Mix – A 13.25 oz store-bought vanilla cake mix serves as a flavorful base; feel free to swap it for chocolate cake mix for a chocolate variation.
• Neutral Oil – ⅓ cup (vegetable, avocado, or canola) adds moisture and richness—essential for a tender crumb.
• Milk – 1 cup instead of water enhances flavor and moisture, with milk being highly recommended for best results.
• Eggs – 4 large eggs are crucial for richness and act as a binding agent, ensuring your cake pops hold together nicely.
For the Buttercream
• Butter – ¼ cup unsalted butter, softened creates the luscious texture in your icing; you can use salted butter, just be mindful of additional salt.
• Powdered Sugar – 1 cup for sweetness and a smooth consistency in your buttercream, making it irresistible!
• Vanilla Extract – 1 teaspoon for that classic, comforting flavor; no substitutes suggested here for the best taste.
• Salt – A pinch enhances the flavors in your buttercream, making every bite pop.
For the Coating and Decoration
• Candy Melts – 12 oz are essential for coating; pink melts are visually appealing, yet other chocolate types work too with slight adjustments.
• Sprinkles/Nonpareils – Use these to add a festive, fun touch to your cake pops as desired.
These Birthday Cake Pops are a great way to add a touch of sweetness to any occasion!
How to Make Birthday Cake Pops
-
Preheat Oven: Set your oven to 325-350°F (162-175°C), depending on the size of your pan. This ensures even baking for your cake.
-
Mix Cake Ingredients: In a large bowl, combine the cake mix, neutral oil, milk, and eggs. Stir until well combined, making sure to eliminate any lumps and pour the mixture into a greased or lined pan.
-
Bake: Place the pan in the preheated oven and bake for the suggested time. Start checking doneness with a toothpick 2-4 minutes before the time is up; the toothpick should come out clean.
-
Crumble Cake: Allow the cake to cool slightly, then crumble it into a mixing bowl using a stand or handheld mixer. Aim for a fine texture to help bind your pops.
-
Make Buttercream: In a separate bowl, mix the softened unsalted butter, powdered sugar, vanilla extract, and a pinch of salt until creamy. Then blend this buttercream into the crumbled cake until thoroughly combined.
-
Form Balls: Roll the mixture into 1¼-inch (30g) balls and chill them in the freezer for about 15 minutes to help them firm up.
-
Prepare Sticks: Dip the ends of your lollipop sticks into melted candy melts. Insert the sticks into the chilled cake balls and return them to the freezer for another 15 minutes to set.
-
Coat Cake Pops: Melt the remaining candy melts in a bowl. Dip each cake pop fully in the melted coating, allowing any excess to drip off before setting them aside.
-
Decorate: While the coating is still wet, add your favorite sprinkles or nonpareils for a festive touch. Establish the pops in a styrofoam block to dry completely.
Optional: Try using different colored candy melts for a splash of creativity!
Exact quantities are listed in the recipe card below.

Make Ahead Options
These Birthday Cake Pops are perfect for meal prep, allowing you to enjoy homemade treats without the last-minute rush! You can bake the cake base and make the buttercream up to 24 hours in advance; simply store them separately in airtight containers to keep them fresh. Additionally, once you’ve rolled the cake mixture into balls, chill them in the freezer for up to 3 days; this helps maintain their shape. When you’re ready to finish, simply dip the chilled cake pops into melted candy melts and add your desired sprinkles before serving. This way, you’ll have delightful, ready-to-enjoy Birthday Cake Pops that taste just as delicious as freshly made!
Storage Tips for Birthday Cake Pops
Room Temperature: Keep your Birthday Cake Pops at room temperature for up to 2-3 days. Place them in an airtight container to maintain freshness.
Fridge: You can refrigerate the cake pops for up to 2 weeks. Store them in a sealed container to prevent them from drying out.
Freezer: For longer storage, these cake pops freeze beautifully for up to 3 months. Wrap individually in plastic wrap and place in a freezer-safe bag or container.
Reheating: When you’re ready to enjoy frozen pops, simply thaw in the fridge overnight. Avoid reheating them to preserve their texture.
Helpful Tricks for Birthday Cake Pops
-
Chill for Success: Always chill your cake balls after rolling and before coating. This helps prevent them from falling off the sticks during the dipping process.
-
Consistent Sizing: Use a kitchen scale to weigh out 30g for each cake ball. This ensures uniformity and helps with stability, preventing heavy pops that may not stick well.
-
Temperature Control: Maintain a steady temperature for your melted candy melts. Avoid overheating or cooling too rapidly to ensure a smooth coating without cracks.
-
Two-Step Dipping: For an even coat, dip your cake pops twice in the melted candy melts. This not only improves the appearance but also strengthens the coating.
-
Customize Your Decor: Don’t hesitate to mix and match sprinkles or use themed decorations to make your Birthday Cake Pops unique for each special occasion!
What to Serve with Birthday Cake Pops?
Looking to elevate your celebration with delightful side dishes or treats that harmonize perfectly with your sweet cake pops?
-
Milkshakes: Creamy and rich, a milkshake complements the sweetness of the cake pops, creating a nostalgic treat that’s perfect for all ages. Pair flavors like vanilla or chocolate for a classic twist!
-
Fresh Fruit Skewers: Bright, juicy fruit adds a refreshing contrast to the sweet, dense cake pops, making for a colorful and healthy side dish that will please every palate.
-
Popcorn Bar: Offer a selection of flavored popcorn, like caramel or cheese, creating a fun and crunchy counterbalance to the soft cake pops. Guests will love mixing their own!
-
Chocolate Dipped Strawberries: These are a luxurious yet simple addition, offering the luscious flavor of chocolate while keeping with the sweet theme of your dessert table.
-
Sparkling Punch: A light, bubbly beverage will keep spirits high, beautifully pairing with the cake pops while adding a festive touch to your gathering.
-
Mini Cupcakes: For those yearning for variety, mini cupcakes in similar flavors make an adorable addition, giving guests more options to satisfy their sweet cravings.
Each of these pairings adds its own unique flair to the celebration, making your cake pops truly shine as the centerpiece of memorable delight!
Birthday Cake Pops Variations
Feel free to let your creativity shine by customizing these cake pops with exciting twists and flavors!
- Chocolate Cake: Substitute vanilla cake mix with chocolate cake mix for a rich, decadent flavor treat.
- Dairy-Free: Use almond or oat milk alongside a dairy-free butter alternative to make the buttercream and keep it creamy.
- Fruity Burst: Fold in crushed freeze-dried strawberries or raspberries into the cake mixture for a fruity surprise!
- Nutty Flavor: Incorporate finely chopped nuts like walnuts or almonds into the cake batter for added texture and richness.
- Different Candy Melts: Try using white chocolate, dark chocolate, or even rainbow-colored candy melts to customize the look and taste.
For those who enjoy a little heat, consider this:
- Spicy Chocolate: Add a pinch of cayenne or red pepper flakes to the chocolate coating for a subtle spicy kick that surprises the taste buds!
Each variation brings a unique flair to the table, making your homemade cake pops even more delightful and special for every occasion.
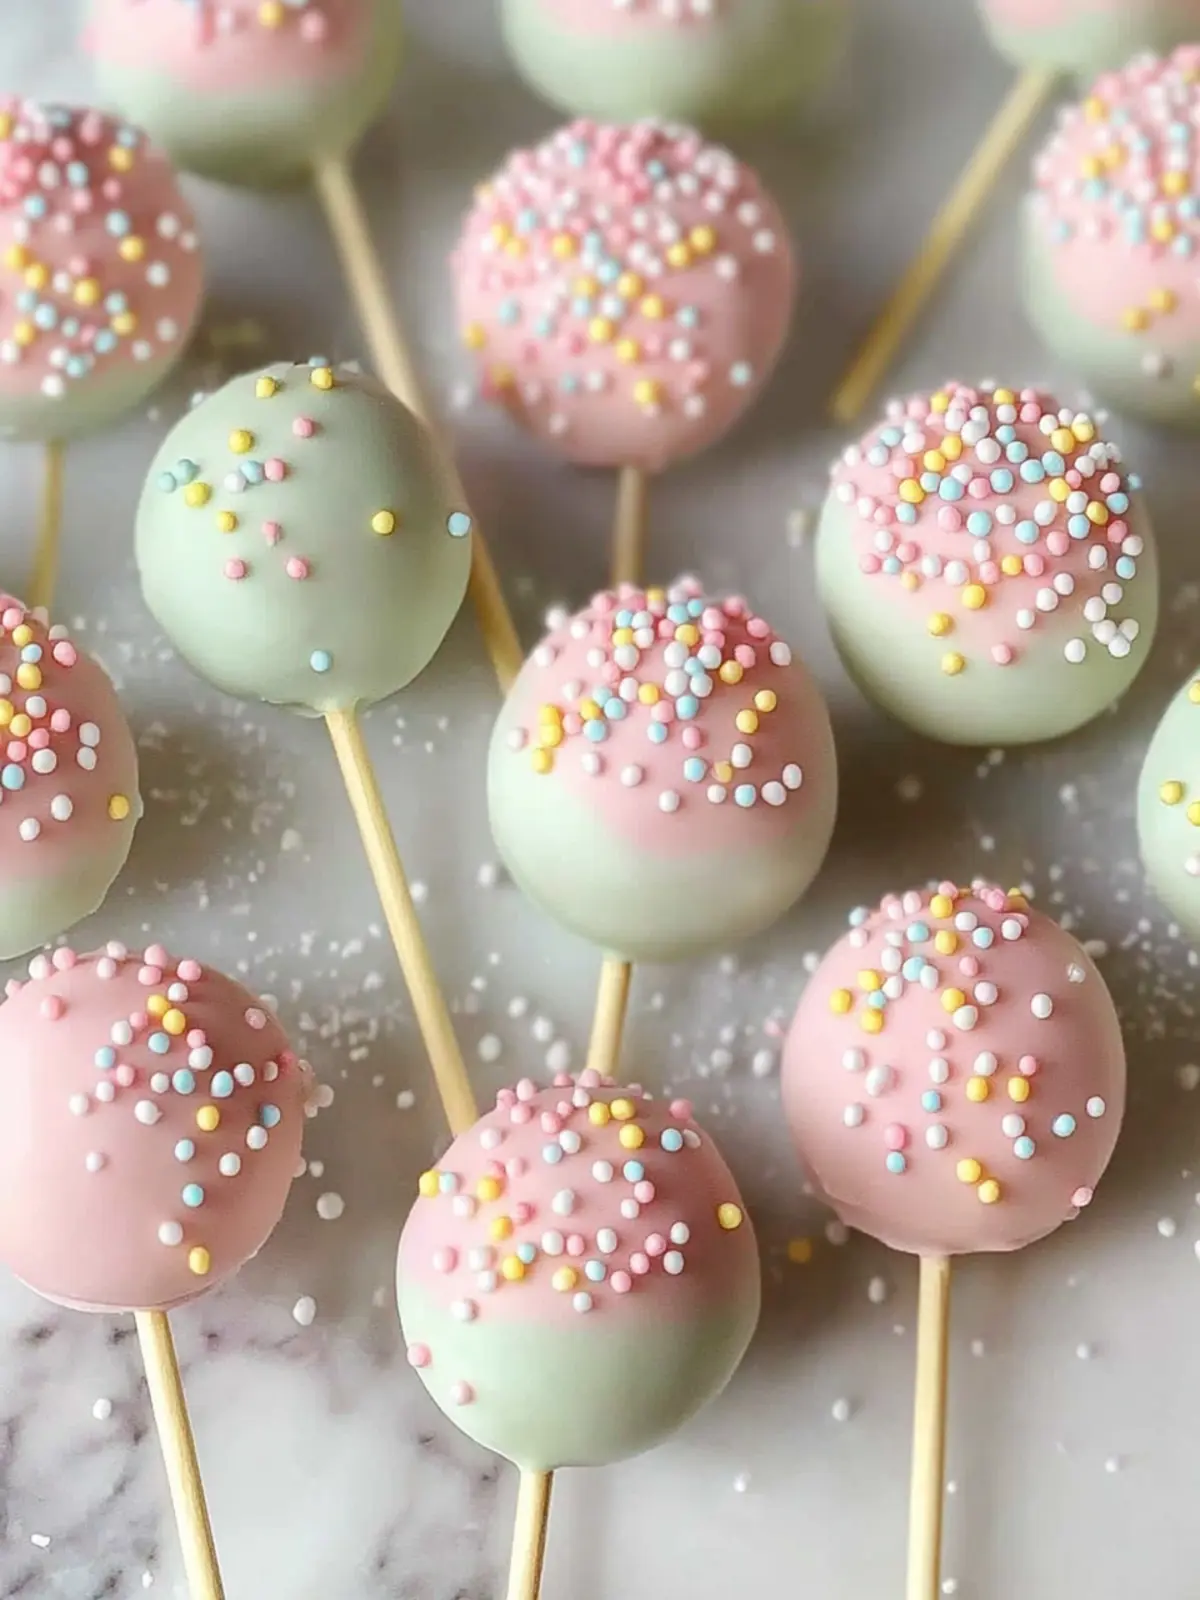
Starbucks Copycat Birthday Cake Pops Recipe FAQs
What should I look for when selecting cake mix?
Absolutely! When choosing a cake mix, look for a fresh, well-sealed package. Check the expiration date, and if you’re opting for a vanilla cake mix, ensure it’s a brand you trust for consistency. You can even go for a mix with natural flavors for a more authentic taste. If you prefer chocolate, make sure to pick a quality chocolate cake mix for the best results!
How should I store my Birthday Cake Pops?
Birthday Cake Pops can be stored at room temperature for about 2-3 days if kept in an airtight container. For longer storage, you can refrigerate them for up to 2 weeks. Just be sure to seal them well to keep them moist and fresh. If you need them to last longer, consider freezing them!
Can I freeze Birthday Cake Pops?
Yes, you can! To freeze your Birthday Cake Pops, first wrap each one individually in plastic wrap. Then, place them in a freezer-safe bag or container. They can last for up to 3 months in the freezer. When you want to enjoy them, just move them to the fridge overnight to thaw. This helps preserve their texture and flavor.
What should I do if my cake pops are falling off the sticks?
Very! If your cake pops are falling off the sticks, it may be because the balls are too warm during the coating process. Ensure you chill the cake balls in the freezer for 15 minutes after forming them and again after inserting the sticks. Additionally, your candy melts should not be too hot; keep them just warm enough to dip without being scorching.
Are these cake pops safe for pets or individuals with allergies?
Definitely! While Birthday Cake Pops are a delicious treat for humans, they contain ingredients that are not safe for pets. Always keep them away from your furry friends! Additionally, if there are allergies in your household, be cautious with the ingredients. Common allergens like eggs, milk, and certain types of candy melts may be present, so read labels carefully!
Can I use other flavors instead of vanilla or chocolate?
Absolutely! The beauty of Birthday Cake Pops lies in their versatility. Feel free to use other flavors, such as red velvet, lemon, or even a funfetti cake mix. For the coating, try different colored candy melts like blue or green, or use white chocolate for a different twist. The more the merrier in flavor experimentation!
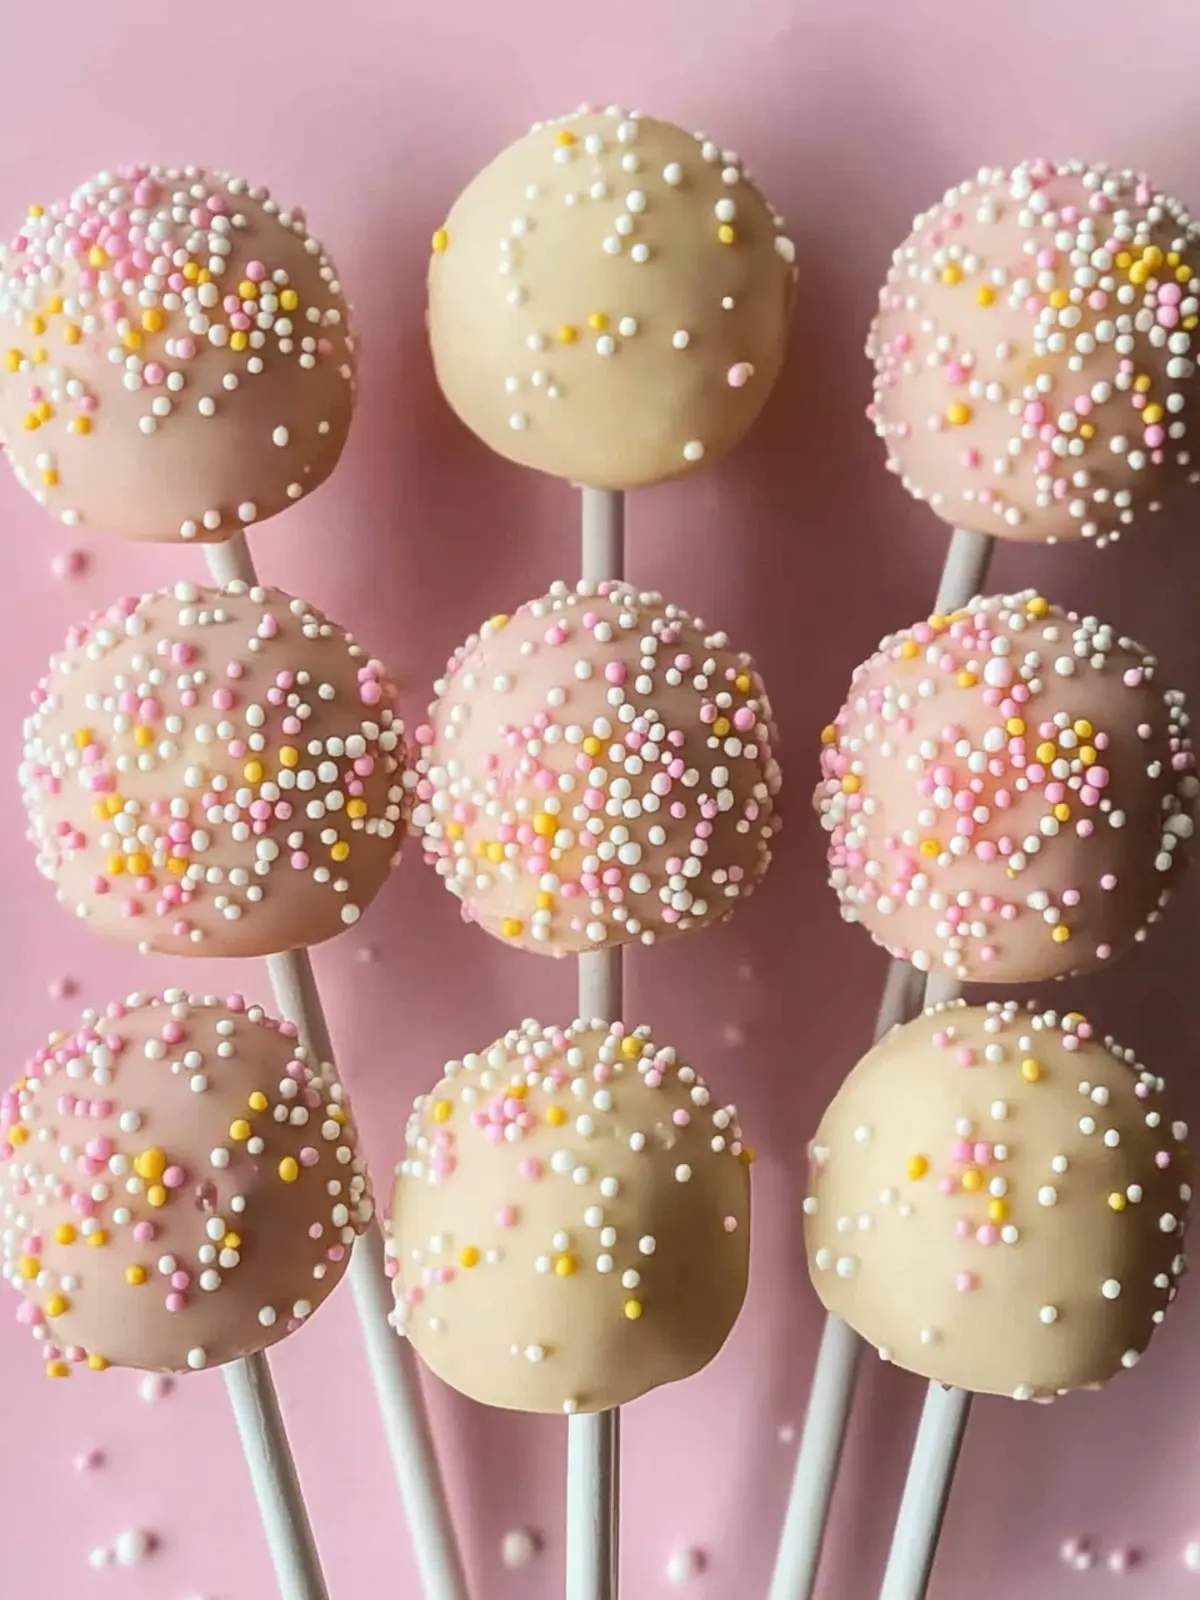
Delicious Birthday Cake Pops Just Like Starbucks at Home
Ingredients
Equipment
Method
- Preheat your oven to 325-350°F (162-175°C).
- In a large bowl, combine the cake mix, neutral oil, milk, and eggs until well combined.
- Pour the mixture into a greased or lined pan.
- Bake for the suggested time, checking doneness with a toothpick.
- Allow the cake to cool slightly, then crumble it into a mixing bowl.
- Mix the softened unsalted butter, powdered sugar, vanilla extract, and a pinch of salt until creamy.
- Blend the buttercream into the crumbled cake until thoroughly combined.
- Roll the mixture into 1¼-inch balls and chill in the freezer for about 15 minutes.
- Dip the ends of lollipop sticks into melted candy melts, then insert into chilled cake balls.
- Return to the freezer for another 15 minutes to set.
- Melt the remaining candy melts and dip each cake pop fully, allowing excess to drip off.
- Decorate with sprinkles while the coating is still wet and let dry in a styrofoam block.