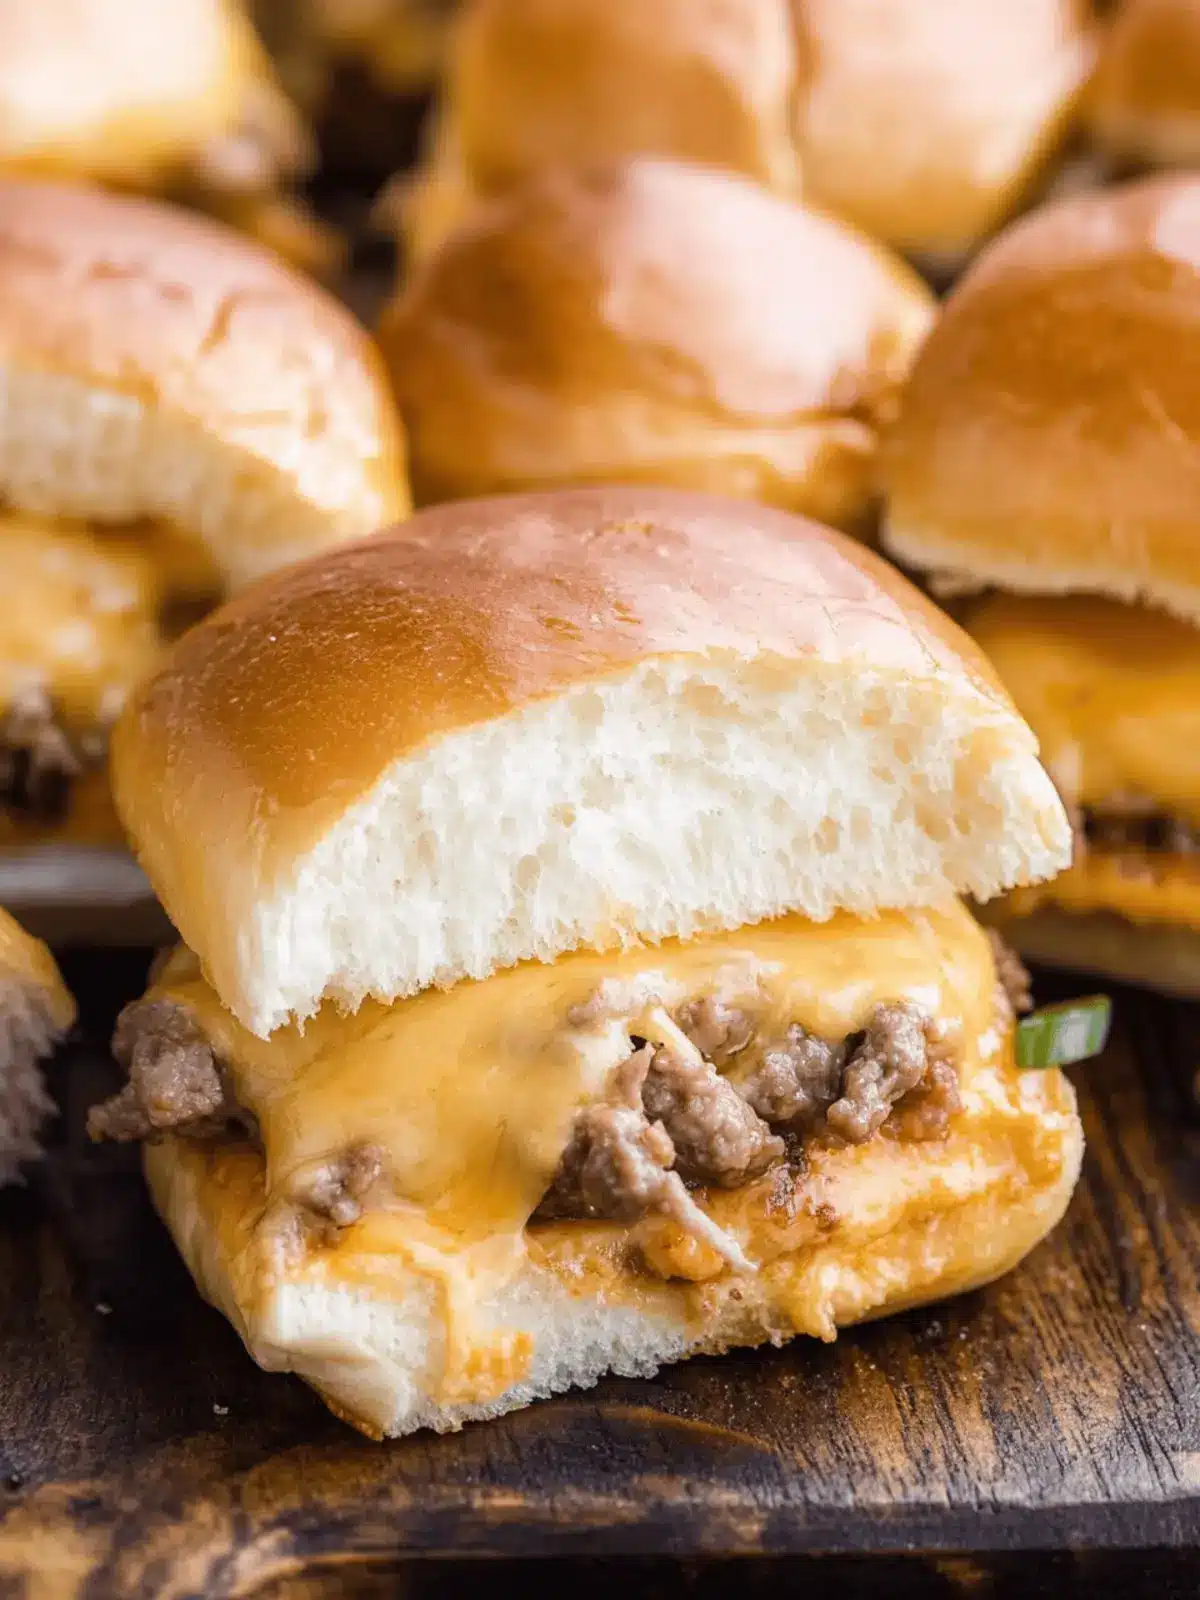
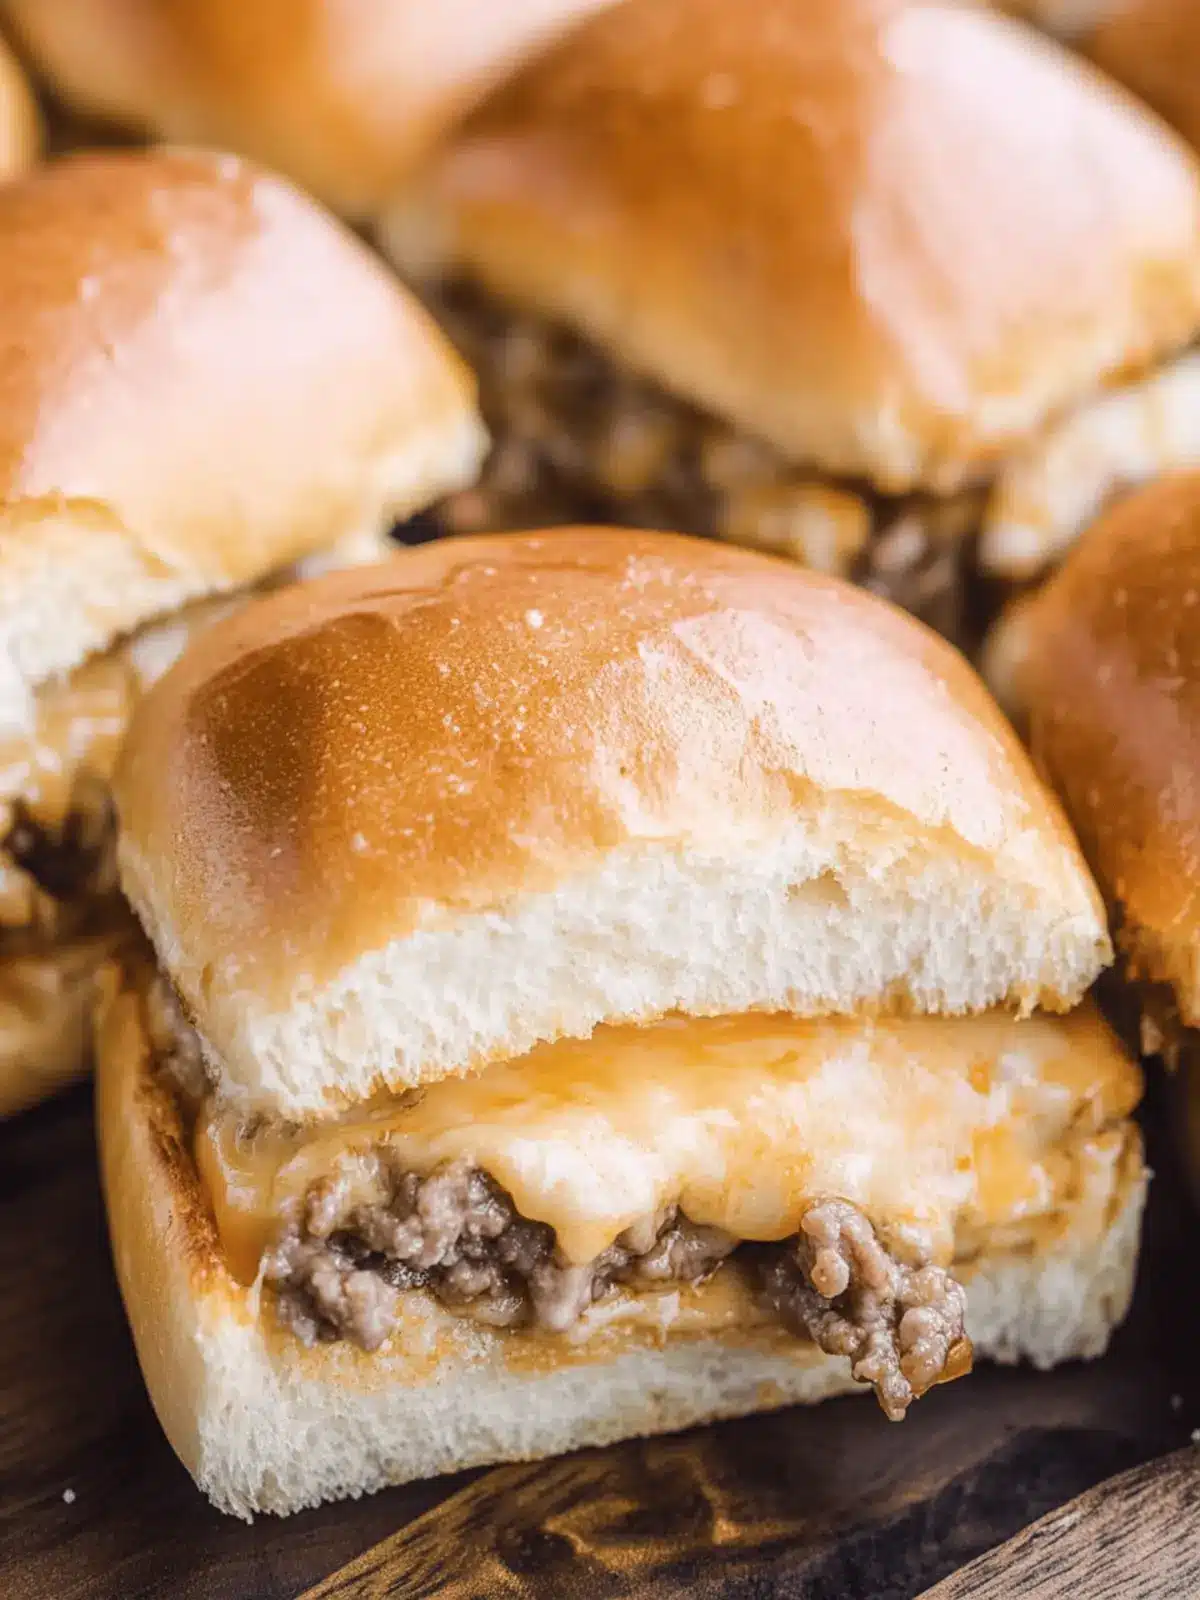
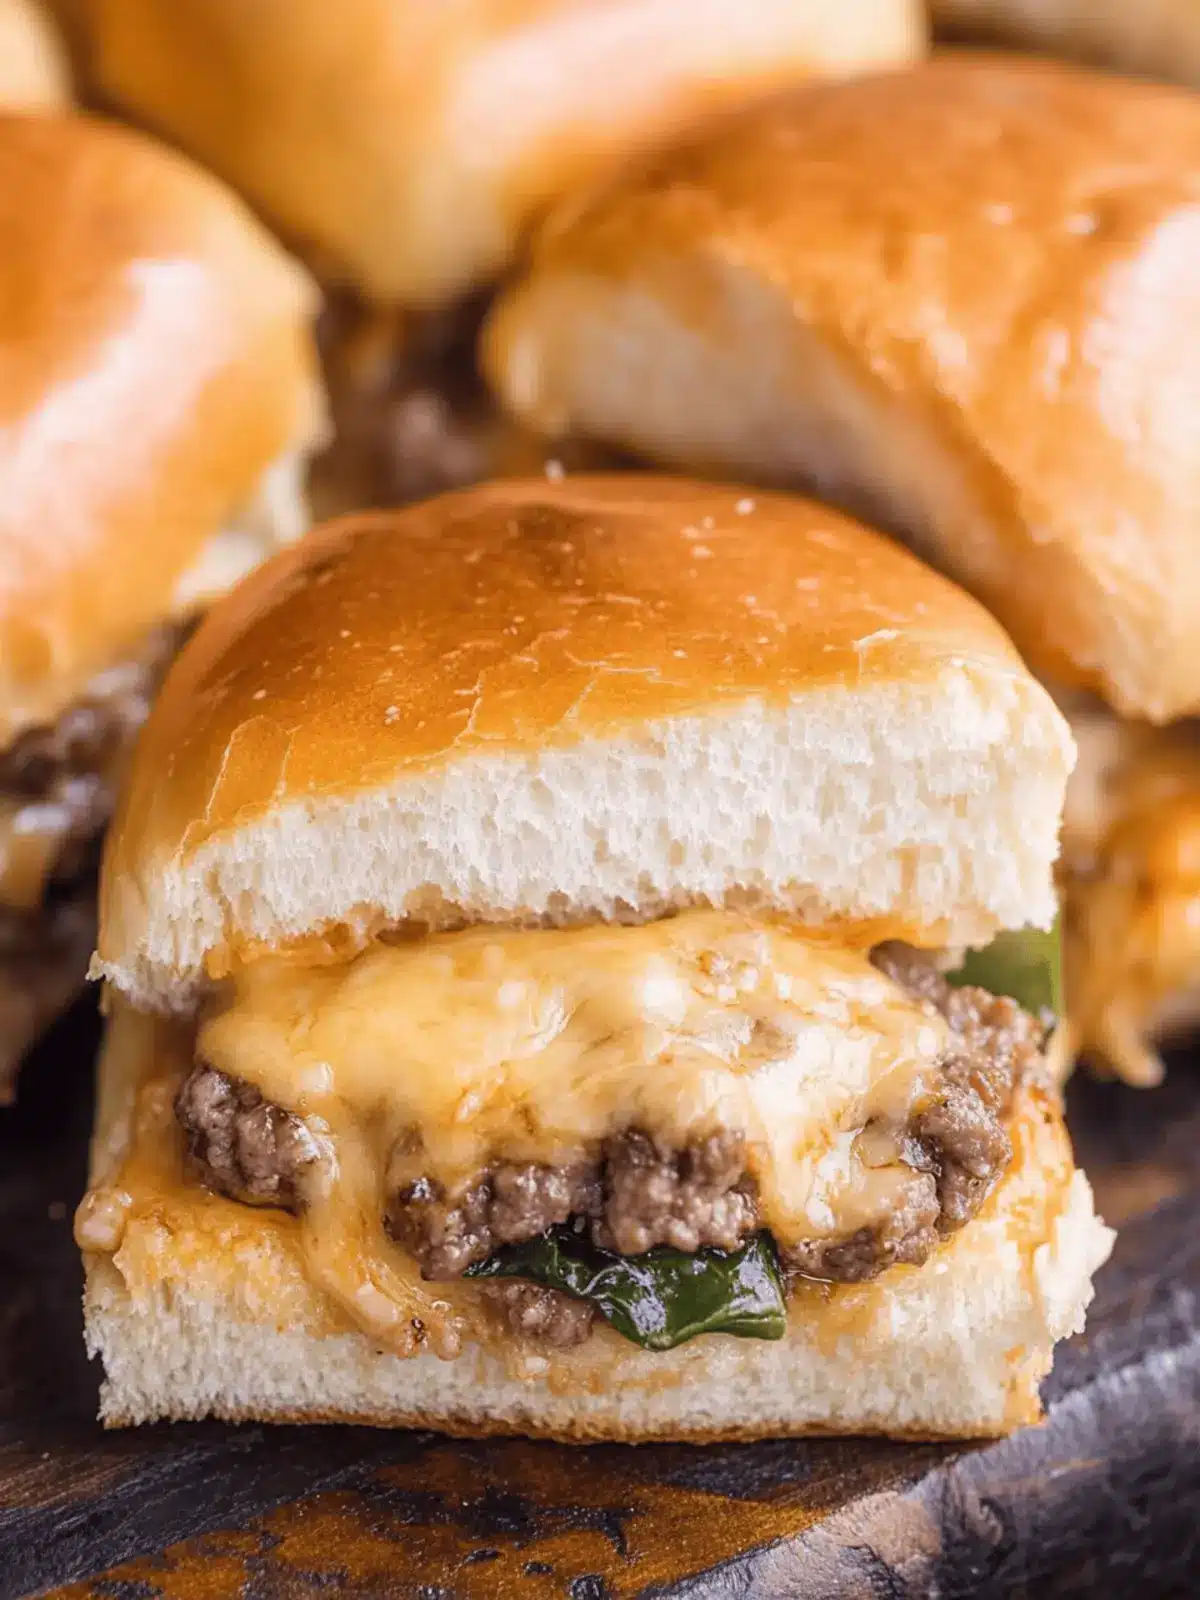
There’s something truly magical about the first bite of a warm Philly Cheese Slider, where the savory scent of ground beef and melted cheese invites comfort straight to your soul. I discovered this gem during a rushed weeknight, craving something more than the typical takeout. With just 30 minutes to spare, I whipped up these mini masterpieces, and the result was nothing short of delightful.
Loaded with rich flavors and nestled inside soft Hawaiian rolls, these sliders become a family-friendly favorite, perfect for everything from game days to cozy gatherings. The beauty of this dish lies in its versatility—you can customize each slider to suit every palate, whether you prefer a kick of spice or a touch of sweetness. Join me on this culinary adventure and let’s create an easy, cheesy treat that turns any busy night into a delicious celebration!
Why Are Philly Cheese Sliders a Must-Try?
Quick and Easy: This recipe takes just 30 minutes, perfect for those busy weeknights when you crave something delightful without the hassle.
Family-Friendly: With their mini size and cheesy goodness, these sliders are sure to please both kids and adults alike, making them the perfect option for any family meal or gathering.
Crowd-Pleaser: Whether it’s game day or a cozy get-together, everyone loves these savory bites. They disappear fast!
Versatile Options: Customize each slider with different meats and cheeses to cater to every taste, whether you’re craving something spicy or a milder flavor.
Make Ahead: Prepare the meat mixture in advance, and assemble just before baking for a seamless, stress-free cooking experience!
Philly Cheese Sliders Ingredients
For the Meat Mixture
- Ground Beef – Use premium options like ground chuck for the best flavor in your Philly Cheese Sliders.
- Onion – Adds a touch of sweetness and depth; shallots work well for a milder taste.
- Green Pepper – Provides a nice texture; red bell pepper can be used for a sweeter flavor.
- Ketchup – Introduces acidity and sweetness to balance the savory; BBQ sauce can add a smokier twist.
- Worcestershire Sauce – Enhances umami depth; soy sauce is an acceptable substitute.
- Cornstarch – Helps thicken the mixture; arrowroot is a great alternative.
- Beef Broth – Infuses moisture and richness; feel free to swap with vegetable or chicken broth.
- Salt and Pepper – Essential for seasoning; adjust to your taste!
For the Sliders
- Hawaiian Rolls – Their soft and sweet nature serves as the perfect base; any soft dinner rolls will do in a pinch.
- Provolone or American Cheese – These cheeses melt beautifully; consider mozzarella or pepper jack for added zest.
- Butter – Adds a lovely richness and browning to your sliders; olive oil can be used for a lighter option.
- Garlic – Introduces a fragrant flavor; garlic powder can be a quicker alternative.
With this scrumptious ingredient list in hand, you’re now ready to whip up some memorable Philly Cheese Sliders!
How to Make Philly Cheese Sliders
-
Preheat the oven: Start by preheating your oven to 350°F. This ensures that the sliders bake evenly and the cheese melts to perfection.
-
Brown the meat: In a skillet over medium heat, combine ground beef with chopped onion and green pepper. Cook for 2-4 minutes, stirring until the vegetables are tender and the meat is browned.
-
Mix the sauce: In a separate bowl, whisk together ketchup, Worcestershire sauce, salt, pepper, cornstarch, and beef broth until smooth. Pour this mixture into the skillet, and cook for an additional 3-5 minutes until it thickens nicely.
-
Prepare the rolls: Slice your Hawaiian rolls in half horizontally and place the bottom halves in a baking dish, creating a soft base for your delicious filling.
-
Assemble the sliders: Evenly spoon the flavorful beef mixture over the bottom halves of the rolls. Don’t hold back—make sure every inch is covered! Layer the cheese slices on top, allowing them to melt luxuriously when baked.
-
Create garlic butter: Melt some butter and mix in minced garlic. Brush this delightful mixture generously over the top of the rolls for an extra boost of flavor.
-
Bake: Cover the dish loosely with foil, and bake for 20 minutes. The cheese should be gooey and the tops golden brown, making your kitchen smell irresistible.
-
Serve warm: Allow the sliders to cool slightly before slicing them. Serve warm to enjoy the incredible flavors that meld together beautifully.
Optional: Add a sprinkle of chopped parsley on top for a fresh touch!
Exact quantities are listed in the recipe card below.
Expert Tips for Philly Cheese Sliders
-
Prevent Sogginess: Lightly toast the bottom halves of the Hawaiian rolls for 3-5 minutes before assembling. This helps maintain their texture even after baking.
-
Make Ahead Magic: Prepare the meat mixture up to two days in advance. Store it in the fridge, and assemble the sliders just before baking for a quick meal.
-
Freezing Options: Assemble sliders before baking, then freeze them. Thaw in the fridge overnight before baking for the best texture and flavor.
-
Avoid Microwaving: Reheat leftovers in the oven instead of the microwave. This keeps the rolls soft and the cheese melty, ensuring a delicious second serving.
-
Customize Your Flavor: Don’t hesitate to experiment with different cheeses or add sautéed mushrooms for additional flavor and texture in your Philly Cheese Sliders!
Philly Cheese Sliders Variations
Get ready to explore delightful twists that will elevate your Philly Cheese Sliders into something truly special!
-
Turkey Swap: Replace ground beef with ground turkey or chicken for a lighter, leaner option that doesn’t skimp on flavor.
-
Mushroom Medley: Add sautéed mushrooms to the beef mixture for an earthy depth and extra texture that everyone will love.
-
Spicy Kick: Mix in diced jalapeños or crushed red pepper flakes for those who crave a bit of heat in their sliders.
-
BBQ Bliss: Substitute ketchup with BBQ sauce for a smoky twist that pairs perfectly with the richness of the beef and cheese.
-
Cheese Variety: Experiment with different cheese blends! Try sharp cheddar or pepper jack for extra zing, or go for a creamy Havarti for a more mellow flavor.
-
Sweet Surprise: Incorporate diced fresh pineapple into the meat mixture for a touch of sweetness that balances out the savory ingredients beautifully.
-
Vegetarian Delight: Swap out meat entirely with a mixture of black beans, corn, and spices for a hearty vegetarian version that’s still satisfying.
-
Herb Infusion: Add fresh herbs like thyme or oregano to the meat mixture for a fragrant twist that enhances the overall flavor profile.
Each variation offers a unique approach to these beloved sliders, making it easy to cater to any taste preference!
How to Store and Freeze Philly Cheese Sliders
-
Room Temperature: It’s best to enjoy Philly Cheese Sliders fresh. If left out, they can sit at room temperature for up to 2 hours before needing to be refrigerated.
-
Fridge: Store any leftovers in an airtight container in the fridge for up to 3 days. This keeps the sliders fresh and ready to reheat for a quick snack!
-
Freezer: To freeze, assemble the sliders unbaked, wrap tightly, and store in an airtight container in the freezer for up to 3 months. Thaw overnight in the fridge before baking.
-
Reheating: For the best texture, reheat in the oven at 350°F for about 10-15 minutes until heated through, preserving the gooey cheese and soft rolls!
Make Ahead Options
These Philly Cheese Sliders are a fantastic option for meal prep! You can prepare the flavorful meat mixture up to 3 days in advance and refrigerate it in an airtight container. To do this, simply follow the first few steps of browning the beef and mixing in the sauce, then store the mixture until you’re ready to assemble. When it’s time to enjoy your sliders, lightly toast the bottom halves of the Hawaiian rolls, spoon the chilled meat mixture over them, layer on the cheese, and proceed with the baking instructions. This way, you still achieve that gooey, cheesy goodness, perfect for busy weeknights or gatherings!
What to Serve with Philly Cheese Sliders?
There’s nothing quite like the joy of enjoying a plate of delicious sliders with delightful accompaniments that elevate the entire meal experience.
-
Crispy Potato Chips: The salty crunch of chips pairs perfectly with the rich flavors of the sliders, adding a satisfying texture contrast.
-
Fresh Caesar Salad: A light Caesar salad adds a refreshing crunch that balances the cheesiness of the sliders, making every bite more delightful.
-
Sweet Coleslaw: Creamy and slightly tangy coleslaw offers a fresh, crisp element that complements the hearty meat and cheese in the sliders.
-
Honey Mustard Dipping Sauce: The sweetness of honey mustard provides a tangy contrast that enhances the savory sliders beautifully.
-
Grilled Veggies: A medley of grilled zucchini, peppers, and onions adds color and a touch of smoky flavor, making your meal vibrant and wholesome.
-
Ice-Cold Lemonade: Refreshing and bright, lemonades are the perfect drink to wash down these savory bites while adding a zing of flavor to the meal.
-
Chocolate Chip Cookies: For dessert, classic chocolate chip cookies create a sweet ending and a comforting experience after enjoying these hearty sliders.
Pair these delightful options with your Philly Cheese Sliders for a complete and satisfying meal that’s perfect for any gathering!
Philly Cheese Sliders Recipe FAQs
What type of ground beef should I use for Philly Cheese Sliders?
Absolutely! For the best flavor, I recommend using premium options like ground chuck. It has a nice balance of fat and flavor, making every bite rich and satisfying.
How should I store leftover Philly Cheese Sliders?
Leftovers can be stored in an airtight container in the fridge for up to 3 days. This helps maintain their comforting flavors and allows you to enjoy them later!
Can I freeze Philly Cheese Sliders?
Yes! To freeze, assemble the sliders before baking, wrap them tightly in plastic wrap, and place them in an airtight container. They can be frozen for up to 3 months. When you’re ready to enjoy them, thaw them overnight in the fridge. Bake at 350°F until heated through for the best texture.
What if the sliders are soggy after baking?
If you notice sogginess, it’s usually because the bottom halves of the rolls were not toasted beforehand. Lightly toasting them for 3-5 minutes before assembly will prevent this. It helps maintain their integrity and keeps them deliciously soft without becoming mushy.
Are there any dietary considerations I should be aware of?
Very! If you’re cooking for someone with allergies or dietary restrictions, be sure to check labels for allergens like gluten in the rolls or lactose in the cheese. You can also easily substitute with gluten-free rolls or dairy-free cheese to accommodate various diets.
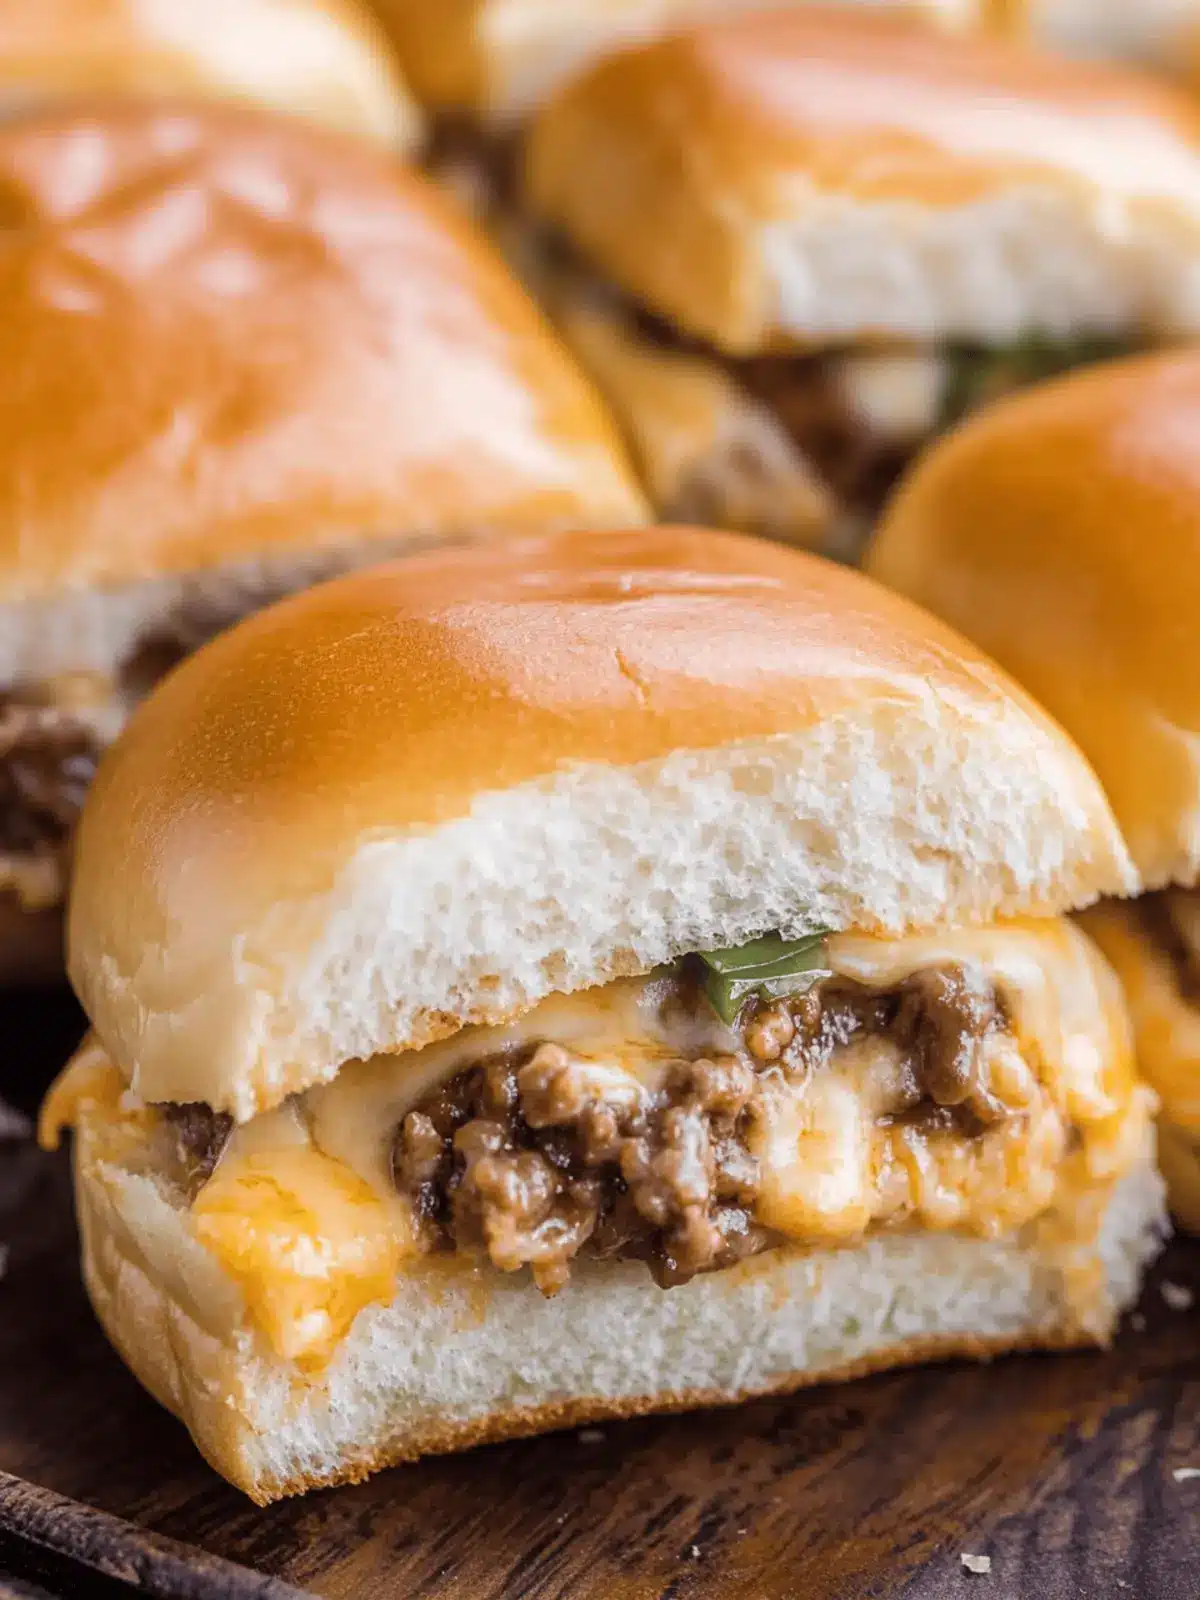
Savory Philly Cheese Sliders: Quick Comfort for Any Gathering
Ingredients
Equipment
Method
- Preheat the oven to 350°F.
- In a skillet over medium heat, combine ground beef with chopped onion and green pepper.
- Cook for 2-4 minutes, stirring until the vegetables are tender and the meat is browned.
- In a separate bowl, whisk together ketchup, Worcestershire sauce, salt, pepper, cornstarch, and beef broth until smooth.
- Pour this mixture into the skillet and cook for an additional 3-5 minutes until it thickens.
- Slice the Hawaiian rolls in half horizontally and place the bottom halves in a baking dish.
- Spoon the beef mixture over the bottom halves of the rolls and layer cheese on top.
- Melt butter and mix in minced garlic. Brush this mixture generously over the top of the rolls.
- Cover with foil and bake for 20 minutes.
- Allow to cool slightly before slicing and serve warm.

