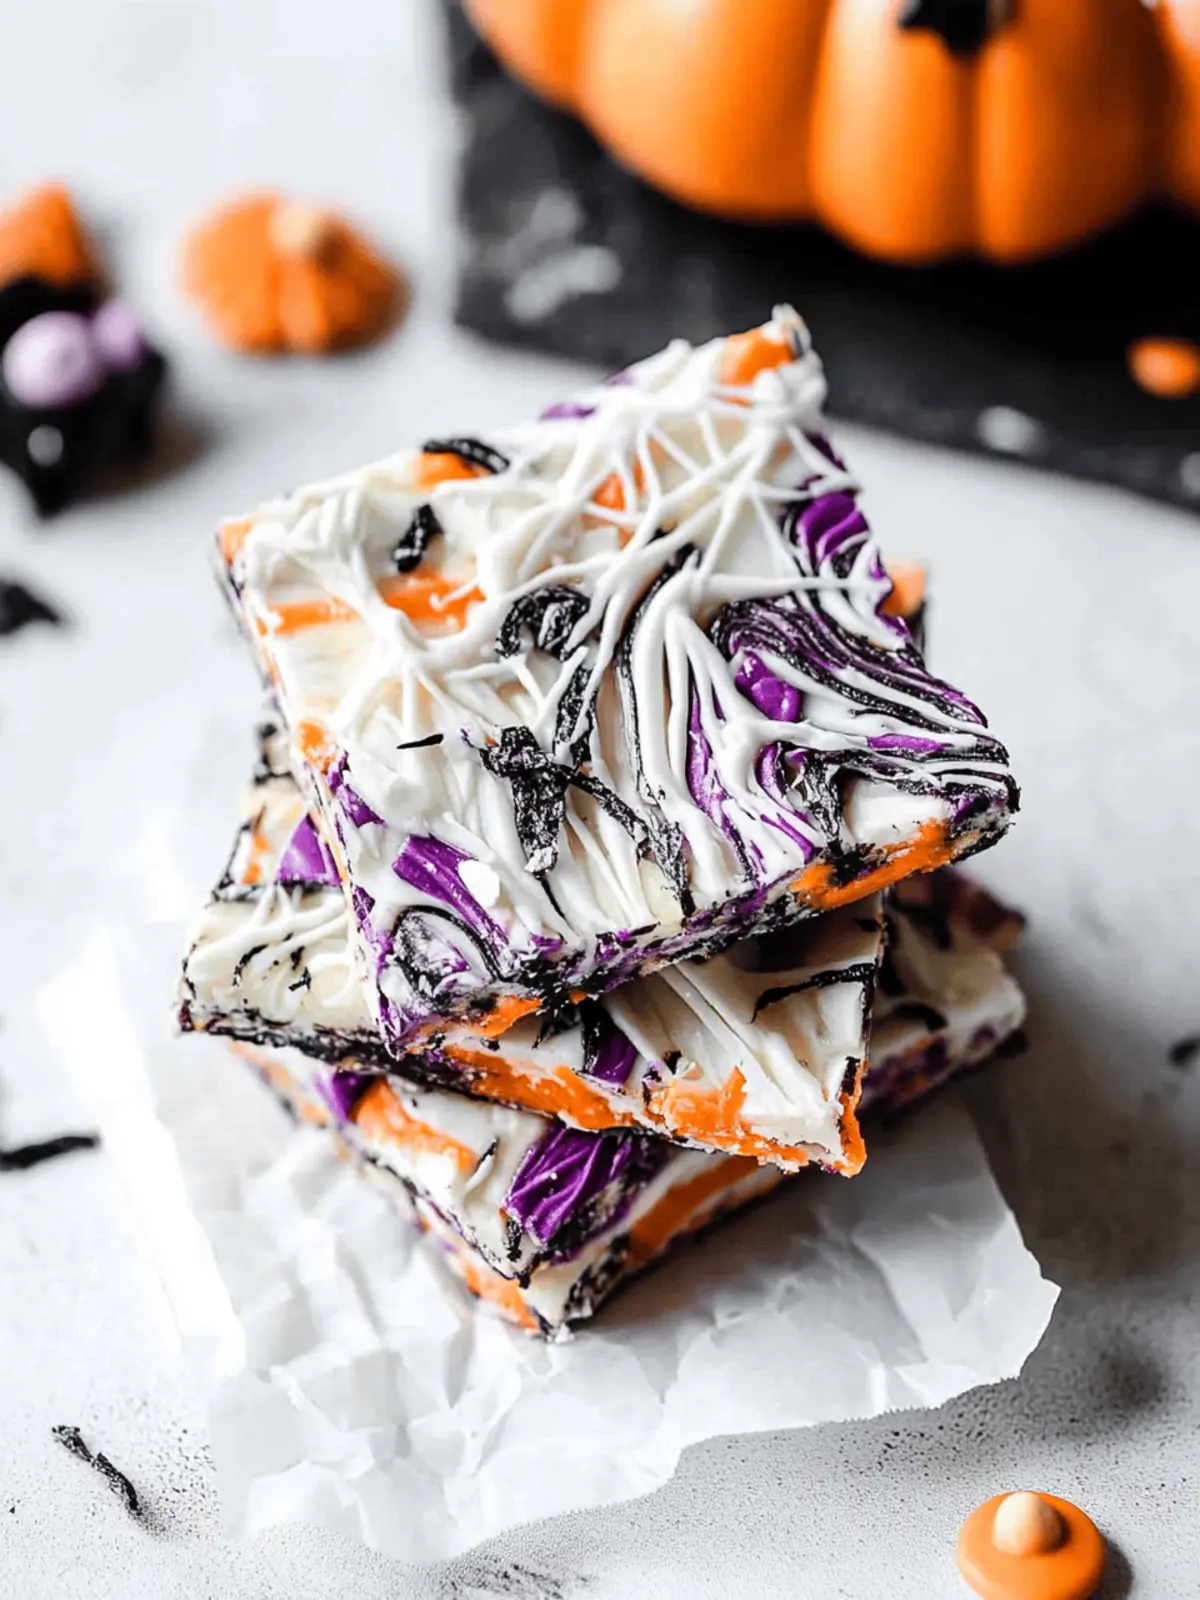
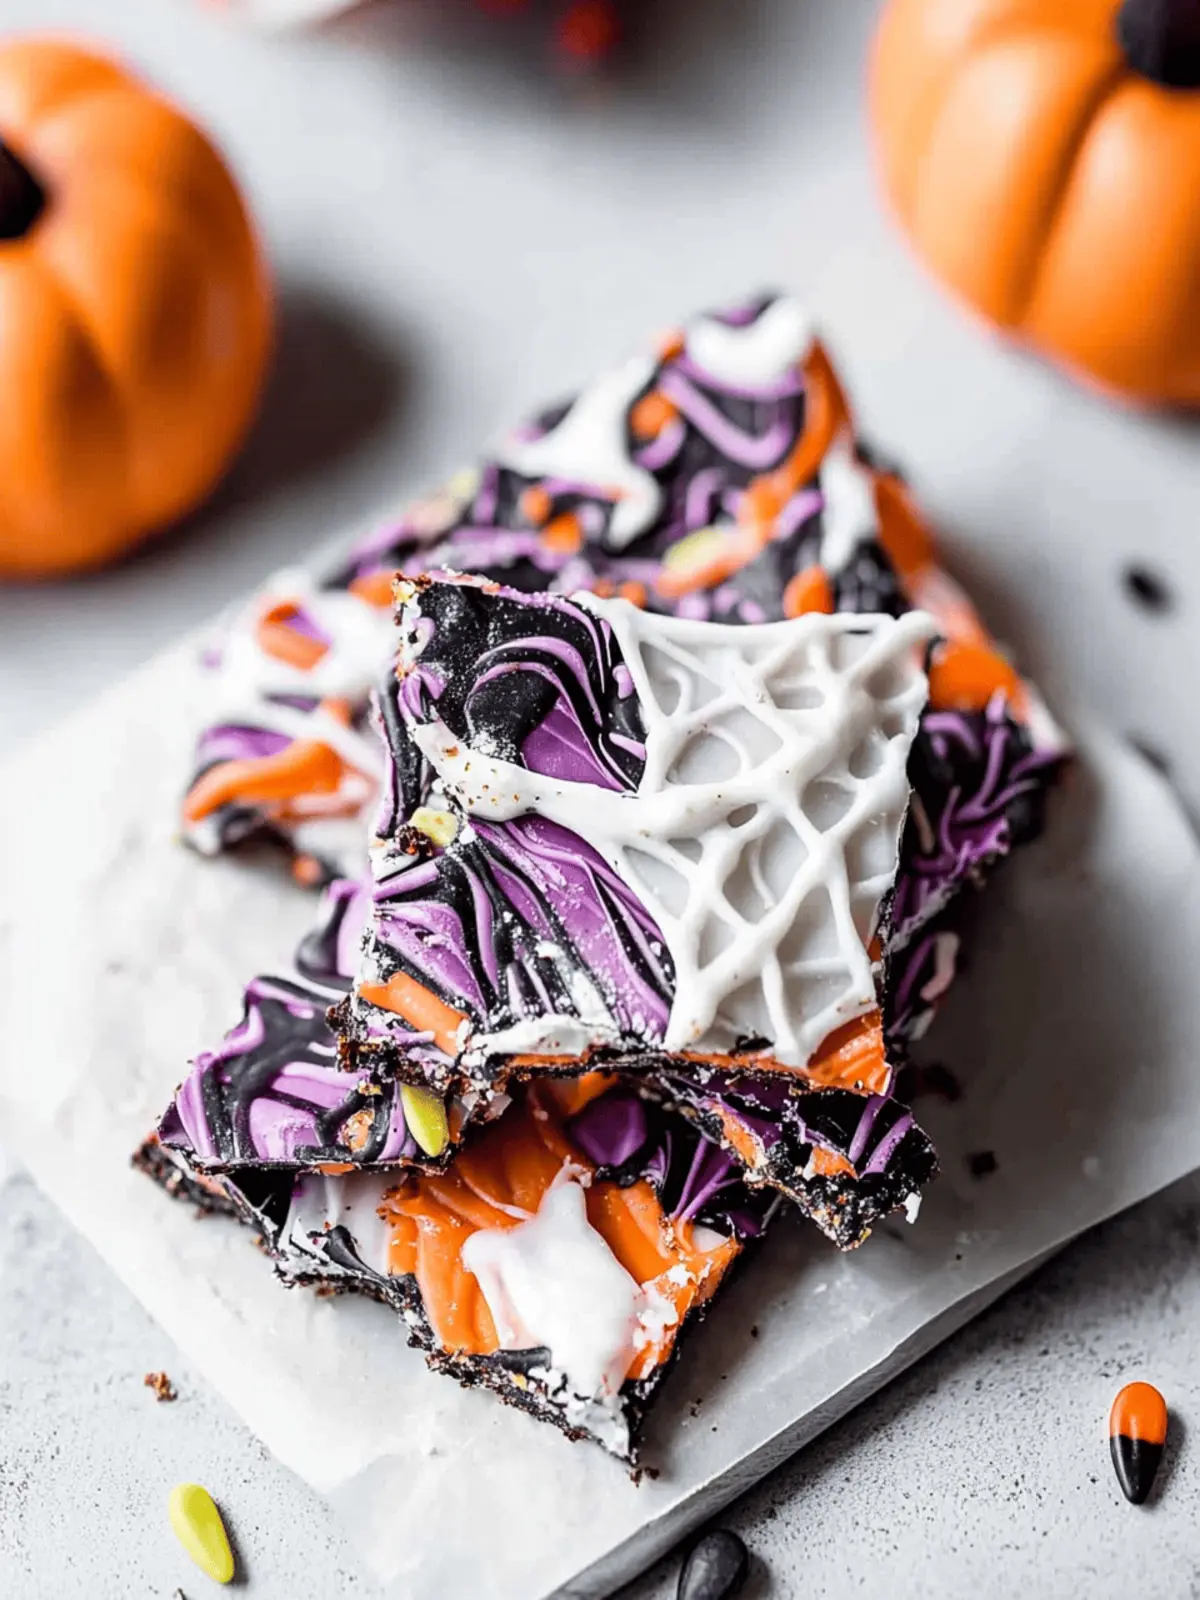
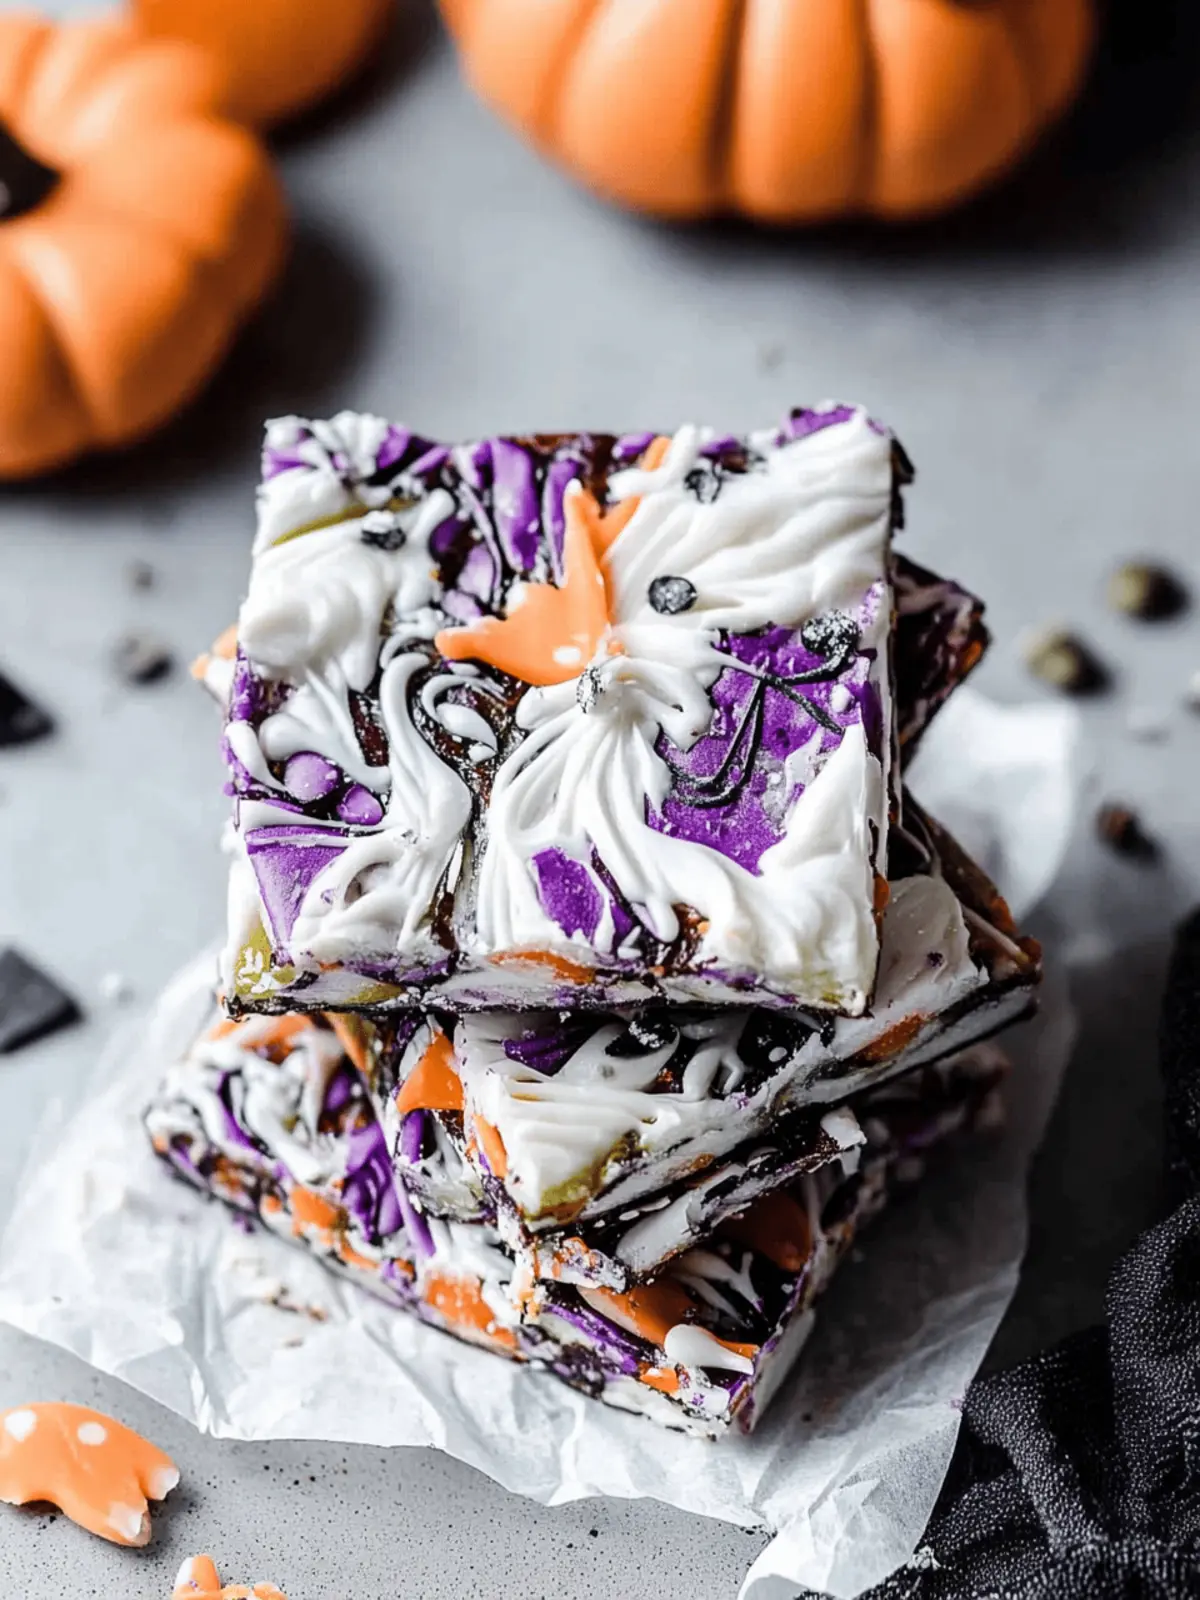
As the leaves turn and the air crispens, there’s a certain excitement that comes with Halloween—a chance to indulge in the sweet and spooky. This Easy Halloween Bark is a delightful escape from the usual tricks and treats, combining the creamy goodness of white chocolate with a splash of colorful candy melts and festive sprinkles. Picture yourself swirling vibrant hues together, creating edible art that’s not just a treat for the taste buds but also a feast for the eyes.
Making this no-bake dessert is a wonderful way to involve the kids in the kitchen, fostering creativity and fun on those chilly autumn afternoons. Whether you’re prepping for a Halloween party or simply looking to surprise little ghosts and goblins on your doorstep, this bark will steal the show! Grab your favorite candy melts and let’s dive into crafting a festive treat that’s as playful as it is delicious.
Why is Halloween Bark the perfect treat?
Easy to Make: This no-bake recipe is incredibly simple, perfect for all skill levels, making it a fantastic family activity.
Kid-Friendly Fun: Children will love helping swirl colors and sprinkle toppings, turning kitchen time into a creative adventure.
Visually Stunning: With vibrant candy melts and festive sprinkles, each piece of bark is a colorful masterpiece, ideal for any Halloween gathering.
Versatile Options: Customize with your favorite colors and toppings, so it can shine during other holidays too!
Time-Saving Delight: Quick to prepare, you can whip it up within an hour, leaving plenty of time for spooky festivities.
Crowd-Pleasing Snack: Perfect for parties or giving as gifts, Halloween Bark is sure to delight kids and adults alike with its sweet and crunchy charm.
Halloween Bark Ingredients
For the Base
• White Chocolate Chips – a sweet base for the bark that provides a creamy flavor; substitute with white chocolate bars if preferred.
For the Colorful Layers
• Black Candy Melts – adds color and flavor contrast for visual interest; substitute with darker candy melts if necessary.
• Purple Candy Melts – enhances the festive appearance and complements other colors; swap with blue melts or add food coloring to white melts.
• Orange Candy Melts – brings a classic Halloween hue and sweetness; can be replaced with yellow candy melts or customized using food coloring in white melts.
For Decoration
• Halloween Sprinkles – for decoration and delightful crunch; use any themed sprinkles or small candies like M&M’s to boost the fun.
• Food Coloring – optional for customizing candy melts; use it to deepen colors if needed.
This Halloween Bark recipe is not only easy and fun but also perfect for crafting colorful treats that everyone will enjoy!
How to Make Halloween Bark
- Prepare the Sheet: Start by lining a large baking sheet with a Silpat mat or parchment paper, ensuring it’s ready for your delicious bark.
- Melt the White Chocolate: In a heat-proof bowl, gently melt the white chocolate over a double boiler, stirring frequently until it’s smooth and glossy.
- Melt the Candy Melts: In smaller bowls, melt each color of candy melts over a pot of simmering water, stirring until smooth and vibrant, one color at a time.
- Spread the Base: Evenly spread the melted white chocolate onto the prepared baking sheet, aiming for about a 1/4-inch thickness.
- Add Candy Melts: Spoon dollops of your melted candy melts over the white chocolate, letting them create playful drops of color across the surface.
- Swirl for Fun: Using a toothpick, gently swirl the candy melts into the white chocolate to create a mesmerizing marbled effect that’s visually captivating.
- Sprinkle the Decorations: Generously top with Halloween-themed candies and sprinkles, adding festive crunch and charm to your bark.
- Chill to Firm Up: Refrigerate for 30 minutes or let it sit at room temperature for about 2 hours until fully set and firm to the touch.
- Cut into Pieces: Once set, take a sharp knife and cut the bark into approximately 16 delightful pieces, ready to share and enjoy!
Optional: Drizzle some extra melted chocolate over the top for an additional touch of sweetness.
Exact quantities are listed in the recipe card below.
Expert Tips for Halloween Bark
- Melt Order Matters: Start with candy melts first, as they require more time to set than white chocolate, ensuring the right consistency.
- Heat Control: Make sure bowls are not in contact with boiling water to prevent scorching and maintain smooth melting for your Halloween Bark.
- Storage Secret: Store any leftovers in an airtight container at room temperature or in the fridge to keep your Halloween Bark fresh for longer!
- Even Sizing: For uniform pieces, use a ruler or cut them into squares carefully; this will not only look great but also make serving easy.
- Flavor Boost: Consider adding nuts or dried fruits for an extra layer of flavor and texture, making your Halloween Bark even more exciting!
Halloween Bark Variations
Create your own twist on this festive treat and unleash your inner Halloween artist!
-
Nutty Addition: Mix in chopped nuts, like almonds or walnuts, for a delightful crunch with added nutrition.
The combination of sweet and nutty flavors will elevate your bark to a gourmet treat, perfect for the fall. -
Dried Fruits: Toss in dried cranberries or apricots for a chewy texture and a pop of fruity sweetness.
The contrast of chewy bits among the chocolate layers adds an inviting surprise in each bite of your Halloween Bark. -
Spicy Kick: Add a pinch of cayenne pepper to the melted chocolate for an unexpected spicy twist.
This daring mix of sweet and spicy will tantalize your taste buds and keep everyone guessing about your secret ingredient! -
Theme Colors: Swap the candy melts for different colors to celebrate various holidays, from Christmas reds and greens to pastel shades for Easter.
Not only does this make the bark visually stunning, but it turns an easy treat into a seasonal favorite year-round! -
Chewy Candies: Include mini marshmallows or gummy candies on top for extra chewiness.
This fun addition gives a nostalgic twist to your homemade bark, reminiscent of childhood treats. -
Homemade Chocolate: Instead of candy melts, try using homemade chocolate by melting cacao butter and cocoa powder for a richer flavor.
A homemade chocolate base not only adds depth but also allows you to control sweetness and texture. -
Flavor Infusions: Experiment with flavored candy melts, such as caramel or mint, to change the overall flavor profile of the bark.
The unexpected blend of flavors will make your Halloween Bark a true conversation starter at any party!
How to Store and Freeze Halloween Bark
- Room Temperature: Store your Halloween Bark in an airtight container at room temperature for up to 2-3 weeks to keep it fresh and flavorful.
- Fridge: If you prefer a cooler treat, refrigerate the bark in an airtight container. It will stay fresh for up to 2 weeks, but be mindful it may become slightly firmer.
- Freezer: For longer storage, wrap the pieces in plastic wrap and place them in a freezer-safe container. Halloween Bark can be frozen for up to 3 months.
- Reheating: If you want to enjoy that soft, melty texture again, let the bark sit at room temperature for a bit before indulging in your Halloween Bark.
Make Ahead Options
These Easy Halloween Bark treats are perfect for busy home cooks looking to save time during the spooky season! You can melt the white chocolate and candy melts up to 3 days in advance; just store them in airtight containers at room temperature to maintain their smooth texture. When you’re ready to assemble the bark, heat the melts briefly to soften them, spread the melted white chocolate on the prepared baking sheet, and proceed with adding color and sprinkles. This prep-ahead approach not only saves you precious time on Halloween but ensures your Halloween Bark is just as delicious as if made fresh!
What to Serve with Halloween Bark?
Delight your guests and family with simple yet complementary treats that elevate your Halloween celebration.
- Pumpkin Spice Latte: This warm drink pairs perfectly with the sweetness of the bark, enhancing the fall flavors of your gathering.
- Caramel Apple Slices: Crisp apples drizzled with caramel create a delicious contrast to the rich, creamy bark, making for a festive snack.
- Cheese Platter: A selection of sharp and creamy cheeses offers a savory balance to the sweet bark, captivating diverse palates.
- Chocolate-Covered Pretzels: Combining sweet and salty, these treats resonate beautifully with the creamy sweetness of the bark, adding crunch.
For an interactive dessert experience, arrange a DIY snack table with these delights. Kids and adults alike will enjoy crafting their plates!
- Festive Fruit Salad: Brightly colored fruits add a refreshing touch that complements the festive look of the Halloween Bark while keeping it light.
- Hot Chocolate Bar: Offer a variety of toppings alongside your bark, ensuring the perfect pairing of flavors while making the occasion cozy and inviting.
- Ghostly Cupcakes: Frosted with vanilla icing and topped with fun decorations, these treats continue the Halloween theme, complete with a spooky twist.
- Spiced Cider: This warm drink’s autumn-season spices will enhance the flavors of your bark, making it a heartwarming addition to your gathering.
Halloween Bark Recipe FAQs
How do I choose ripe ingredients for Halloween Bark?
Absolutely! For the best results, select high-quality white chocolate chips that are smooth and creamy. When choosing candy melts, look for vibrant colors without any lumps or inconsistencies. Always check the expiration date to ensure freshness.
What is the best way to store leftover Halloween Bark?
I recommend keeping your Halloween Bark in an airtight container at room temperature for up to 2-3 weeks. If you prefer a firmer texture, store it in the fridge for up to 2 weeks. Just remember, refrigeration may change the texture slightly, but it will still be delicious.
Can I freeze Halloween Bark, and how do I do it?
Very! To freeze your Halloween Bark, wrap each piece in plastic wrap securely to prevent moisture and freezer burn. Then, place them in a freezer-safe container. This delightful treat can be frozen for up to 3 months. When you’re ready to enjoy, let it thaw at room temperature for a delightful treat!
What if my chocolate or candy melts don’t melt smoothly?
Don’t worry, it happens! If your white chocolate or candy melts start to seize or clump, add a teaspoon of vegetable oil to help smooth it out. Make sure to melt the candy melts in short bursts and stir consistently to achieve that silky texture. Also, be careful not to let any water get into the mixture, which can cause it to seize.
Are there any dietary considerations for Halloween Bark?
Great question! While the base ingredients here are vegetarian, be mindful that some candy melts and sprinkles may contain allergens like dairy, nuts, or artificial colors. Always check labels if you’re catering to allergies. You can also consider vegan or allergen-free alternatives in the baking aisle for a customized treat.
Can I customize the colors and decorations in my Halloween Bark?
Absolutely! This recipe is super flexible. Feel free to switch up the colors based on your favorite holidays or parties. You can also mix in nuts, dried fruits, or even seasonal candies to make it your very own. The more the merrier—it’s all about creativity!
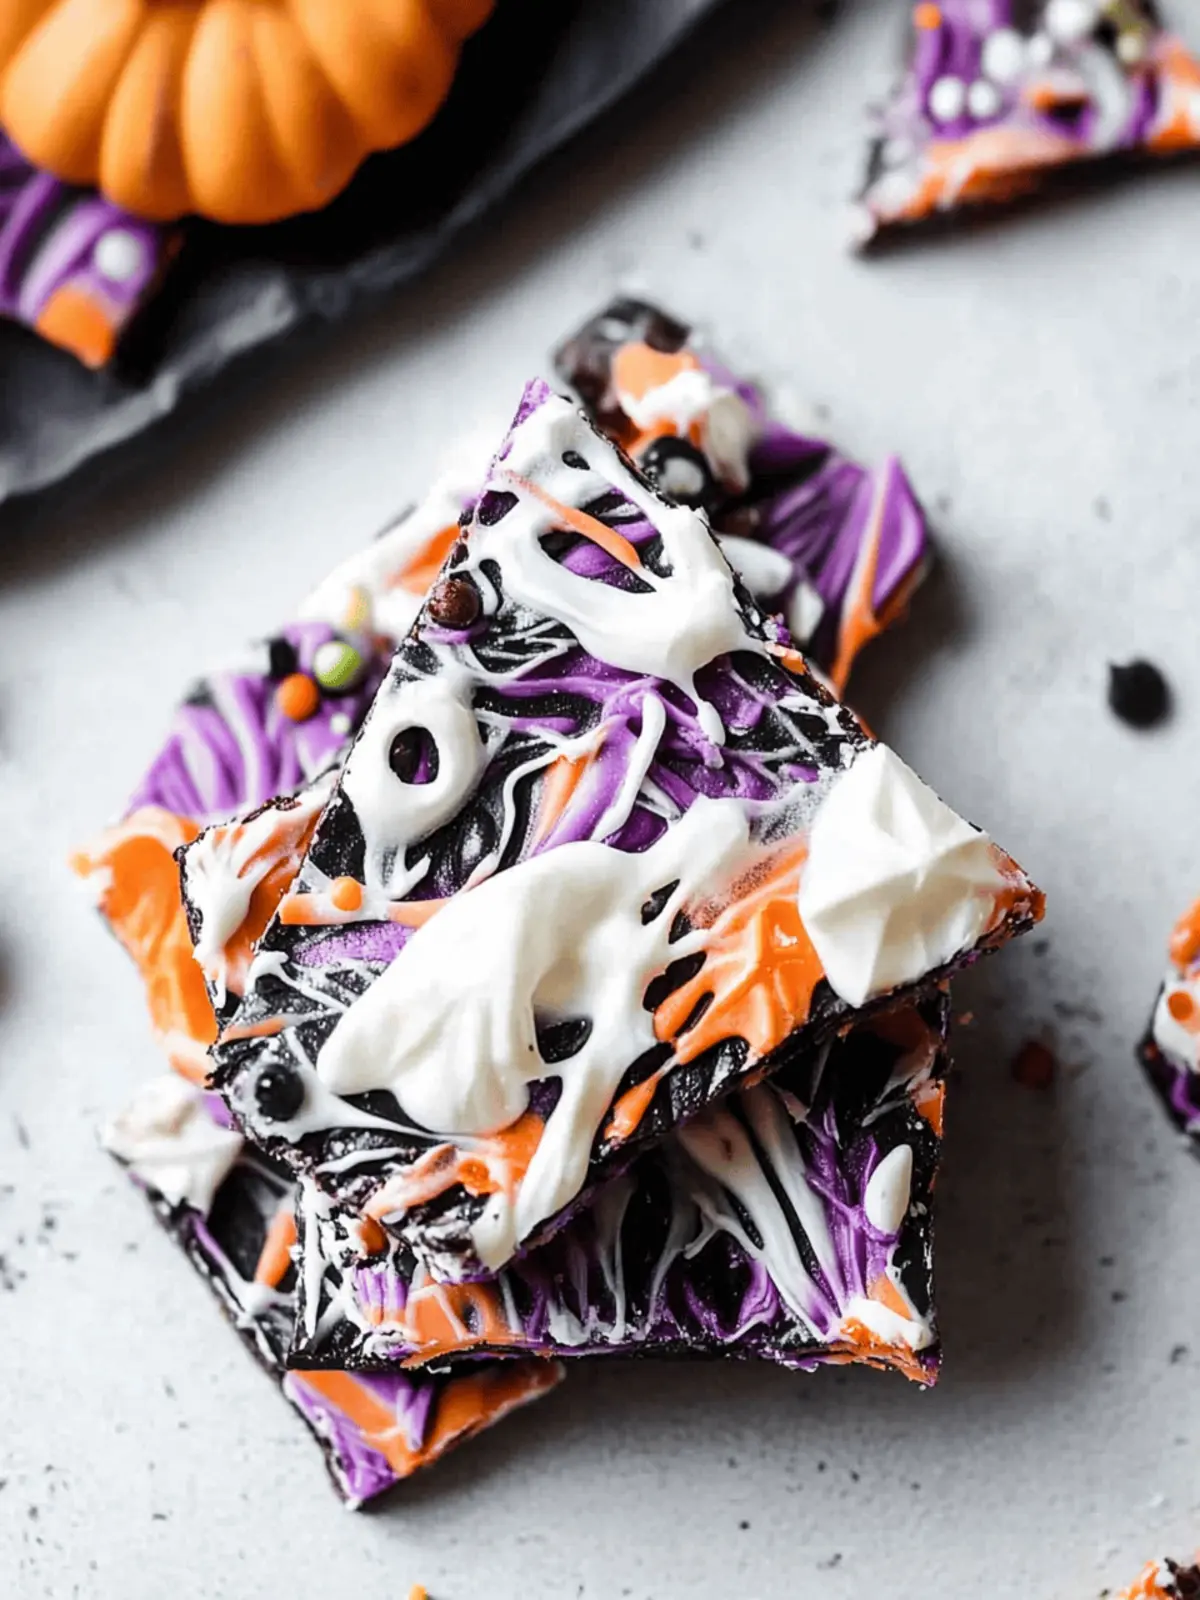
Delicious Halloween Bark: Easy No-Bake Fun for Everyone
Ingredients
Equipment
Method
- Prepare the baking sheet by lining it with a Silpat mat or parchment paper.
- Melt the white chocolate in a heat-proof bowl over a double boiler, stirring until smooth.
- Melt each color of candy melts in smaller bowls over simmering water, one at a time.
- Spread the melted white chocolate evenly onto the prepared baking sheet.
- Spoon dollops of melted candy melts over the white chocolate.
- Swirl the candy melts into the white chocolate with a toothpick.
- Top generously with Halloween-themed candies and sprinkles.
- Chill in the refrigerator for 30 minutes or let sit for 2 hours until set.
- Cut the bark into approximately 16 pieces.

