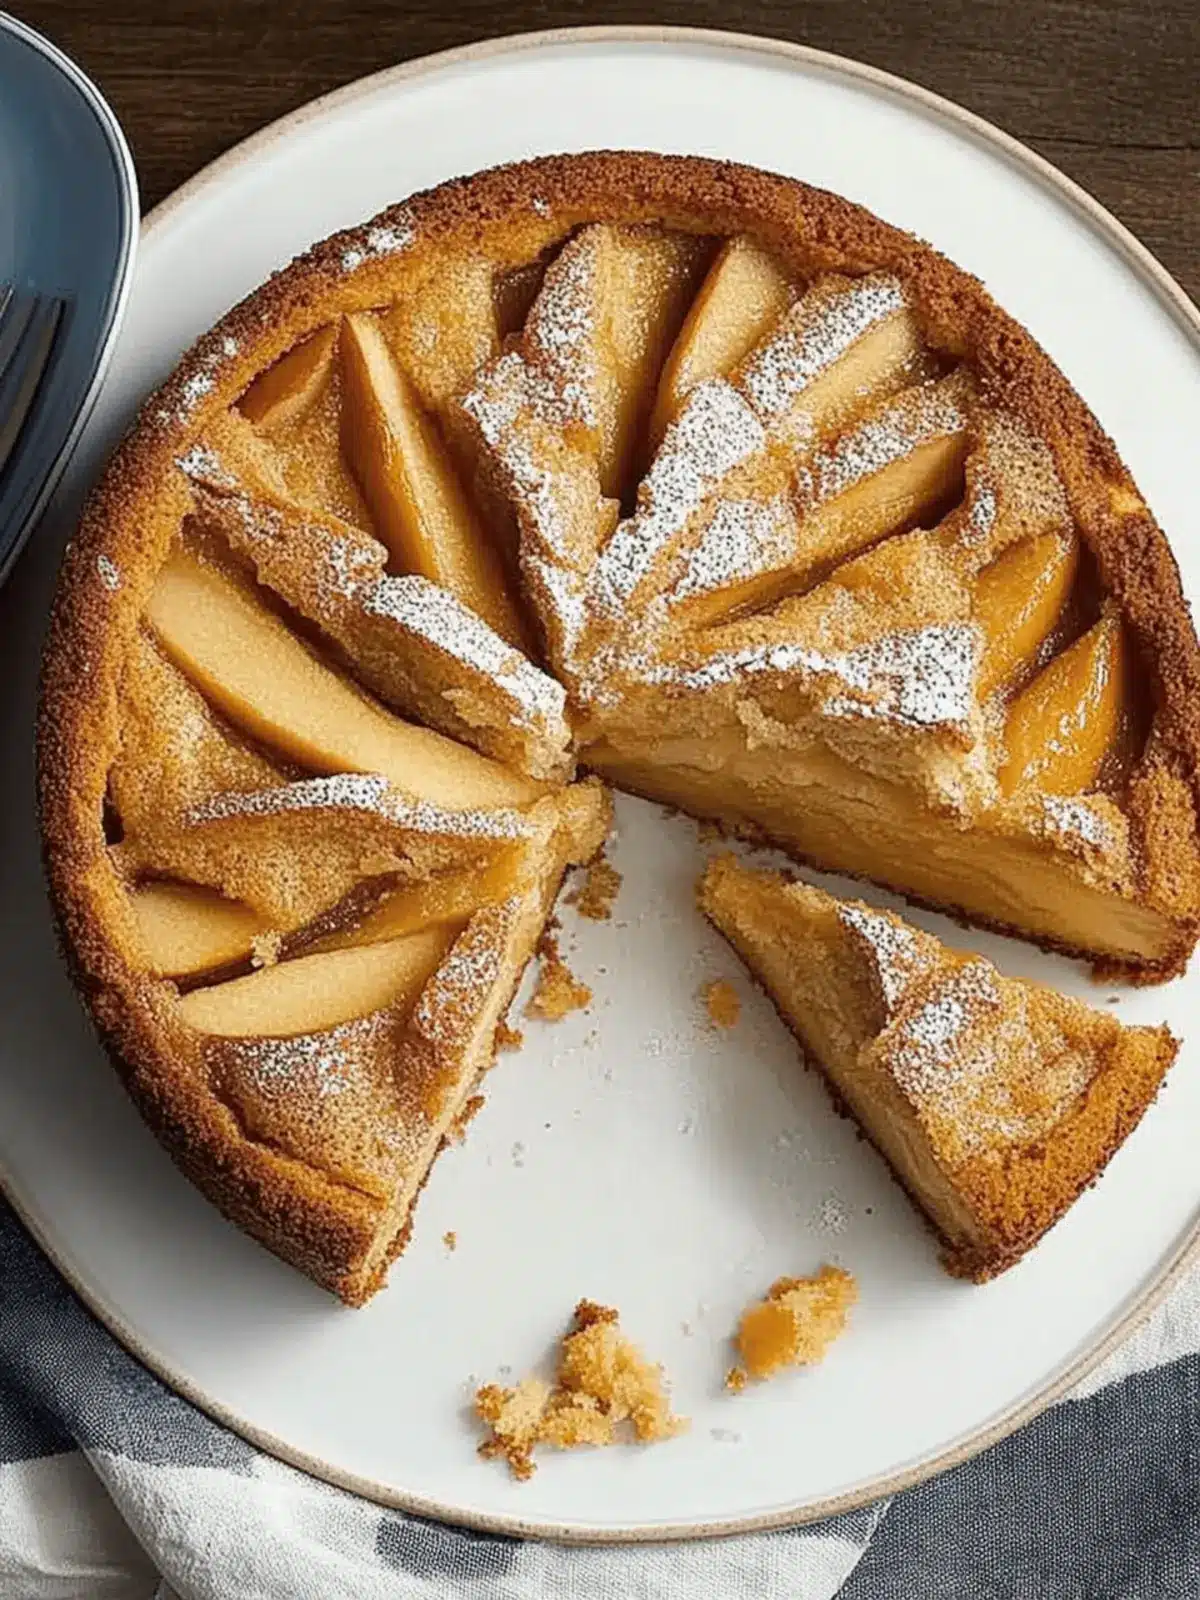
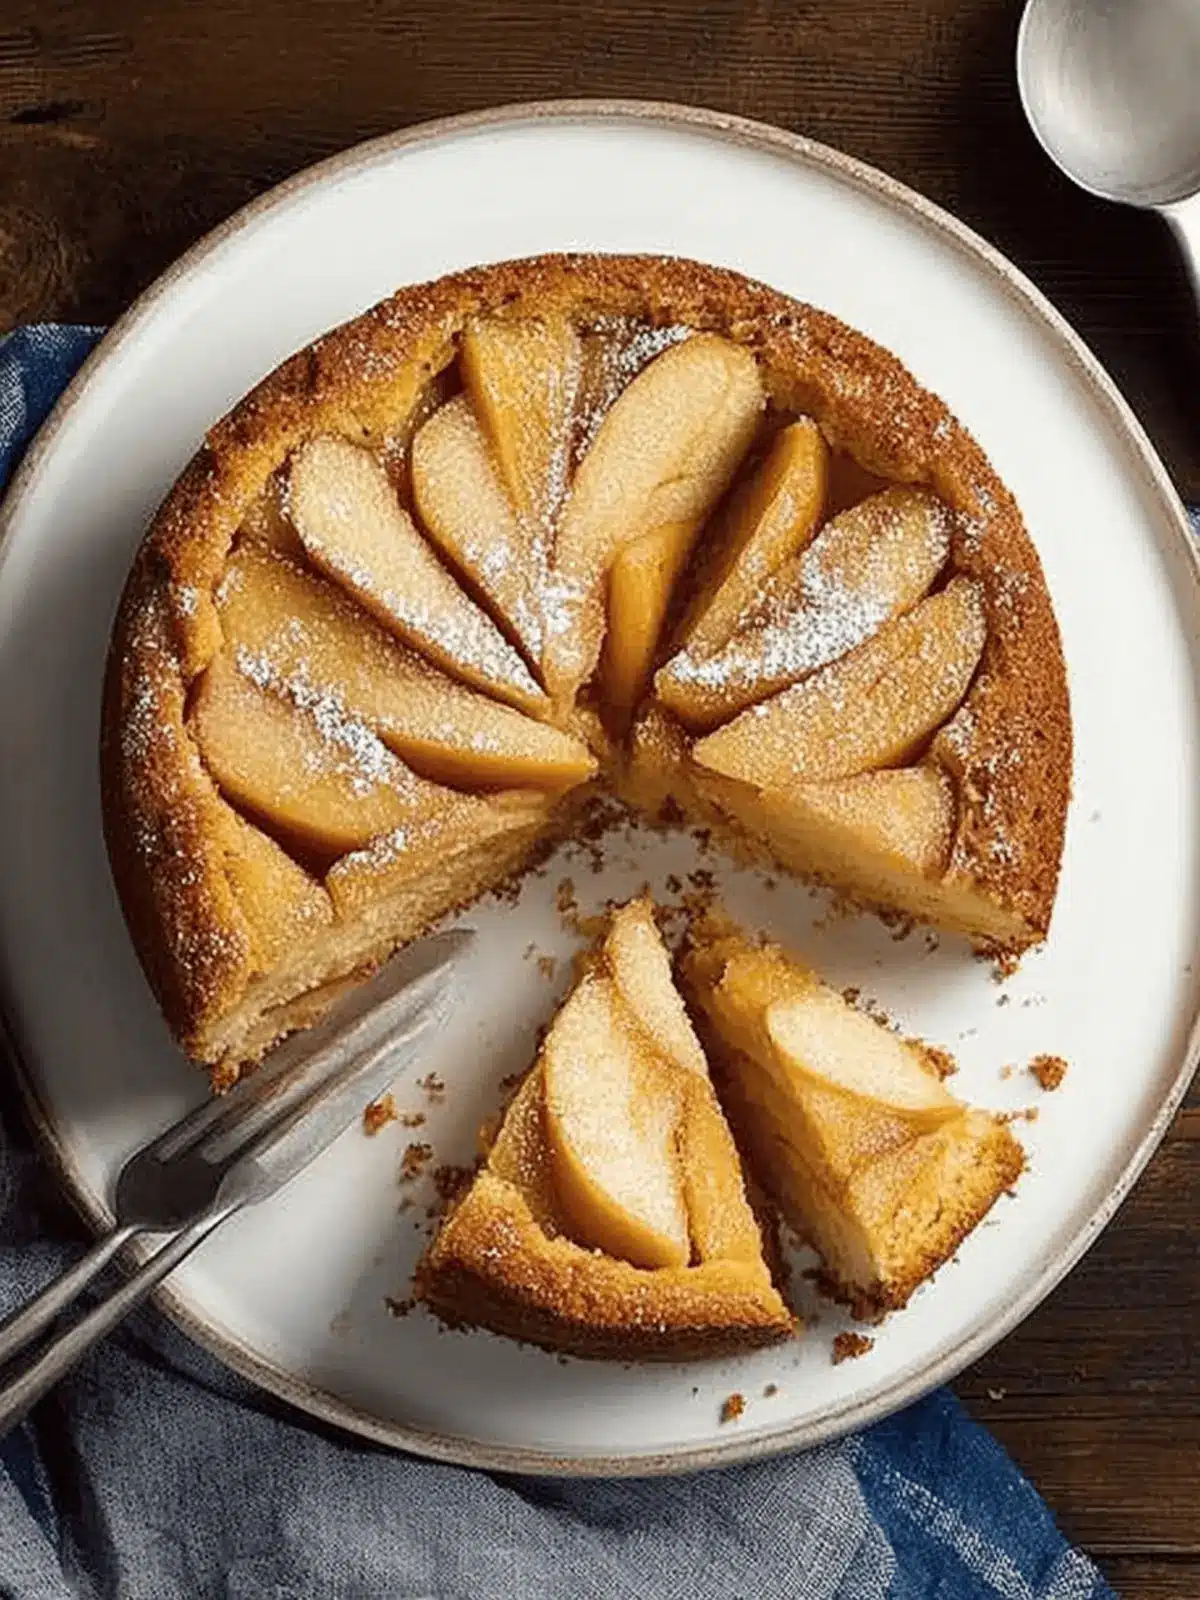
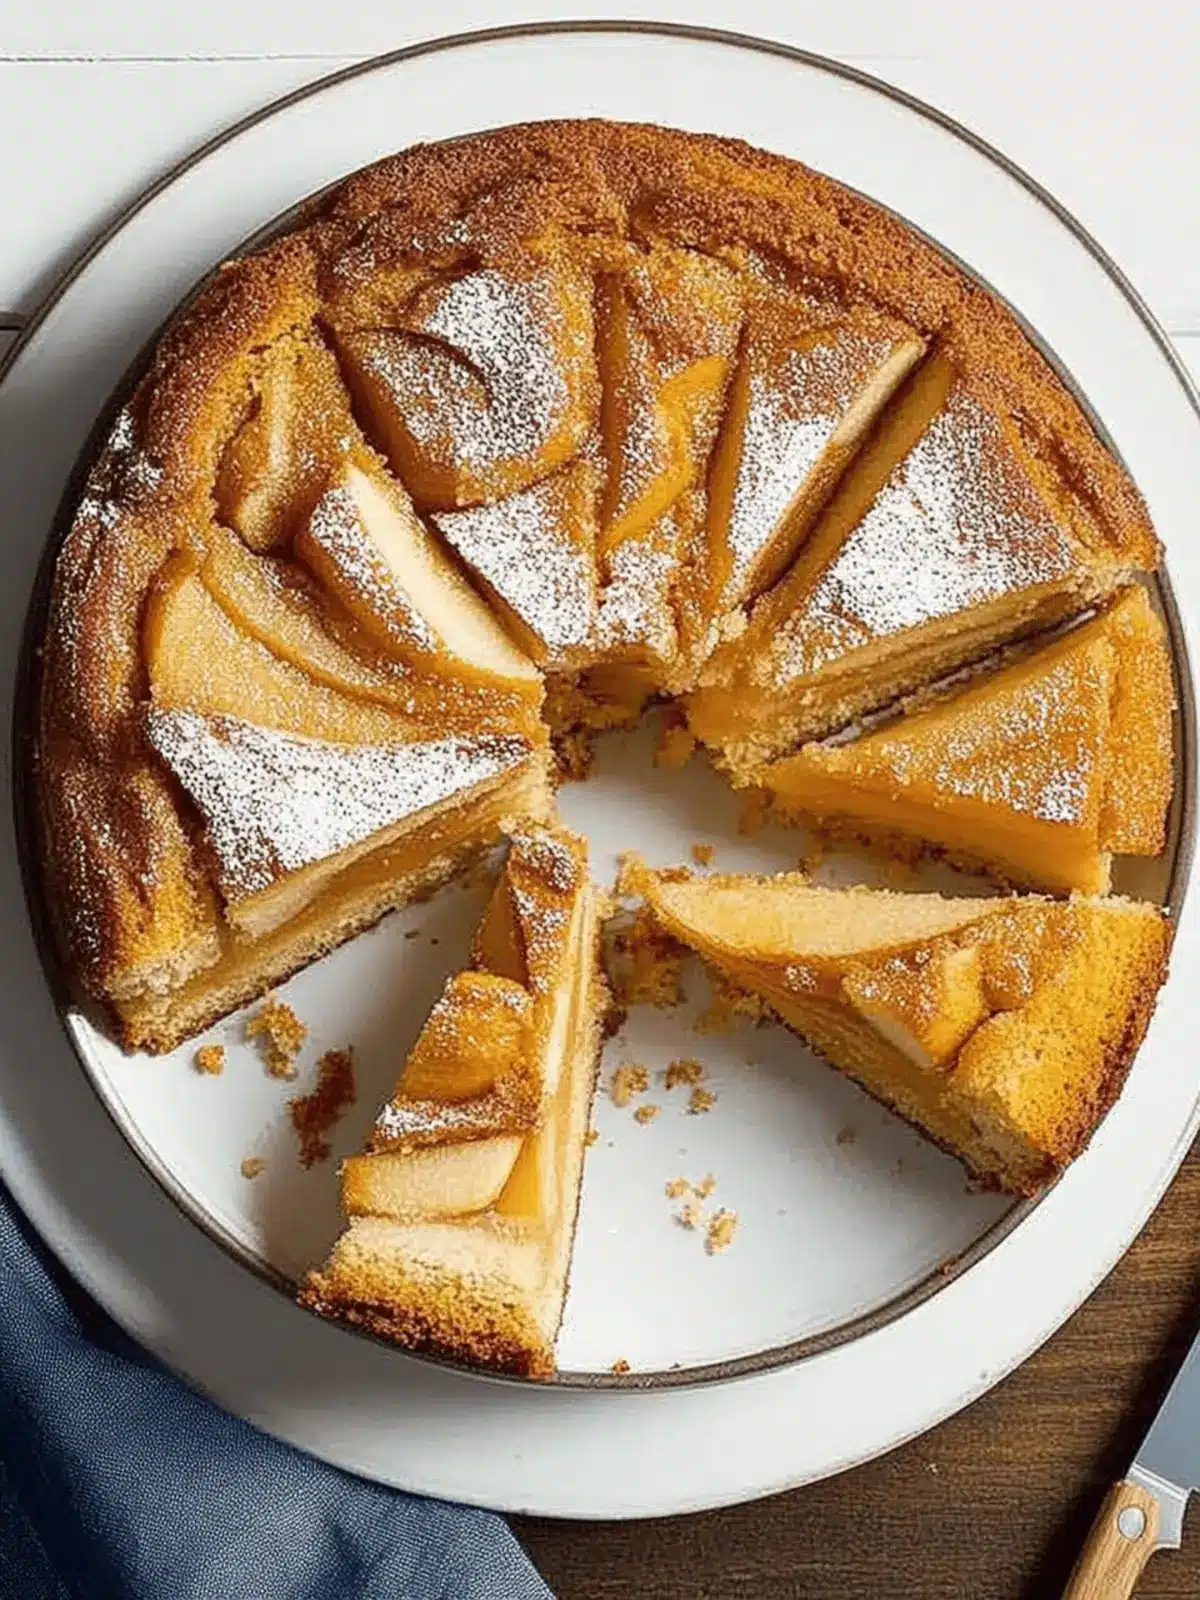
There’s a special kind of joy that fills the kitchen when you bake, and the smell of warm apples and cinnamon wafting through the air brings nostalgia rushing back. I first discovered this deeply satisfying Jewish Apple Cake while hosting a holiday gathering, and I haven’t looked back since. Its luscious layers of tart apples nestled in a dense, moist cake have made it a staple for celebrations like Rosh Hashanah and family dinners alike.
What I love about this cake is not just its rich flavor; it’s also incredibly easy to make and stays fresh for days—perfect for those busy weeks when you need a reliable go-to dessert. Plus, it’s dairy-free, making it suitable for a variety of dietary needs. Whether you serve it warm or at room temperature, this cake offers a delightful balance of sweetness and spice that everyone will adore.
Join me as we dive into the steps that make this traditional treat not just a delicious dessert, but a heartwarming centerpiece for your table. Let’s bring a little sweetness into your home with this delightful Jewish Apple Cake!
Why is Jewish Apple Cake so special?
Nostalgic aromas: The delightful scent of baking apples and cinnamon evokes memories of family gatherings and holiday celebrations.
Easy to prepare: This simple recipe requires no advanced baking skills, making it accessible for everyone.
Versatile dessert: Enjoy it warm or at room temperature; it pairs beautifully with vanilla ice cream for a delicious treat.
Dairy-free delight: Perfect for those with dietary restrictions, this cake ensures everyone can indulge without worry.
Keeps well: This cake tastes even better the next day, making it an ideal choice for meal prep or gatherings.
Crowd-pleaser: With its rich flavor and comforting texture, this cake is sure to impress your family and friends!
Jewish Apple Cake Ingredients
For the Batter
- All-purpose flour – Provides structure and stability; no direct substitutions are advised for best results.
- Sugar (2-1/4 cups total) – Adds sweetness and helps to create a moist texture; adjust sweetness based on preference.
- Baking powder – A leavening agent to help the cake rise; ensure it’s fresh for the best results.
- Salt – Enhances flavor; essential for balancing sweetness.
- Eggs – Bind ingredients and add moisture; substitute with flax eggs for a vegan version (1 flax egg = 1 tbsp flaxseed meal + 2.5 tbsp water).
- Canola oil – Provides moisture and a tender crumb; other oils like vegetable or sunflower can be used.
- Orange juice – Adds natural sweetness and acidity, enhancing flavor; substitute with apple cider for a different note.
- Vanilla extract – Introduces a depth of flavor; use pure extract for the best taste.
For the Apples
- Tart apples (4 medium, peeled and thinly sliced) – The main flavor and texture component; recommended varieties include Gravenstein, Rome Beauty, or Northern Spy for tartness that balances sweetness.
- Ground cinnamon – Adds warmth and spice; can increase amount for a more robust flavor.
For Finishing Touches
- Confectioners’ sugar – For dusting before serving; optional but recommended for presentation.
This Jewish Apple Cake is a true delight for any gathering and is sure to impress your guests with its warmth and flavor!
How to Make Jewish Apple Cake
-
Preheat Oven: Start by preheating your oven to 350°F. This ensures your cake bakes evenly and develops a beautiful golden crust.
-
Mix Dry Ingredients: In a large bowl, whisk together the all-purpose flour, 2 cups of sugar, baking powder, and salt. This blends the flavors and helps the batter rise properly.
-
Combine Wet Ingredients: In another bowl, whisk the eggs, canola oil, orange juice, and vanilla extract until well combined. Slowly introduce this mixture to the dry ingredients, stirring until just mixed.
-
Prepare Apples: In a separate bowl, toss your thinly sliced tart apples with ground cinnamon and the remaining 1/4 cup sugar. This step distributes sweetness and spice evenly among the apples.
-
Layering: Grease a 10-inch tube or Bundt pan to prevent sticking. Start by spooning a third of the batter into the pan, followed by half the apple mixture. Repeat with another third of the batter, the second half of the apples, and finish with the remaining batter on top.
-
Bake: Place the pan in the oven and bake for 55-65 minutes. Keep an eye on it; it’s ready when a toothpick inserted in the center comes out clean.
-
Cooling: Allow the cake to cool in the pan for 15 minutes. Carefully invert it onto a wire rack, and dust with confectioners’ sugar once completely cool for a lovely finishing touch.
Optional: For a delightful twist, serve with a scoop of vanilla ice cream!
Exact quantities are listed in the recipe card below.
Storage Tips for Jewish Apple Cake
-
Room Temperature: Keep the cake stored in an airtight container at room temperature for up to 3 days to maintain its moist texture and flavors.
-
Fridge: If you prefer, you can refrigerate it in an airtight container for up to 5 days; note that this may slightly change the texture.
-
Freezer: For longer storage, wrap the cake tightly in plastic wrap and then in aluminum foil; it can be frozen for up to 2 months. Thaw overnight in the fridge or at room temperature before serving.
-
Reheating: To enjoy a warm slice of Jewish Apple Cake, simply reheat in the oven at 350°F for about 10-15 minutes, or microwave briefly for a cozy dessert experience.
Tips for the Best Jewish Apple Cake
-
Fresh Ingredients: Use fresh baking powder and ripe tart apples to ensure your Jewish Apple Cake rises beautifully and has a delightful flavor.
-
Don’t Overmix: Gently fold wet and dry ingredients together; overmixing can lead to a dense cake rather than the light texture you want.
-
Layering Technique: Layer apples generously between the batter to create a balanced distribution of tender apples throughout the cake.
-
Check for Doneness: Insert a toothpick around the 55-minute mark. If it comes out clean, your cake is ready. Overbaking can dry it out.
-
Cool Properly: Let the cake rest in the pan for 15 minutes before flipping. This allows it to set and helps prevent breakage.
-
Storage Tips: Store cake in an airtight container at room temperature to keep it moist. Flavors enhance after a day, making leftovers taste even better!
Make Ahead Options
Preparing this luscious Jewish Apple Cake ahead of time is a fantastic way to save yourself stress during busy weekdays or festivities! You can mix the batter and slice the apples up to 24 hours in advance; simply toss the apples with cinnamon and sugar, cover them tightly, and refrigerate to prevent browning. When you’re ready to bake, combine the prepped ingredients and layer them in the pan before popping it into the oven. This cake actually tastes even better the next day, making it ideal for meal prep. To maintain the best quality, store any leftovers in an airtight container at room temperature for up to three days. Enjoy the deliciously rewarding results with minimal effort!
Jewish Apple Cake Variations
Feel free to get creative and tailor this delightful dessert to match your taste and dietary needs!
-
Nutty Crunch: Add 1 cup of chopped walnuts or pecans to the apple layer for a delightful texture and flavor boost.
-
Raisin Surprise: Incorporate 1 cup of golden raisins in with the apple mixture; they’ll plump up and add a sweet burst in every bite.
-
Vegan Delight: Replace the eggs with a flax egg (1 tbsp flaxseed meal + 2.5 tbsp water) for a fluffy, dairy-free version that everyone can enjoy.
-
Spiced Twist: Introduce a teaspoon of nutmeg or cardamom into the batter to deepen the spice profile and elevate the cake’s warmth.
-
Caramel Drizzle: Drizzle warm caramel sauce over the cooled cake for an indulgent finish that complements the tart apples beautifully.
-
Coconut Infusion: Use coconut oil instead of canola for a subtle tropical hint, pairing perfectly with the warm spices.
-
Citrus Burst: Swap orange juice with fresh lemon juice or zest to give the cake a bright, tangy twist that contrasts the sweetness.
-
Gluten-Free Option: Substitute all-purpose flour with a gluten-free flour blend for a cake that can be enjoyed by those with gluten sensitivities.
These variations will allow your Jewish Apple Cake to become a personalized treat that aligns perfectly with your tastes!
What to Serve with Jewish Apple Cake?
Pair this delightful dessert with a few complementary dishes for a complete culinary experience that everyone will savor.
-
Vanilla Ice Cream: Adds a creamy richness that perfectly contrasts the warm, spiced flavors of the cake, making every bite heavenly.
-
Whipped Cream: Lightens the overall richness and enhances the dessert aspect, perfect for a celebratory touch on top of a slice.
-
Hot Tea or Coffee: The warmth of a cozy drink enhances the cake’s flavors, creating a perfect pairing for those cool evenings spent together.
-
Cinnamon Sugar Dusting: A sprinkle of cinnamon sugar on top not only elevates the flavor but adds a delightful rustic appearance to your dessert.
-
Chopped Nuts: Toasted walnuts or almonds add a nice crunch that complements the soft, tender apples, providing a lovely textural contrast.
-
Fresh Fruit Salad: A refreshing side with a mix of berries and citrus can balance the sweetness of the cake and lighten your dessert table.
-
Caramel Sauce: Drizzling a bit of warm caramel over your slice adds an indulgent touch, enhancing the cake’s flavor profile beautifully.
Creating a full-meal experience around your Jewish Apple Cake means delightful textures, flavors, and shared enjoyment around your table!
Jewish Apple Cake Recipe FAQs
How do I know if my apples are ripe enough for this cake?
Absolutely! Look for apples that are firm and free from dark spots or bruises. Tart varieties like Gravenstein, Rome Beauty, or Northern Spy work best. If they have a slight give when squeezed, they’re just about perfect.
What’s the best way to store leftovers of Jewish Apple Cake?
I recommend keeping your cake in an airtight container at room temperature for up to 3 days to maintain its moisture. If you want to store it longer, wrap it tightly in plastic wrap and then in aluminum foil, popping it in the freezer where it can last up to 2 months. Just remember to thaw it at room temperature!
Can I freeze Jewish Apple Cake? If so, how?
Very much! To freeze, ensure the cake is completely cooled, then wrap it tightly in plastic wrap followed by aluminum foil. This helps avoid freezer burn. When you’re ready to enjoy, simply thaw it overnight in the fridge or at room temperature for a cozy dessert experience.
What should I do if my cake didn’t rise properly?
This happens sometimes, but don’t worry! To troubleshoot, first, check if your baking powder is fresh; it should be bubbly when mixed with water. If your cake still didn’t rise, it could be due to overmixing the batter. Remember, gently combining the wet and dry ingredients is key for a light cake!
Is this Jewish Apple Cake suitable for those with allergies?
You can modify this recipe to fit various dietary needs! For those avoiding dairy, this cake is already dairy-free. If gluten is an issue, you can experiment with a gluten-free flour blend, keeping in mind that results may vary slightly. For egg allergies, you can substitute eggs with flax eggs—1 flax egg equals 1 tablespoon of flaxseed meal mixed with 2.5 tablespoons of water.
Can I make variations to this Jewish Apple Cake recipe?
Certainly! Feel free to add ½ cup of chopped walnuts or raisins for added texture. If you’re up for an adventure, sprinkle in a dash of nutmeg or cardamom alongside the cinnamon for a flavorful twist. The more, the merrier!
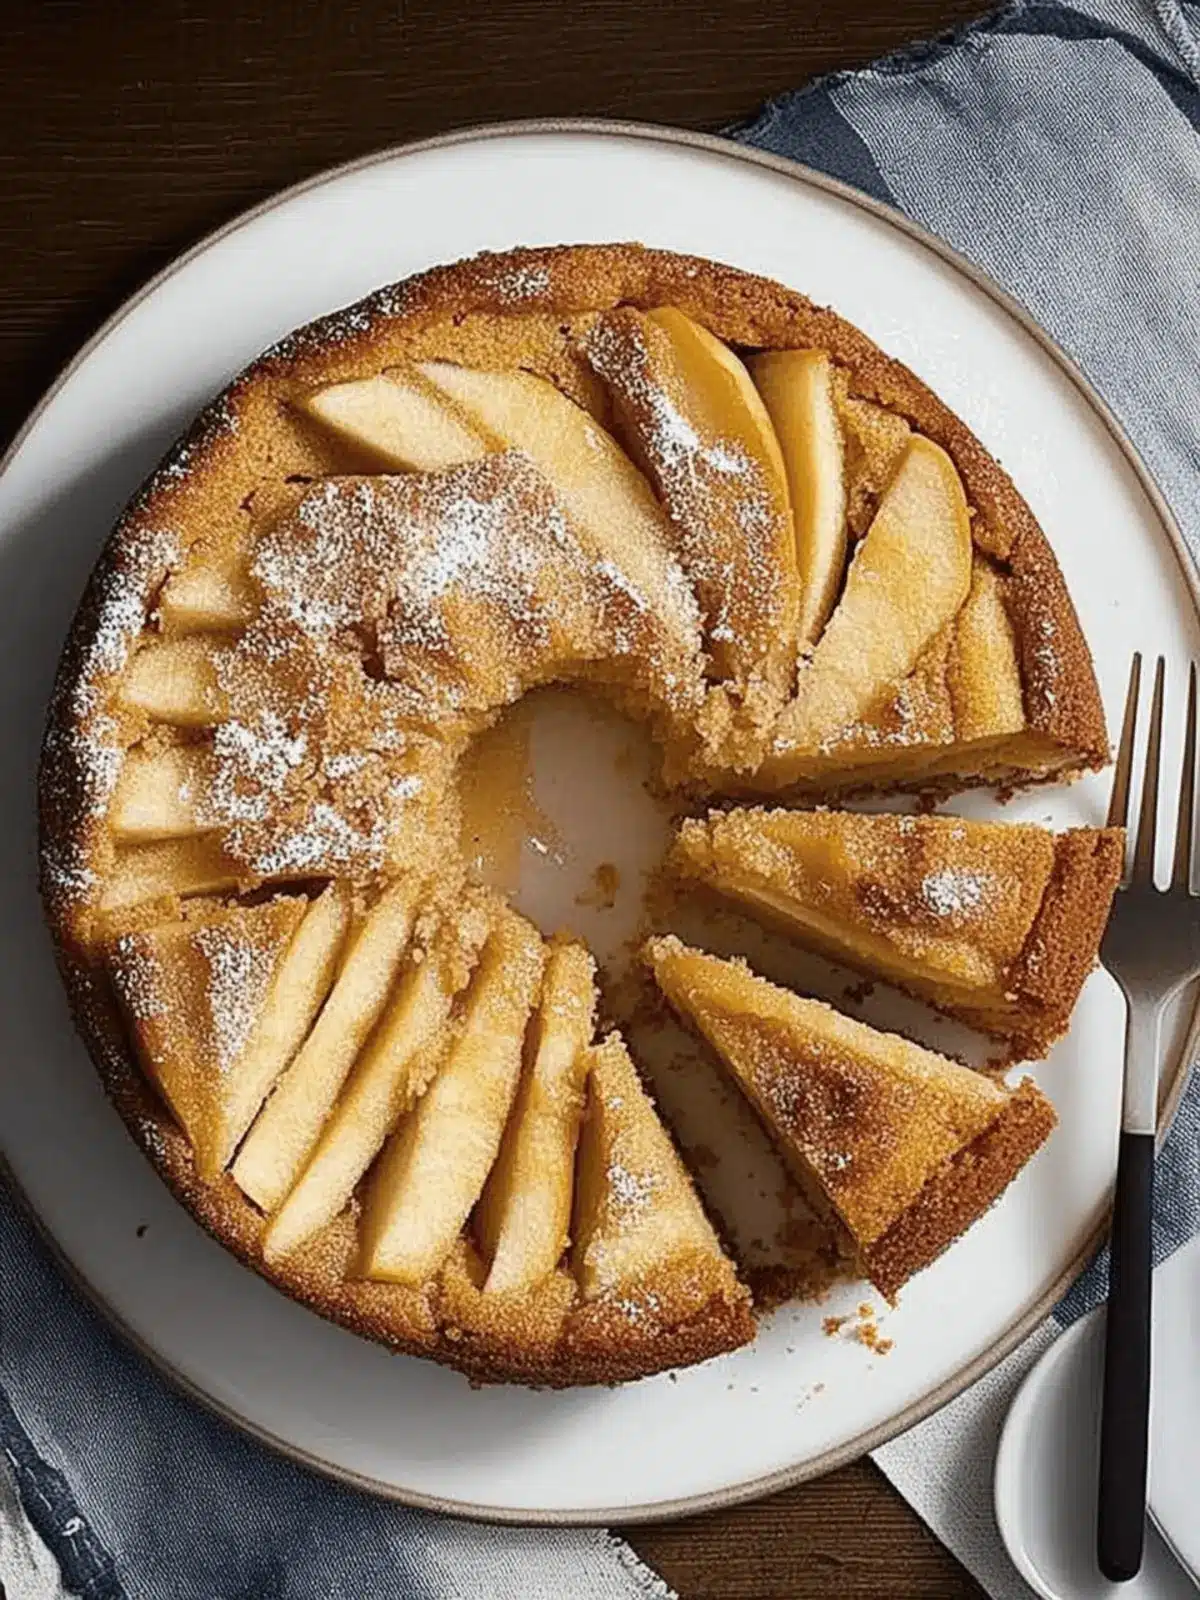
Delicious Jewish Apple Cake for Your Next Celebration
Ingredients
Equipment
Method
- Preheat your oven to 350°F. This ensures your cake bakes evenly and develops a beautiful golden crust.
- In a large bowl, whisk together the all-purpose flour, 2 cups of sugar, baking powder, and salt.
- In another bowl, whisk the eggs, canola oil, orange juice, and vanilla extract until well combined. Slowly introduce this mixture to the dry ingredients, stirring until just mixed.
- In a separate bowl, toss your thinly sliced tart apples with ground cinnamon and the remaining 1/4 cup sugar.
- Grease a 10-inch tube or Bundt pan. Start by spooning a third of the batter into the pan, followed by half the apple mixture. Repeat with another third of the batter, the second half of the apples, and finish with the remaining batter on top.
- Place the pan in the oven and bake for 55-65 minutes. Check with a toothpick inserted in the center; it's ready when it comes out clean.
- Allow the cake to cool in the pan for 15 minutes. Carefully invert it onto a wire rack, and dust with confectioners' sugar once completely cool.
