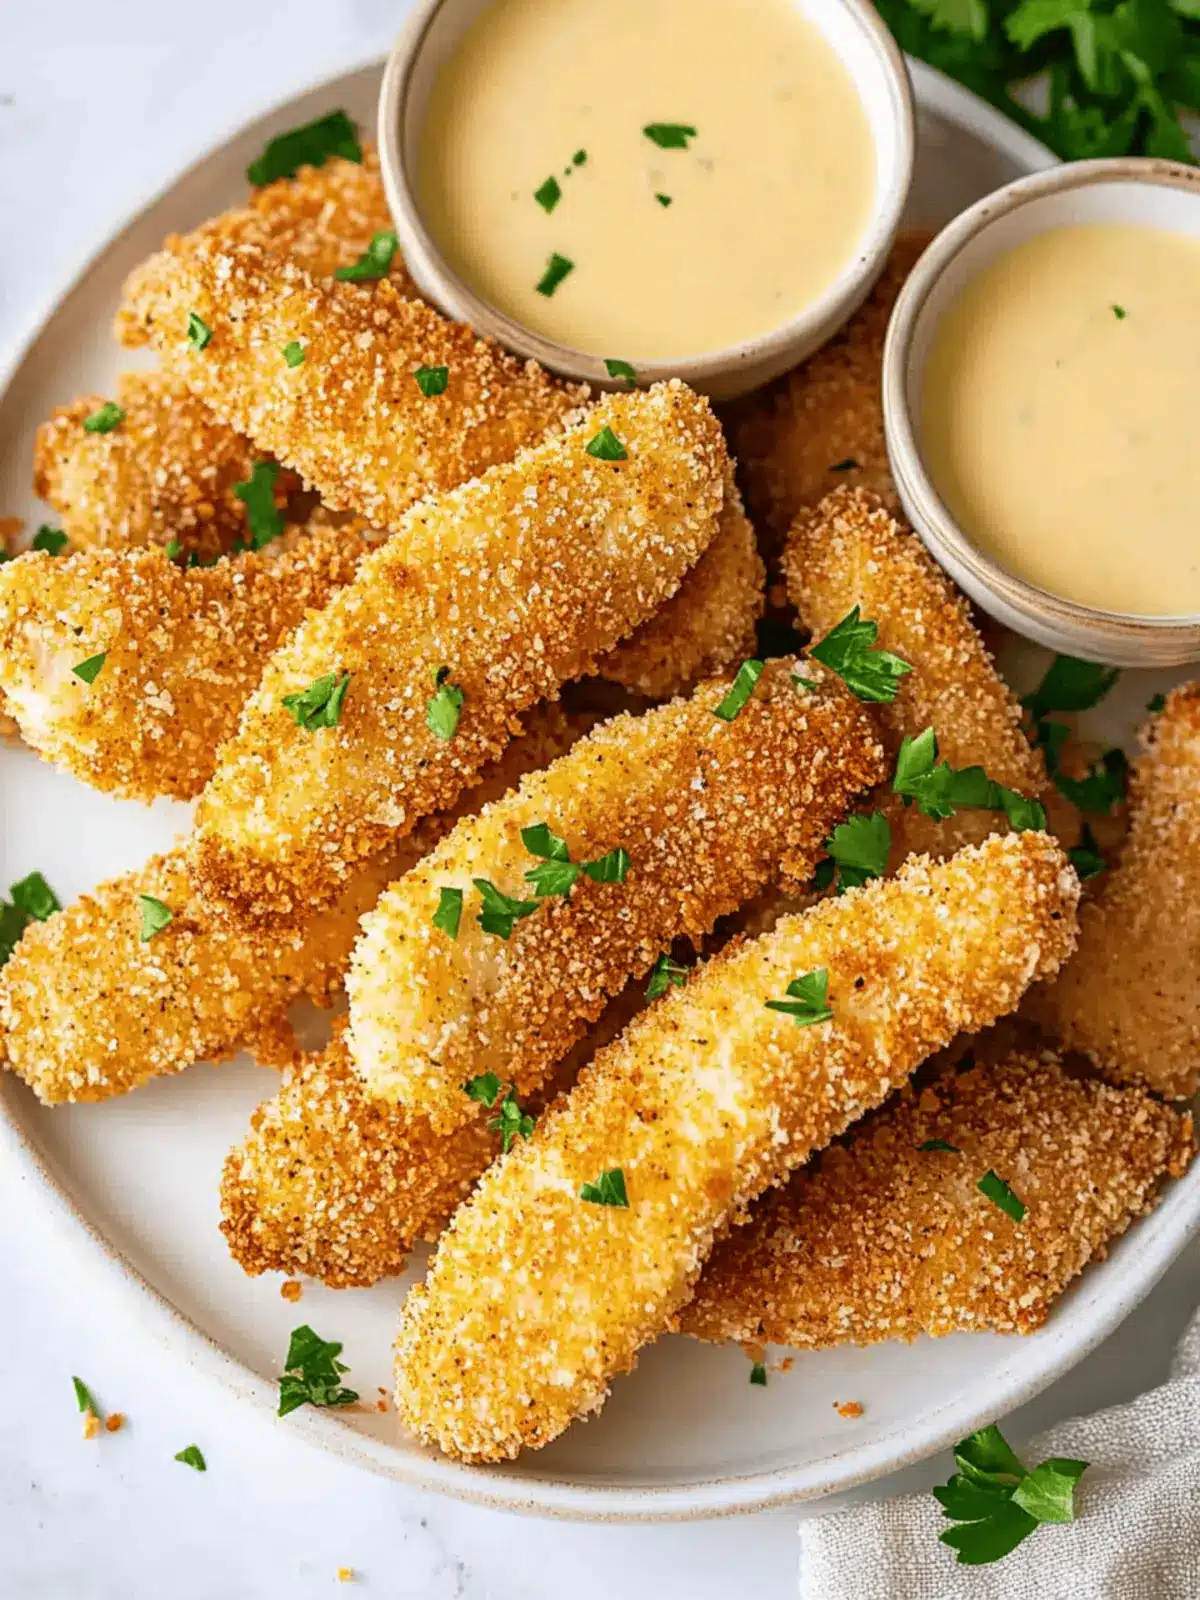
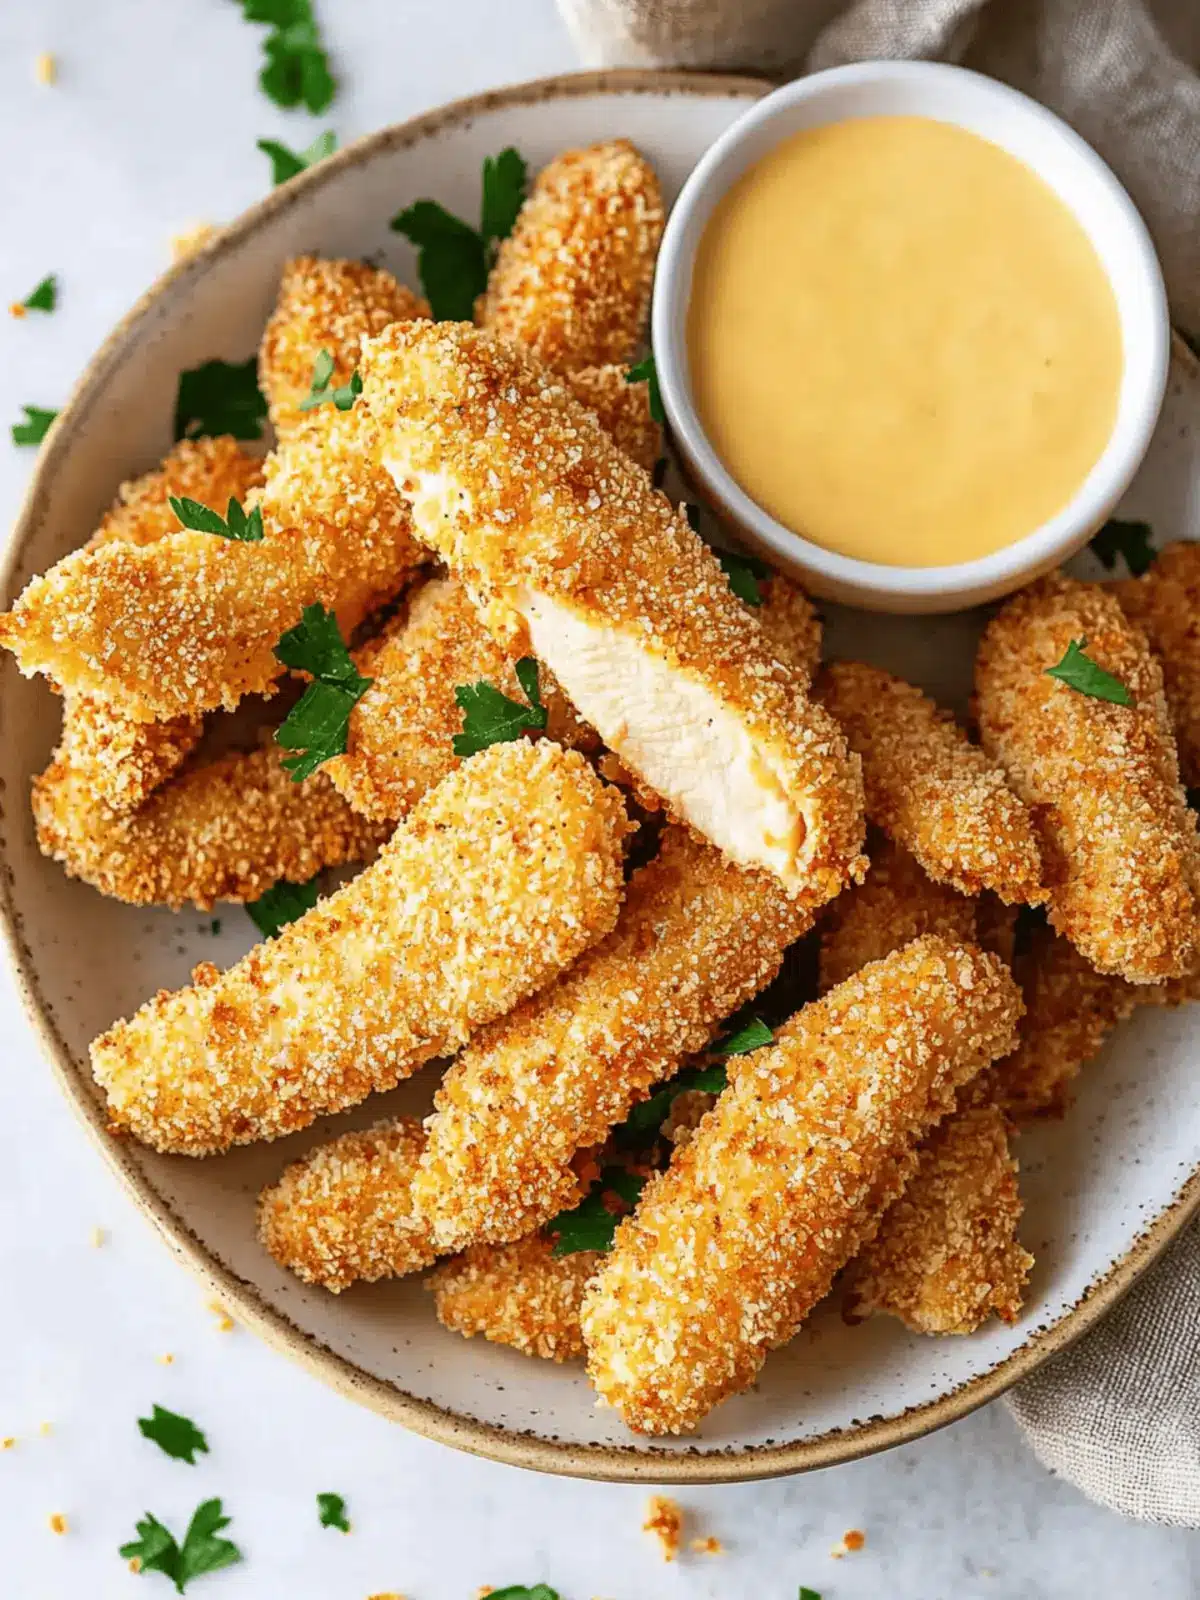
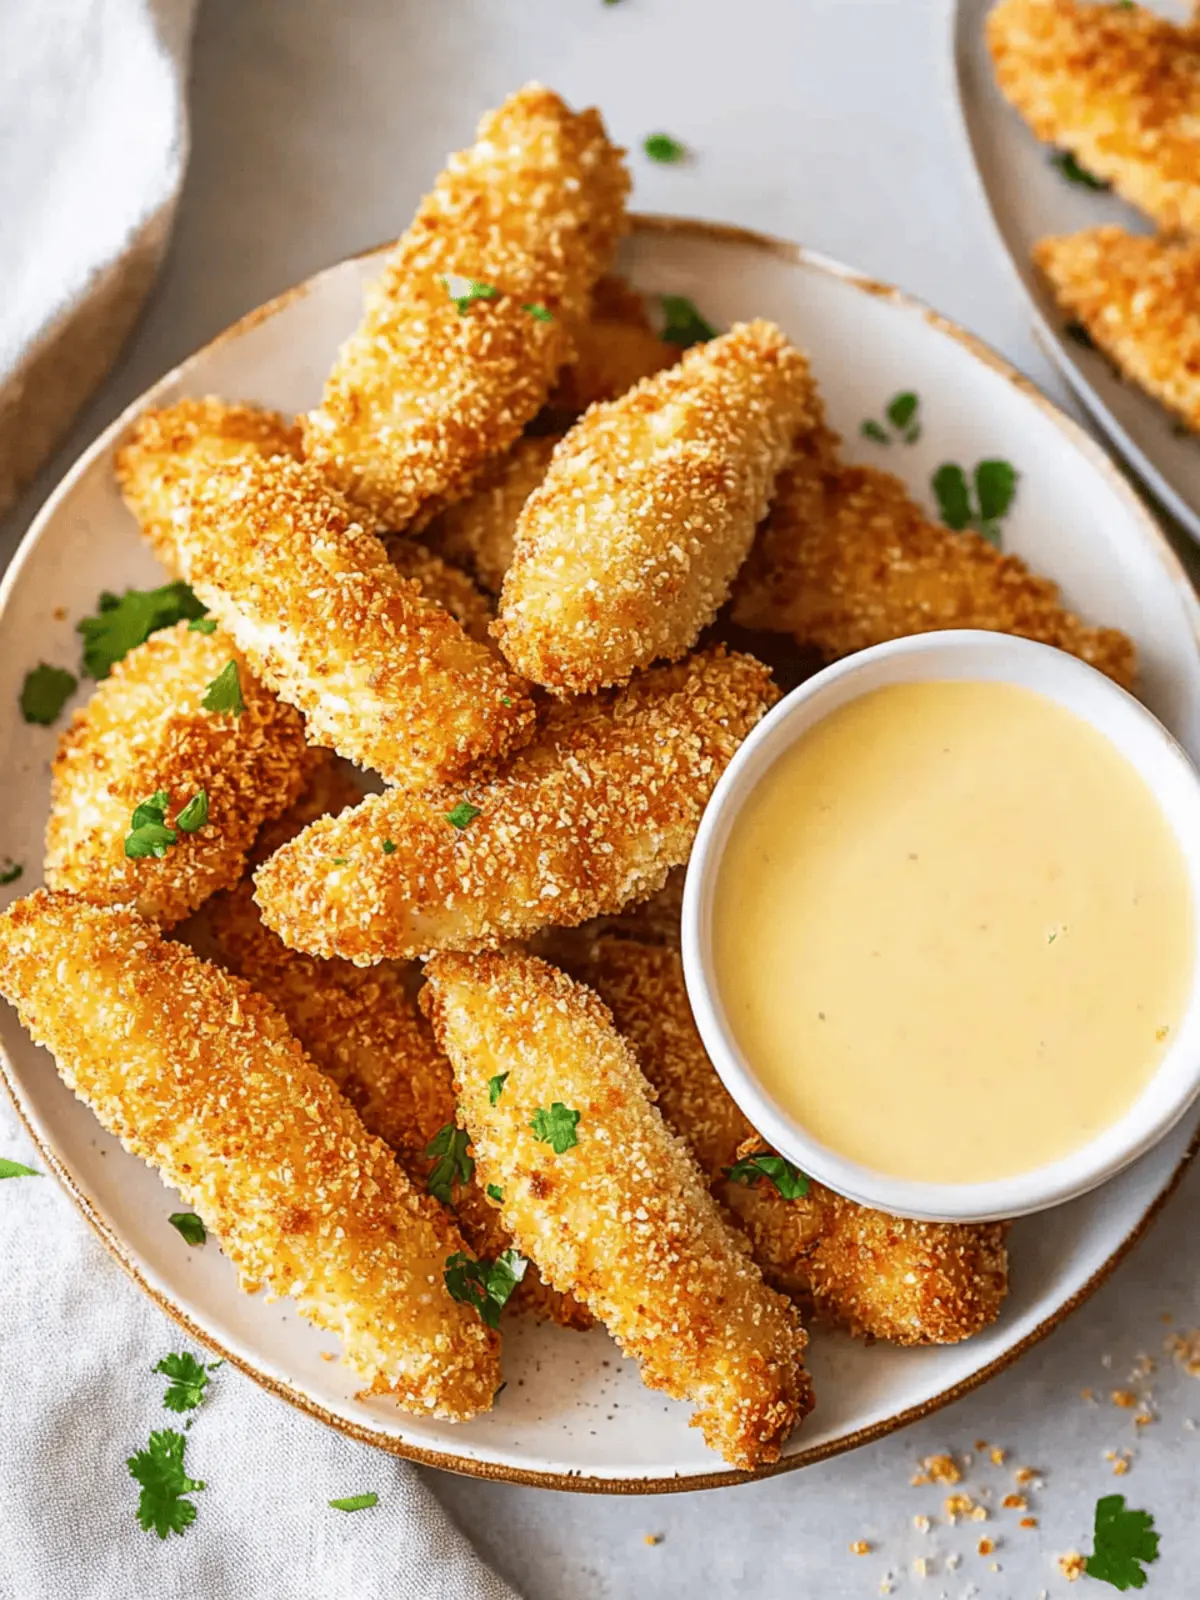
The kitchen was filled with the mouthwatering aroma of spices and golden crunch, hinting at the deliciousness unfolding inside the oven. That’s when I decided it was time to bid farewell to greasy takeout and whip up a batch of my own crispy baked chicken tenders. Perfectly seasoned and incredibly easy to make, these tenders are not just a hit with the family; they also satisfy my craving for something nutritious without sacrificing flavor.
There’s something so satisfying about crafting a meal from scratch, especially one that yields a satisfying crunch with every bite. Whether you’re serving them up for dinner, a casual get-together, or simply indulging on movie night, you can customize these tenders to suit your taste buds or dietary needs. Plus, they’re a healthier alternative to fried! Grab your apron, and let’s dive into this crowd-pleasing recipe that will even make the pickiest eaters ask for seconds.
Why Choose Crispy Baked Chicken Tenders?
Flavorful Crunch: These tenders provide a satisfyingly crisp exterior and juicy interior, capturing the essence of traditional fried chicken in a healthier form.
Family-Friendly: Everyone from kids to adults will love the taste, making it a win-win for family dinners or gatherings.
Versatile Dipping: Pair these tenders with a variety of dipping sauces, ensuring everyone finds their perfect match.
Quick & Simple: This recipe comes together in no time, allowing you to whip up a delicious meal even on the busiest nights.
Health-Conscious: Oven baking cuts down on unnecessary fats, giving you a guilt-free way to enjoy this classic dish.
Diet Adaptable: Easily customize for gluten-free diets or incorporate flavorful marinades for an extra kick!
Crispy Baked Chicken Tenders Ingredients
For the Coating
• All-Purpose Flour – Provides structure; whole wheat flour is a healthier substitute.
• Large Eggs – Binds the coating ingredients together; no substitutions for the best results.
• Water – Thins out the egg mixture for easier dipping without any substitutes needed.
• Paprika – Adds a delicious flavor and vibrant color; smoked paprika offers a delightful twist.
• Garlic Powder – Gives a savory depth; feel free to use fresh garlic for a different experience.
• Onion Powder – Enhances sweetness and aroma; can be omitted based on personal preference.
• Salt – Elevates overall flavor; adjust according to dietary needs.
• Black Pepper – Adds a touch of heat; omit for a milder option.
• Panko Bread Crumbs – Creates that irresistible crispy texture; gluten-free versions are available.
For the Chicken
• Chicken Tenders – The star protein; juicy and tender. Chicken breasts can be cut into strips as an alternative.
How to Make Crispy Baked Chicken Tenders
-
Preheat the oven to 425°F (220°C). Grab a baking sheet and prepare it with a wire rack or spray it lightly with cooking spray to ensure those tenders come out crispy.
-
Set up three shallow dishes. Fill the first with flour, then in the second, whisk together the eggs with a splash of water and your spices. Finally, place the panko breadcrumbs in the third dish, ready for coating those tenders.
-
Coat each chicken tender. Start by dipping it into the flour, then into the egg mixture, and finally into the panko, ensuring every inch of chicken gets evenly coated.
-
Arrange the coated tenders on the prepared baking sheet or rack. This helps air circulate around each tender, maximizing that crispy goodness.
-
Bake for 16-18 minutes or until they reach an internal temperature of 165°F and are golden brown. If you want extra crunch, broil for an additional minute or two—just keep an eye on them!
Optional: Serve with your favorite dipping sauces for an extra flavor boost.
Exact quantities are listed in the recipe card below.
Crispy Baked Chicken Tenders Variations
Feel free to elevate this dish with your own creative twists and flavors!
- Gluten-Free: Use almond flour or gluten-free breadcrumbs to make this recipe friendly for gluten-sensitive family members.
- Marinated: Soak the chicken tenders in buttermilk for a few hours beforehand for extra juiciness and flavor. The tangy buttermilk also helps the breadcrumbs stick well!
- Spicy Kick: Add cayenne pepper or hot sauce to the egg mixture for a fiery version that’ll ignite your taste buds. A little heat goes a long way!
- Herb-Infused: Incorporate fresh herbs like thyme, oregano, or rosemary into the breadcrumbs to add an aromatic flair to your tenders. This will bring the delicious aroma of a backyard barbecue right into your kitchen!
- Cheesy Crunch: Mix grated Parmesan or cheddar into the panko for a cheesy, savory bite that complements the chicken perfectly. Melty cheese and crispy breading? Yes, please!
- Asian Twist: Substitute the spices with sesame seeds and a dash of soy sauce in the egg wash, giving your tenders an irresistible flavor inspired by your favorite Asian dishes.
- Coconut Delight: Use shredded coconut mixed into the panko for a tropical twist that’s not only crispy but also adds a hint of sweetness. It’s like a mini-vacation in every bite!
- BBQ Flavor: Coat the chicken in your favorite BBQ sauce before adding the breadcrumbs for a sweet and smoky version that will have your family clamoring for more.
Make Ahead Options
These Crispy Baked Chicken Tenders are perfect for meal prep, making busy weeknights a breeze! You can coat the chicken tenders up to 24 hours in advance and store them in the refrigerator (this helps meld the flavors and maintain moisture). To do so, follow the coating instructions and arrange the coated tenders in a single layer on a baking sheet, covering them tightly with plastic wrap. When you’re ready to enjoy, simply bake them directly from the fridge, adding an extra minute to cook time if needed. This way, you get all the crunchy goodness with minimal effort, making family dinners or gatherings both delicious and stress-free!
How to Store and Freeze Crispy Baked Chicken Tenders
-
Room Temperature: Enjoy your crispy baked chicken tenders fresh for up to 2 hours after cooking; refrigerating them promptly helps maintain their quality.
-
Fridge: Store leftovers in an airtight container for up to 3 days. For best results, reheat in the oven to regain that crispy texture.
-
Freezer: Freeze in a single layer on a baking sheet for 1-2 hours before transferring to an airtight container. They can be stored for up to 3 months.
-
Reheating: To reheat frozen tenders, do not thaw them. Bake at 375°F until heated through, about 20-25 minutes, ensuring they stay crispy.
What to Serve with Crispy Baked Chicken Tenders?
Transform your dinner into a delightful feast with these satisfying pairings that complement the tender, flavorful crunch of your chicken.
-
Crispy Baked Fries: Perfectly seasoned and golden, these fries mirror the crunch of the tenders, adding a comforting side for the ultimate indulgence.
-
Zesty Coleslaw: Fresh and tangy, coleslaw adds a refreshing crunch and brightness that balances out the richness of the chicken tenders.
-
Honey Mustard Dip: With its sweet and savory taste, this dip enhances your chicken and pairs beautifully for a delightful flavor boost in every bite.
-
Garlic Roasted Broccoli: Tender and slightly charred, roasted broccoli adds vibrant color and nutrition to your plate, creating a lovely contrast to the crispy tenders.
-
Classic Caesar Salad: Crisp romaine, crunchy croutons, and creamy dressing create a satisfying side that enhances the heartiness of the tenders while adding freshness.
-
Sweet Potato Wedges: These naturally sweet, oven-roasted wedges provide a unique flavor profile and a healthier alternative to traditional fries, pairing wonderfully with chicken.
-
Refreshing Lemonade: A chilled glass of lemonade offers a zesty and thirst-quenching complement that pairs beautifully with the savory taste of your chicken tenders.
Expert Tips for Crispy Baked Chicken Tenders
-
Coating Consistency: Ensure all chicken tenders are fully coated in flour, egg, and panko to avoid dry patches and guarantee even crispness.
-
Baking Sheet Setup: If not using a wire rack, flip the tenders halfway through baking. This helps them get evenly crispy on both sides.
-
Avoid Overcrowding: Space out the tenders on the baking sheet. Overcrowding can trap steam, making it difficult to achieve that desired crispy texture.
-
Fresh Ingredients: Use fresh spices for the breading for the best flavor. Stale spices can lead to a lackluster taste in your crispy baked chicken tenders.
-
Proper Storage: Store leftover tenders properly in an airtight container. Reheat in the oven at 375°F to maintain their crunchiness, rather than using a microwave.
Crispy Baked Chicken Tenders Recipe FAQs
How do I choose the best chicken tenders?
Absolutely! Look for fresh chicken tenders that are pink in color with no dark spots. They should feel firm to the touch and have no unpleasant odor. If using whole chicken breasts, select ones that have a smooth texture and are free from any bruises.
How should I store leftover crispy baked chicken tenders?
For optimal freshness, place leftover tenders in an airtight container and store them in the refrigerator for up to 3 days. When you’re ready to enjoy them again, reheat in the oven at 375°F (190°C) for 10-15 minutes until heated through and crispy again.
Can I freeze crispy baked chicken tenders?
Yes, you can! To freeze, lay the tenders out in a single layer on a baking sheet and place them in the freezer for 1-2 hours until solid. Then transfer them to an airtight container or freezer bag, where they’ll stay good for up to 3 months. When reheating, bake from frozen at 375°F (190°C) for about 20-25 minutes.
What can I do if my chicken tenders aren’t getting crispy?
Very! If your tenders aren’t crispy, ensure they are properly coated with panko and spaced out on the baking sheet to allow air circulation. Baking on a wire rack will help keep them elevated and crispy all around. Also, make sure your oven is fully preheated to 425°F (220°C) before putting them in.
Are these tenders suitable for gluten-free diets?
Absolutely! You can easily make this recipe gluten-free by swapping out the all-purpose flour for a gluten-free flour blend and using gluten-free panko breadcrumbs. Double-check your chicken label to ensure it doesn’t contain any gluten-based additives – it’s always best to be cautious!
Can I use fresh garlic instead of garlic powder?
Yes, you can fresh garlic! However, using fresh garlic will change the texture of the coating slightly. To substitute, use 1 clove of finely minced garlic per teaspoon of garlic powder. Just make sure to mix it well into the egg mixture so the flavor evenly coats the chicken.
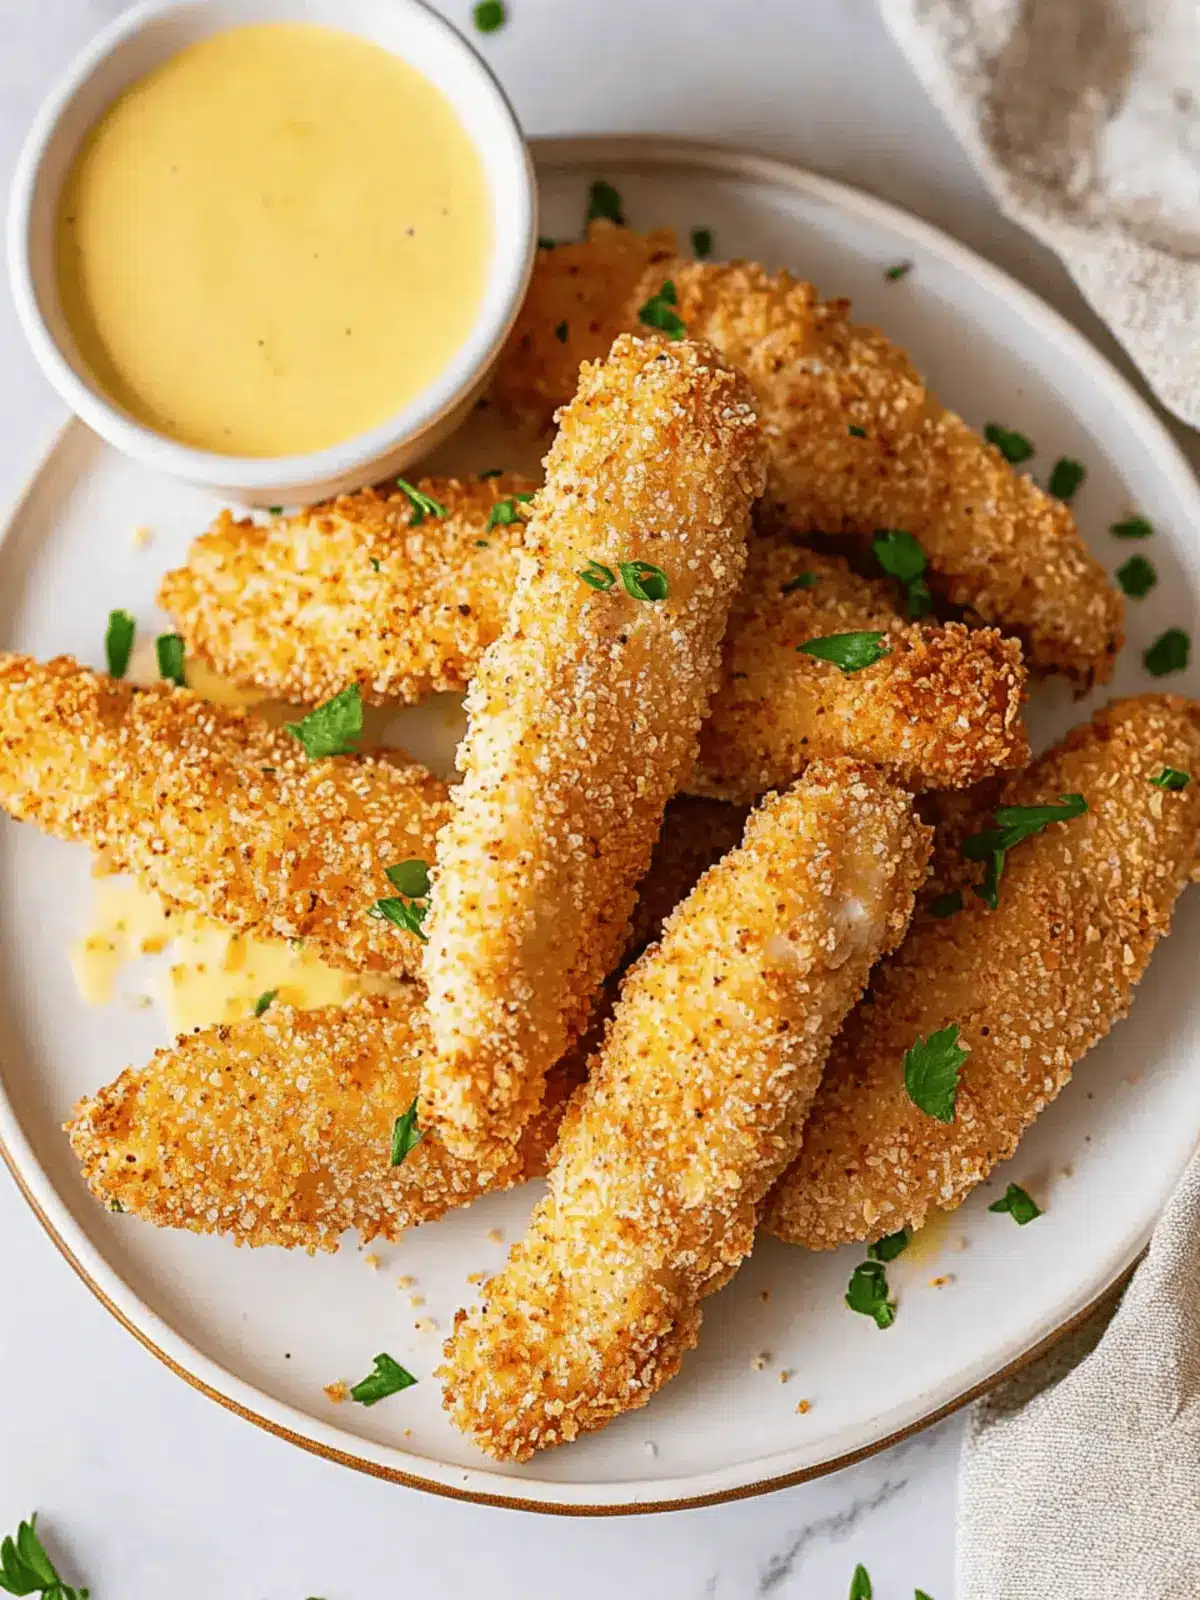
Crispy Baked Chicken Tenders Your New Family Favorite Dinner
Ingredients
Equipment
Method
- Preheat the oven to 425°F (220°C). Grab a baking sheet and prepare it with a wire rack or spray it lightly with cooking spray to ensure those tenders come out crispy.
- Set up three shallow dishes. Fill the first with flour, then in the second, whisk together the eggs with a splash of water and your spices. Finally, place the panko breadcrumbs in the third dish, ready for coating those tenders.
- Coat each chicken tender. Start by dipping it into the flour, then into the egg mixture, and finally into the panko, ensuring every inch of chicken gets evenly coated.
- Arrange the coated tenders on the prepared baking sheet or rack. This helps air circulate around each tender, maximizing that crispy goodness.
- Bake for 16-18 minutes or until they reach an internal temperature of 165°F and are golden brown. If you want extra crunch, broil for an additional minute or two—just keep an eye on them!
- Optional: Serve with your favorite dipping sauces for an extra flavor boost.

