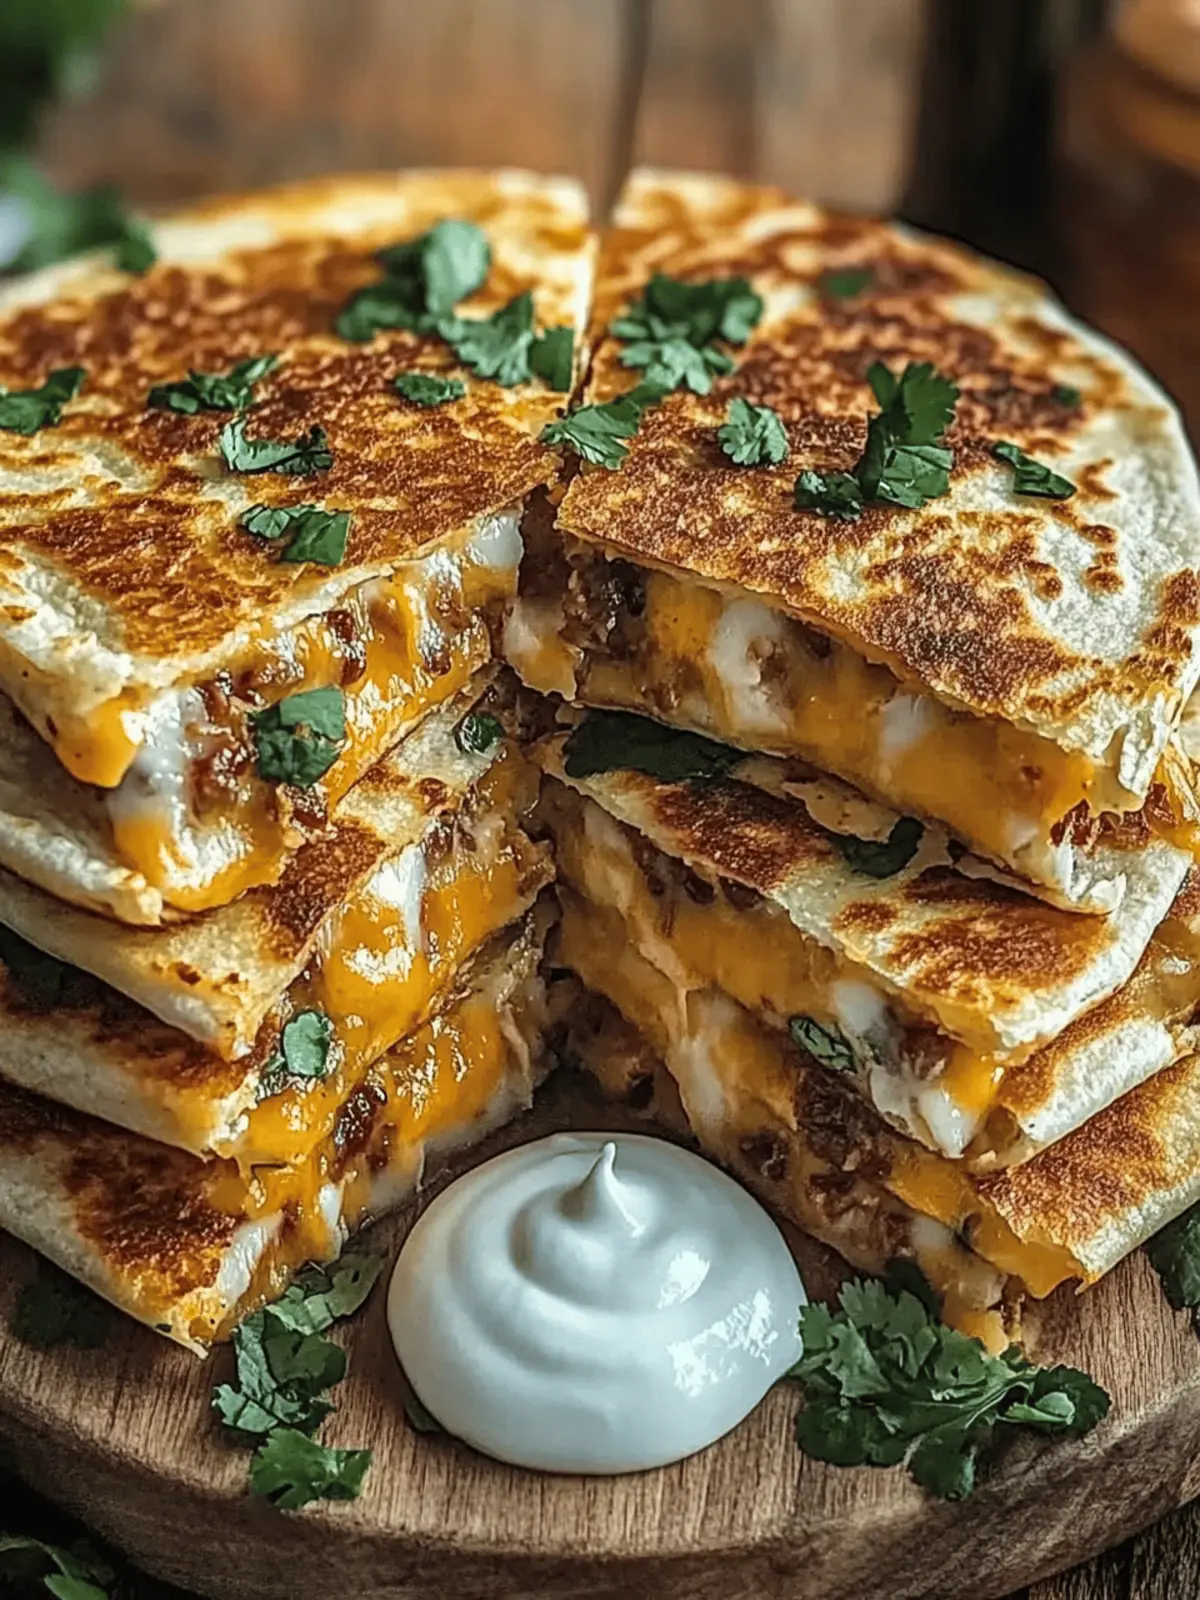
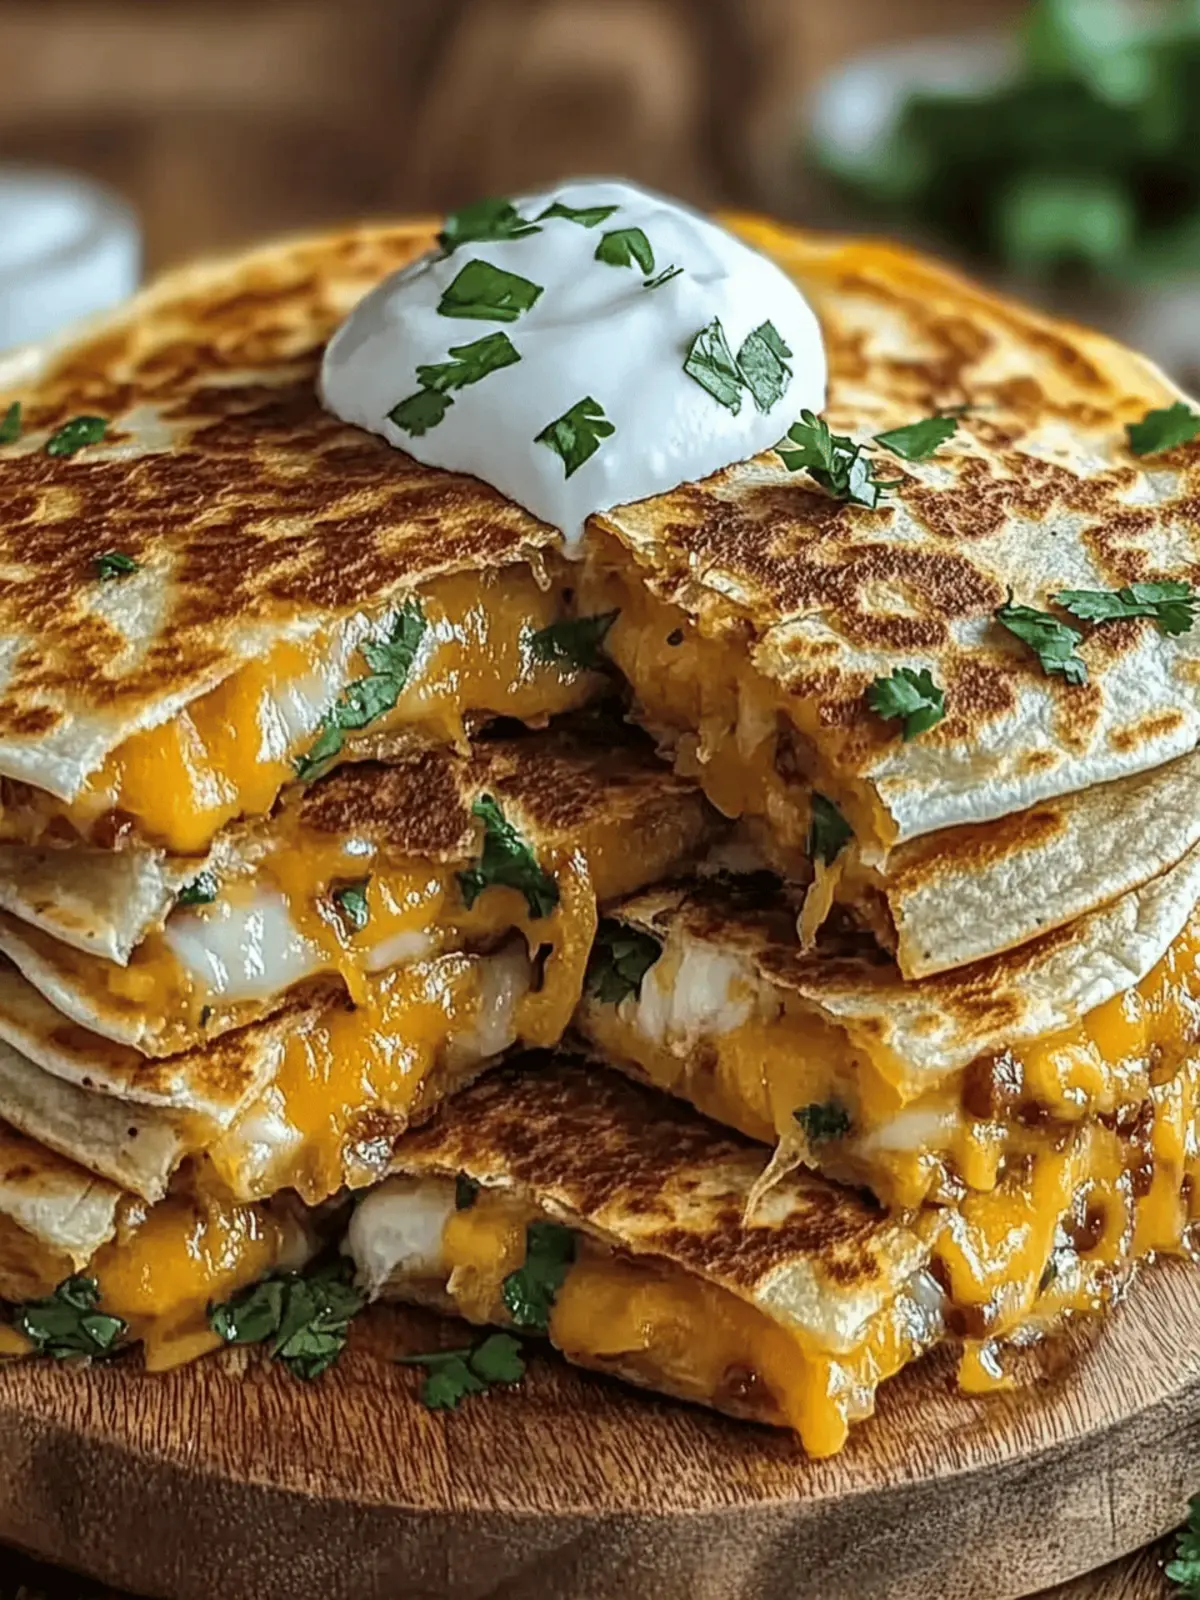
There’s nothing quite like the delightful crunch of a freshly made quesadilla to brighten your day. One afternoon, I found myself surrounded by a bounty of Hatch chiles—the vibrant green gems offering a tantalizing blend of smoky heat and sweet undertones. It was then that I decided to create something magical: Crispy Hatch Chili Quesadillas.
These are not just your ordinary quesadillas; they’re packed with gooey Monterey Jack and bold cheddar cheese, mingling harmoniously with the roasted chiles. Whether you’re looking to impress at your next gathering or need a simple yet satisfying snack, these quesadillas deliver on every front. Plus, they can easily adapt to accommodate different heat levels and dietary preferences. Trust me, with each crispy bite, you’ll be transported right to a cozy cocina. Ready to dive in? Let’s make some crispy goodness!
Why are Crispy Hatch Chili Quesadillas a Must-Try?
Irresistible Crunch: Each bite of these quesadillas offers a satisfying crunch paired with a gooey, cheesy interior.
Versatile Flavor: Customize the heat by choosing your favorite chiles, ensuring everyone gets exactly what they like.
Quick & Easy: Perfect for busy weeknights, these quesadillas come together in just a few simple steps.
Crowd-Pleasing Snack: Whether for a cozy family dinner or a lively party, these quesadillas are sure to impress your guests.
Comfort Food Delight: The combination of rich cheeses and roasted chiles creates a comforting dish that feels like a warm hug on a plate. Enjoy making these delightful treats today, and elevate your next meal with a dash of Mexico!
Crispy Hatch Chili Quesadillas Ingredients
• Get ready to create a cheesy delight!
For the Quesadilla
- Flour Tortillas – Choose medium-sized tortillas for the perfect crispy crust.
- Monterey Jack Cheese – Melts beautifully to create a gooey texture in every bite.
- Sharp Cheddar Cheese – Provides a rich flavor that harmonizes perfectly with the roasted chiles.
- Roasted Hatch Chiles – Key flavor component that adds a distinct smoky kick; fresh or canned works great.
- Green Onions – Adds a refreshing crunch and brightness to balance the richness.
- Garlic Powder – Infuses a warm, aromatic flavor that elevates the dish.
- Cumin – Introduces an earthy undertone, enhancing the overall taste profile.
- Salt and Pepper – Essential for seasoning to bring out all the flavors.
- Olive Oil – Use for frying; opt for oils with high smoke points for best results.
Now that you have everything, get ready to indulge in these amazing crispy Hatch chili quesadillas!
How to Make Crispy Hatch Chili Quesadillas
-
Prepare the Filling: Roast the Hatch chiles over an open flame or in the broiler until their skins are charred. Once done, place them in a bowl, cover, and steam for about 10 minutes. Peel off the skins, chop the chiles, and combine them with Monterey Jack, sharp cheddar, green onions, garlic powder, cumin, salt, and pepper in a mixing bowl.
-
Assemble Quesadillas: Take a flour tortilla and spread a generous amount of the filling on one half. Fold the tortilla over, pressing down gently to seal the edges. Make sure not to overfill to keep them crispy!
-
Preheat Pan: Heat 2 tablespoons of olive oil in a skillet over medium heat. Make sure it’s hot enough for frying but not smoking.
-
Cook Quesadillas: Carefully place the prepared quesadilla into the skillet. Fry each side for about 3-4 minutes, until golden brown and crispy. You may need to adjust the heat slightly to achieve even cooking.
-
Serve: Once cooked, transfer the quesadillas to a cutting board. Cut them into wedges and serve them alongside sour cream and a sprinkle of fresh cilantro for an added burst of flavor.
Optional: Serve with salsa or guacamole for an extra layer of deliciousness.
Exact quantities are listed in the recipe card below.
Make Ahead Options
These Crispy Hatch Chili Quesadillas are a fantastic choice for meal prep enthusiasts! You can roast and chop the Hatch chiles, combine them with the cheeses and seasonings, and refrigerate this filling for up to 3 days ahead of time. If you prefer, you can fully assemble the quesadillas and store them in an airtight container for up to 24 hours. To maintain that irresistible crispiness, place parchment paper between layers if stacking, and refrigerate. When you’re ready to serve, simply heat 2 tablespoons of olive oil in a skillet and fry the quesadillas for 3-4 minutes on each side until golden brown. This way, you’ll get delicious, fresh quesadillas with minimal effort on busy weeknights!
Crispy Hatch Chili Quesadilla Variations
Feel free to make these quesadillas truly your own by exploring these delicious swaps and twists!
- Vegetarian Delight: Replace the cheeses with a vegan alternative and add extra veggies like mushrooms or zucchini for substance.
- Spicy Kick: Add finely chopped jalapeños or serrano peppers to the filling for an extra layer of heat that vibrant spice lovers will adore.
- Creaminess Boost: Incorporate a dollop of cream cheese into the filling to create a wonderfully creamy texture and rich flavor.
- Herb Infusion: Mix in fresh herbs like cilantro or parsley to give a pop of freshness that brightens each bite.
- Sweet Touch: Try adding some sautéed sweet corn for a hint of sweetness that balances out the heat of the chiles beautifully.
- Cheesy Variety: Swap regular cheese for pepper jack for a kick or a blend of gouda and cheddar for a unique flavor experience.
- Crunchy Texture: Toss in some cooked chorizo or crispy bacon bits to add a salty crunch that elevates the quesadilla’s texture.
- Whole Grain Option: Use whole wheat tortillas for a healthier twist while still keeping that delectable crispiness intact.
Expert Tips for Crispy Hatch Chili Quesadillas
-
Prep Your Chiles: Roast the Hatch chiles until skins are charred. This step enhances their smoky flavor, making your quesadillas even more delicious.
-
Crispy Tortillas: For the best crunch, ensure your tortillas are medium-sized and use enough oil to coat the skillet evenly without drowning the quesadillas.
-
Don’t Overfill: Use just the right amount of filling. Overfilling can cause the quesadillas to burst, preventing that golden, crispy exterior you crave.
-
Monitor Heat: Cook on medium heat. Too high can burn the outside before the cheese melts, while too low may leave them soggy.
-
Batch Cooking: Fry in smaller batches to maintain consistent heat and ensure each quesadilla cooks evenly, staying crispy and golden.
-
Customize to Taste: Feel free to explore different cheeses or add in veggies like spinach—making your Crispy Hatch Chili Quesadillas your own!
How to Store and Freeze Crispy Hatch Chili Quesadillas
- Room Temperature: Crispy quesadillas are best enjoyed fresh, but if left out, they can be kept at room temperature for up to 2 hours before they lose their crispiness.
- Fridge: Store leftover quesadillas in an airtight container in the refrigerator for up to 2 days. Place parchment paper between layers to prevent sticking.
- Freezer: For longer storage, freeze cooked quesadillas separately in a freezer-safe bag for up to 2 months. Make sure they are completely cooled before placing in the bag.
- Reheating: To reclaim the crispiness, reheat frozen quesadillas in a skillet over medium heat for about 5-7 minutes per side, flipping until golden brown. Enjoy your Crispy Hatch Chili Quesadillas at their best!
What to Serve with Crispy Hatch Chili Quesadillas?
Elevate your meal with these delightful complementary dishes that enhance the smoky flavors of your quesadillas.
-
Fresh Guacamole: This creamy avocado dip adds a cool touch that balances the heat of the quesadillas. Its smooth texture will melt in your mouth.
-
Zesty Salsa: A bright, tangy salsa made from ripe tomatoes, cilantro, and lime juice contrasts beautifully with the richness of the cheese and chiles.
-
Cilantro Lime Rice: Fluffy rice infused with fresh cilantro and a hint of lime provides a light side that harmonizes with the quesadilla’s bold flavors.
-
Crisp Garden Salad: A refreshing salad with mixed greens, cucumbers, and a light vinaigrette adds crunch and freshness to your meal, helping to cleanse your palate.
-
Sour Cream (or Yogurt): The creamy, tangy nature of sour cream complements the savory richness of the quesadillas, providing that perfect dip to elevate your bites.
-
Chilled Margaritas: For an adult twist, pair your quesadillas with a refreshing margarita. The citrus notes will brighten your palate and add a festive touch to your meal.
-
Roasted Corn on the Cob: Add a little sweetness and texture with charred corn on the cob, seasoned with lime and chili powder to match the quesadilla’s flavor profile.
With these delicious pairings, you’re all set to create a satisfying and festive feast!
Crispy Hatch Chili Quesadillas Recipe FAQs
How do I select the best Hatch chiles for my quesadillas?
Absolutely! Look for fresh Hatch chiles that have a vibrant green color and a smooth skin. Avoid any with dark spots or wrinkles, as these may indicate overripeness. If fresh chiles aren’t available, canned roasted Hatch chiles can be a great alternative—just ensure they’re drained well before using.
What is the best way to store leftover quesadillas?
Very! Allow leftover quesadillas to cool completely before storing them in an airtight container in the refrigerator. They can be enjoyed for up to 2 days. Just remember to place parchment paper between layers to keep them from sticking together.
Can I freeze Crispy Hatch Chili Quesadillas?
Absolutely! To freeze, ensure the quesadillas are completely cooled. Wrap each one in plastic wrap or foil, then place in a freezer-safe bag. They can be frozen for up to 2 months. When you’re ready to enjoy them, reheat directly from frozen in a skillet over medium heat for about 5-7 minutes on each side until golden and crispy.
What should I do if my quesadillas are soggy?
The more the merrier! If you find your quesadillas are soggy, it could be due to too much filling or the skillet being too cool. To fix it, try frying them on higher heat for a shorter time. This helps crisp up the tortilla. Also, make sure to use fresh tortillas and avoid excess moisture in the filling.
Can I adjust this recipe for dietary restrictions?
Absolutely! To make your Crispy Hatch Chili Quesadillas vegetarian, simply skip any meat ingredients. For those with dairy allergies, you could use dairy-free cheese alternatives. Always check the ingredient labels to ensure they’re suitable for your needs.

Crispy Hatch Chili Quesadillas: Your New Flavor Obsession
Ingredients
Equipment
Method
- Roast the Hatch chiles over an open flame or in the broiler until their skins are charred. Once done, place them in a bowl, cover, and steam for about 10 minutes. Peel off the skins, chop the chiles, and combine them with Monterey Jack, sharp cheddar, green onions, garlic powder, cumin, salt, and pepper in a mixing bowl.
- Take a flour tortilla and spread a generous amount of the filling on one half. Fold the tortilla over, pressing down gently to seal the edges.
- Heat olive oil in a skillet over medium heat.
- Carefully place the prepared quesadilla into the skillet. Fry each side for about 3-4 minutes, until golden brown and crispy.
- Once cooked, transfer the quesadillas to a cutting board. Cut them into wedges and serve them alongside sour cream and a sprinkle of fresh cilantro for an added burst of flavor.
