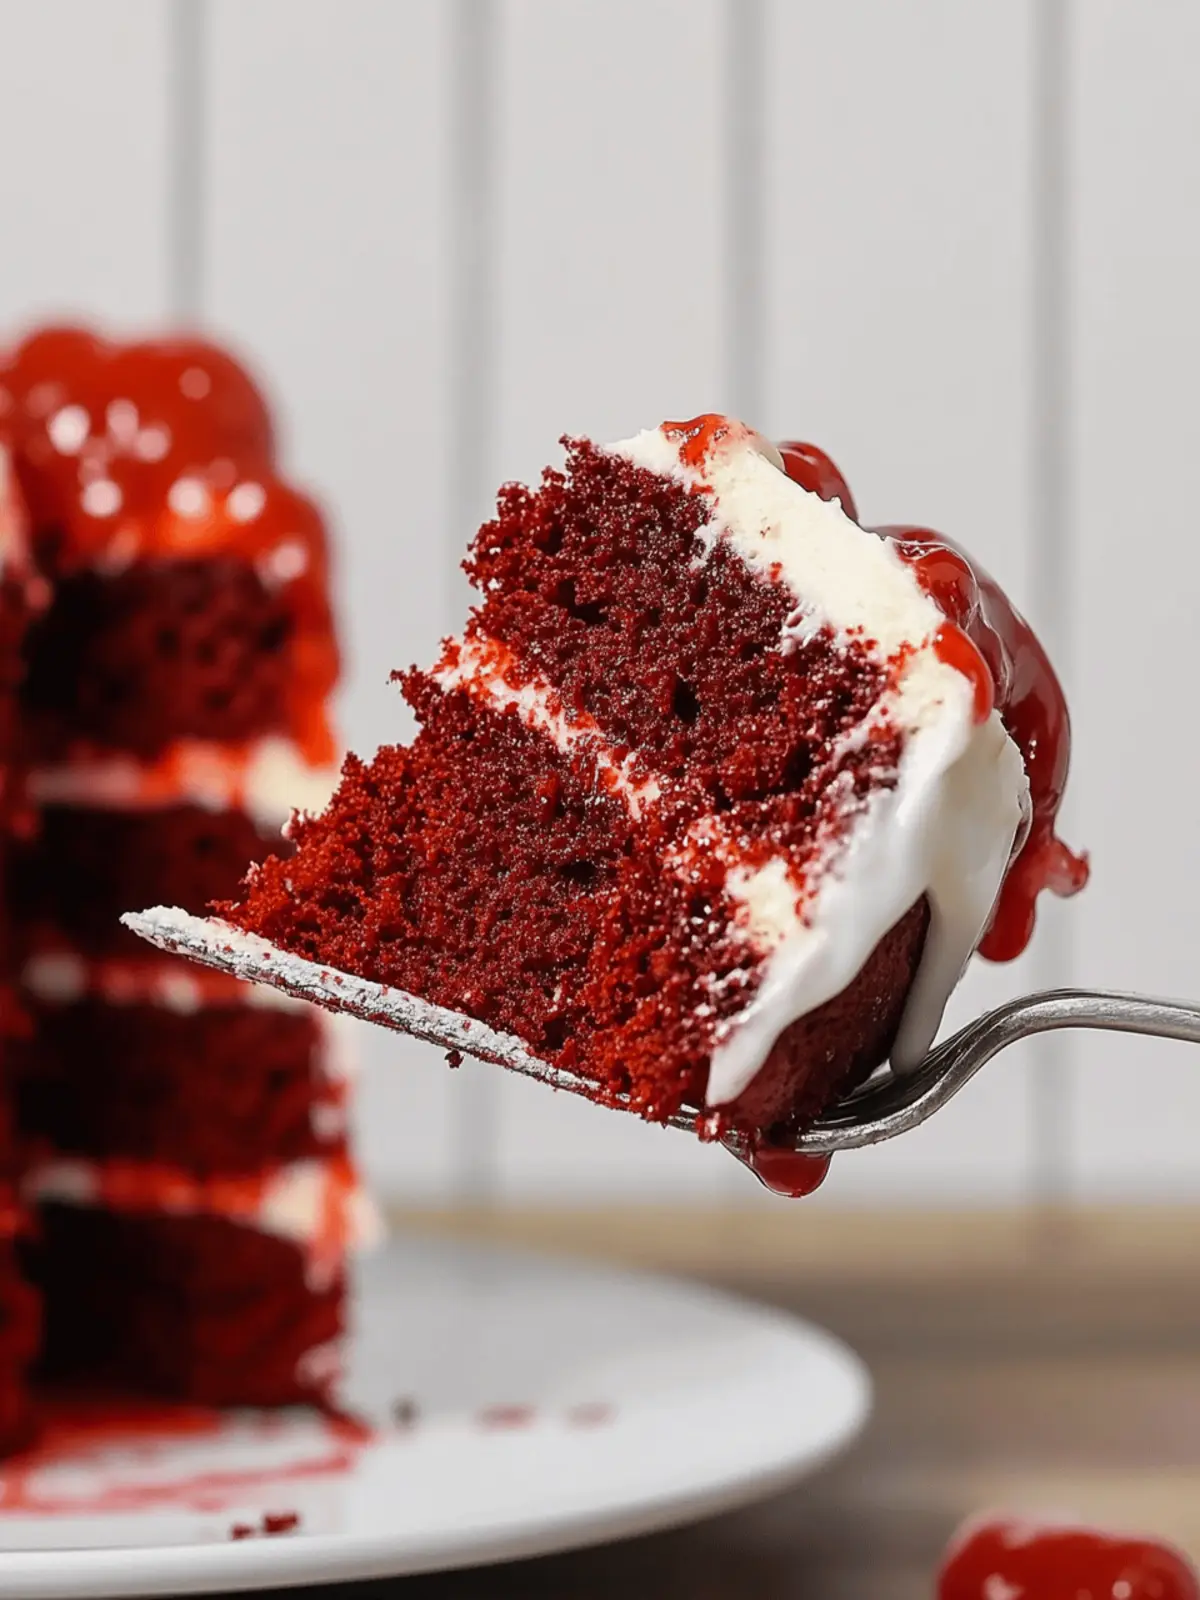
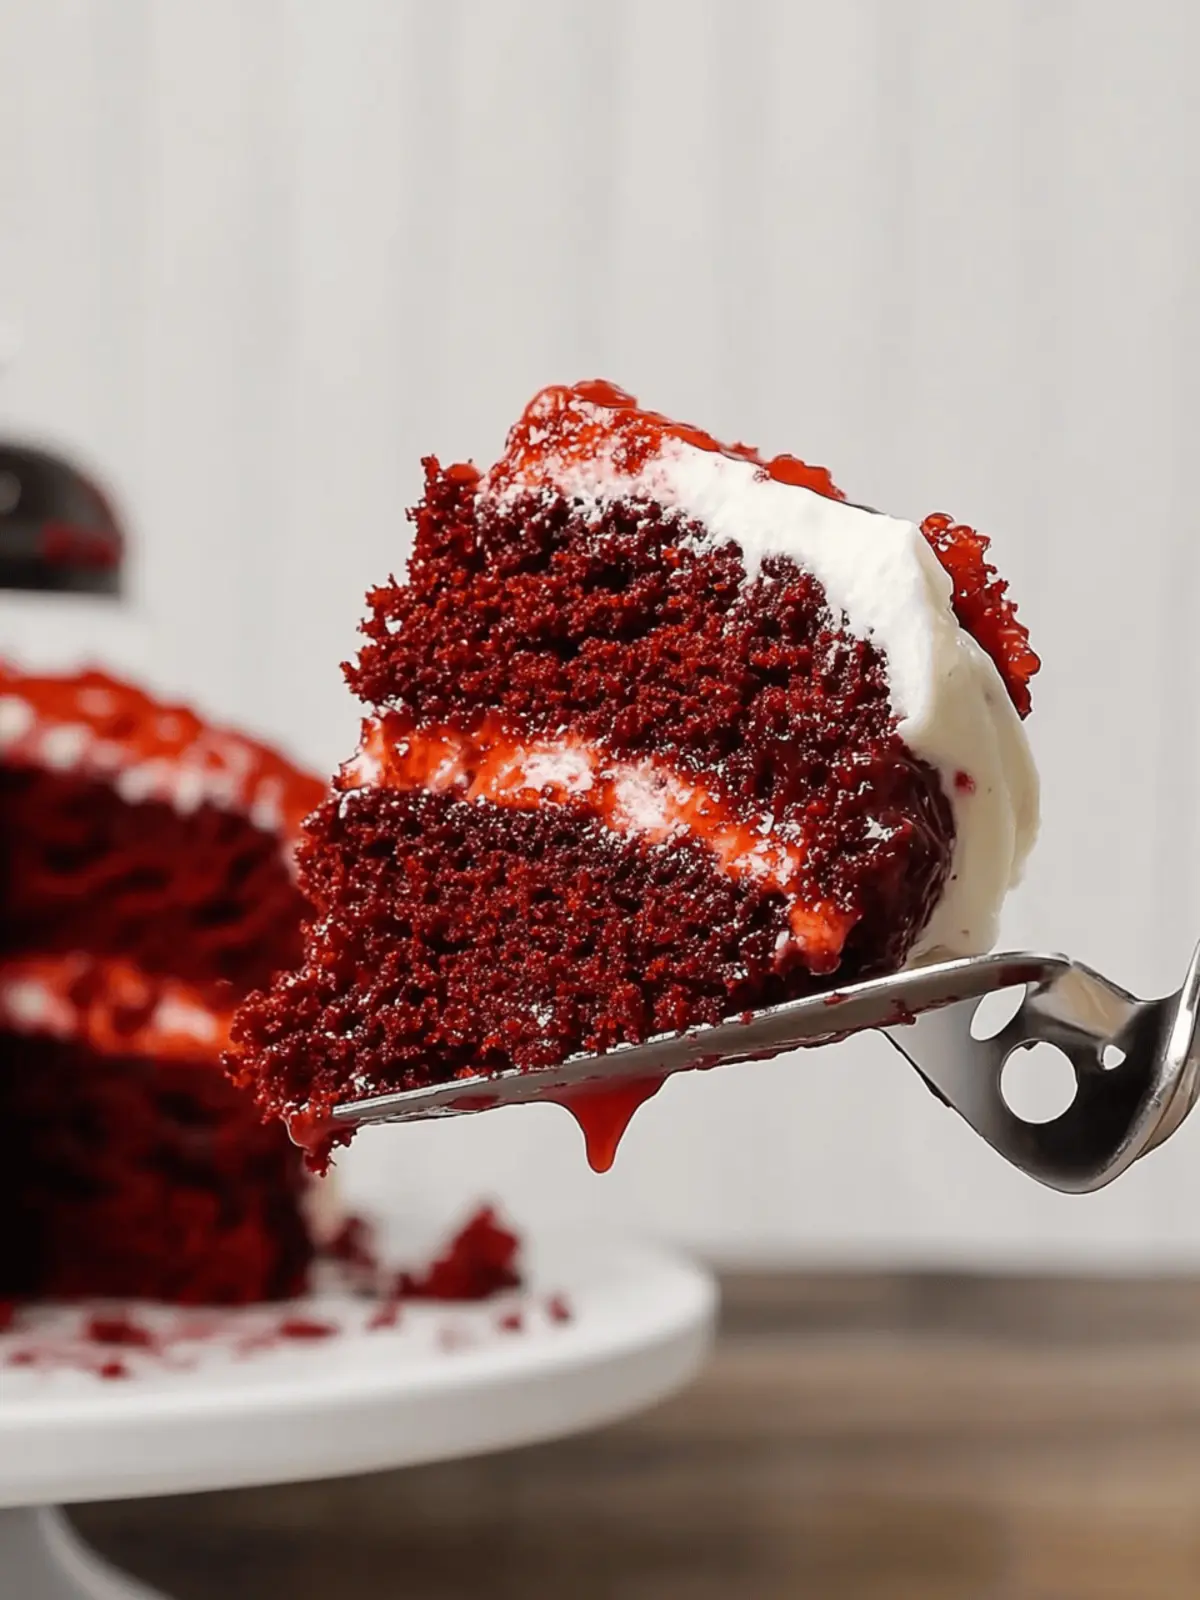
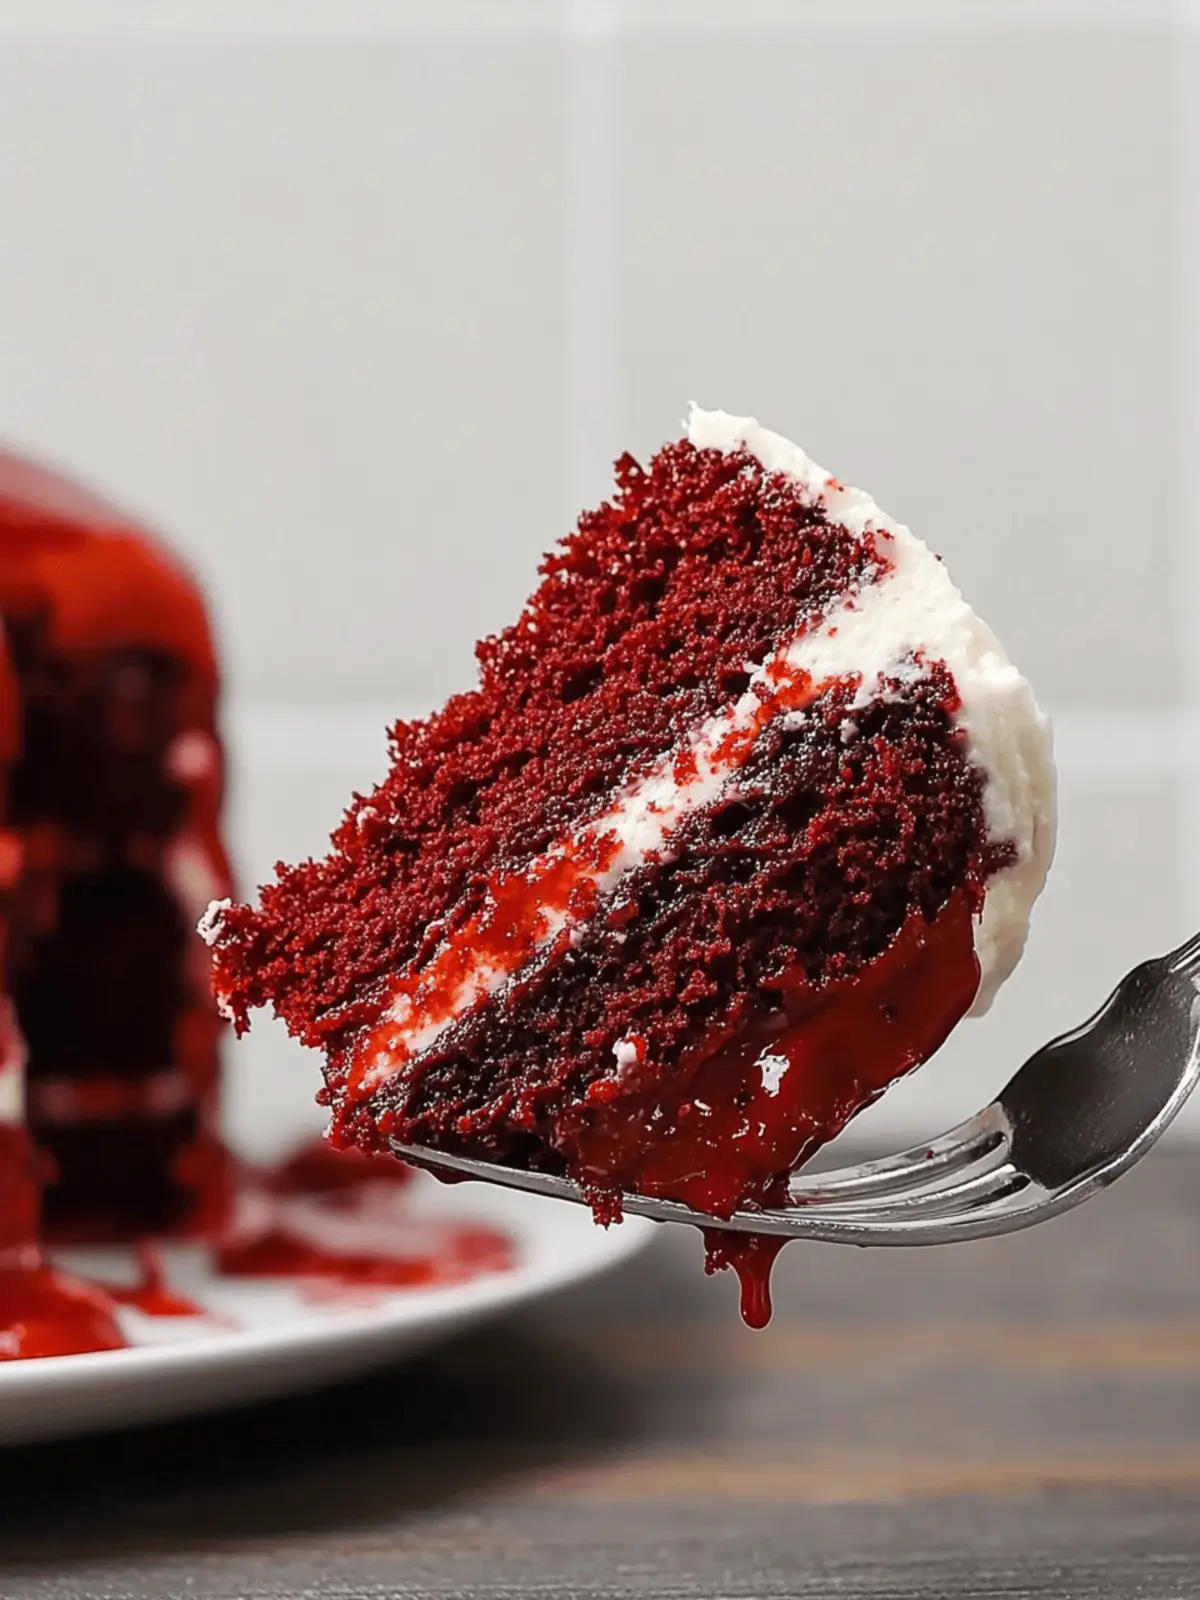
There’s nothing quite like the thrill of whipping up a show-stopping dessert that not only pleases the eye but also tempts the taste buds. When I first laid eyes on a Dead Velvet Cake, I knew I had found my new go-to sweet indulgence. Imagine moist, rich chocolate layers enveloped in a velvety cream cheese frosting that’s just sweet enough to satisfy your cravings without overwhelming them.
This cake isn’t just a feast for the palate; its striking red color makes it a centerpiece worthy of any celebration. Whether it’s a birthday bash, a cozy dinner with friends, or just a well-deserved treat after a long day, this Dead Velvet Cake is sure to impress. Plus, it’s incredibly easy to whip together—perfect for those who want to elevate their dessert game without spending hours in the kitchen. Join me as we dive into making this decadent delight!
Why is Dead Velvet Cake so unforgettable?
Decadence in Every Bite: The blend of chocolatey richness and creamy frosting makes this cake a true indulgence.
Visual Delight: Its striking red hue ensures it stands out on any dessert table, captivating your guests.
Simplicity Made Easy: With straightforward steps and common ingredients, you can create an impressive treat without culinary stress.
Crowd-Pleasing Flavor: This cake hits that sweet spot—deliciously rich but not overwhelmingly sweet, perfect for all palates.
Versatile for Occasions: Whether it’s a holiday gathering or a simple weeknight dessert, it fits perfectly with any celebration.
Make-Ahead Friendly: Bake ahead of time and store it, making it an effortless choice for busy days.
Dead Velvet Cake Ingredients
For the Cake
• Red Velvet cake mix – A high-quality mix ensures a moist and decadent base.
• Water – Use cold water for the best texture in the cake.
• Eggs – Fresh large eggs help bind the ingredients and add richness.
For the Frosting
• Cream cheese – Full-fat cream cheese provides a rich, creamy texture ideal for frosting.
• Butter – Ensure it’s softened to room temperature for smooth mixing.
• Powdered sugar – Sift before adding to avoid lumps in your frosting.
• Vanilla extract – Opt for pure extract to enhance the flavor depth.
• Cornstarch – It helps stabilize the frosting; feel free to omit if you prefer.
• Light corn syrup – Adds moisture and a glossy finish to the frosting; can be swapped for honey or agave if needed.
For Color
• Red food coloring – Gel coloring is preferred for that iconic red hue of Dead Velvet Cake.
By gathering these essential ingredients, you’re on your way to creating a show-stopping Dead Velvet Cake that’s sure to dazzle!
How to Make Dead Velvet Cake
-
Prepare the cake batter: In a mixing bowl, combine the Red Velvet cake mix with cold water and eggs as per the package instructions. Mix until smooth and well-blended, ensuring no lumps remain.
-
Bake the cakes: Divide the batter evenly into prepared cake pans. Bake at the temperature indicated on the box, usually around 350°F, and check for doneness with a toothpick, which should come out clean.
-
Cool the cakes: Once baked, let the cakes sit in the pans for about 30 minutes. Then, carefully transfer them to cooling racks to cool completely—this is crucial for layering.
-
Make the frosting: In a large bowl, beat the room temperature cream cheese and softened butter together until fluffy. Gradually add in the powdered sugar, cornstarch, and vanilla extract until the mixture is smooth and creamy.
-
Assemble the cake: Place one cooled cake layer on a serving plate, spread a generous layer of frosting in between, and add the second layer on top. Frost the top and sides of the cake as desired, making it as elegant as you like.
Optional: Garnish with chocolate shavings or fresh berries for a beautiful finishing touch.
Exact quantities are listed in the recipe card below.
Dead Velvet Cake Variations
Feel free to infuse your own special touch into this delightful cake!
- Mascarpone Frosting: Substitute cream cheese with mascarpone for a richer, slightly sweeter frosting that still holds its structure beautifully.
- Chocolate Chips: Fold in mini chocolate chips into the batter for an added surprise of melted chocolate goodness in every slice. The extra texture complements the cake perfectly!
- Spice It Up: Add a teaspoon of cinnamon or a pinch of nutmeg to the batter for a warm, spicy twist that enhances the chocolate flavor. This twist adds a whole new dimension to the cake.
- Red Velvet Mini Cakes: Bake in smaller round cake pans or muffin tins to create adorable mini cakes perfect for parties. Their cute size makes them irresistible!
- Fruit Twist: Incorporate fresh raspberries or strawberries into the layers for a refreshing tang that balances out the richness. The vibrant fruit colors will brighten up your cake beautifully.
- Nutty Crunch: Add crushed walnuts or pecans to the frosting for an unexpected crunch that contrasts with the soft cake texture. Each bite becomes a delightful surprise!
- Different Color: Use gel food coloring to create various hues for different occasions, like pastel shades for spring or deeper tones for fall celebrations. Let your creativity run wild!
- Dairy-Free Option: Substitute the cream cheese frosting with a coconut or almond-based cream for a delicious dairy-free version that’s just as creamy and luscious.
Expert Tips for the Best Dead Velvet Cake
- Room Temperature Ingredients: Ensure your cream cheese and butter are at room temperature for a lump-free, creamy frosting. Cold ingredients can lead to a gritty texture.
- Don’t Overmix: Avoid overmixing the cake batter, as it can result in a dense cake. Mix just until combined for a light, airy Dead Velvet Cake.
- Check for Doneness: Use a toothpick to test for doneness. If it comes out clean or with a few moist crumbs, your cake is perfectly baked!
- Layering Technique: Allow the cakes to cool completely before frosting. This prevents the frosting from melting and sliding off, leading to a messy presentation.
- Frosting Consistency: If your frosting is too thick, add a splash of milk; if too thin, gradually mix in more powdered sugar to achieve the desired spreadable consistency.
Make Ahead Options
These Dead Velvet Cake layers are perfect for making ahead, saving you time on busy days! You can bake the cake layers up to 3 days in advance; simply allow them to cool completely, then wrap them tightly in plastic wrap and refrigerate. The cream cheese frosting can also be prepared up to 24 hours ahead and stored in an airtight container in the fridge—just give it a quick stir before using to revive its creamy texture. When you’re ready to assemble, simply layer your chilled cakes with frosting, decorate as desired, and enjoy a delightful dessert that’s just as delicious as if you made it all in one day!
What to Serve with Dead Velvet Cake?
Indulging in a slice of luscious Dead Velvet Cake invites the perfect opportunity to create a delightful meal experience.
-
Fresh Berries: Juicy strawberries or raspberries enhance the cake’s richness, providing a bright and tart contrast.
-
Vanilla Ice Cream: A scoop of creamy vanilla ice cream adds a wonderful cold contrast, making each bite a real treat.
-
Whipped Cream: Light and airy, a dollop of whipped cream complements the cake’s richness while adding a fluffy element.
-
Chocolate Ganache: Pouring rich chocolate ganache over the cake intensifies the chocolate flavor and adds a glossy finish.
-
Coffee or Espresso: A robust cup of coffee or espresso balances the sweetness of the cake, creating a comforting pairing.
-
Red Wine: A glass of smooth red wine adds sophistication, enhancing the cake’s chocolate notes while bringing out its elegant flavors.
-
Chocolate-Covered Strawberries: These are not only visually appealing but also add a fun, sweet surprise that pairs beautifully with the cake.
With these accompaniments, your Dead Velvet Cake will become the centerpiece of an unforgettable dessert moment!
How to Store and Freeze Dead Velvet Cake
Fridge: Store your Dead Velvet Cake in an airtight container for up to 5 days. This keeps it moist and preserves its decadent flavor.
Freezer: For longer storage, wrap the cake tightly in plastic wrap and aluminum foil. Freeze for up to 3 months, then thaw in the fridge overnight before serving.
Reheating: If desired, reheat individual slices in the microwave for 10-15 seconds to enjoy a warm treat that feels fresh-baked.
Layer Separation: If storing layered, allow the frosting to set before wrapping the cake to prevent the layers from sticking together.
Dead Velvet Cake Recipe FAQs
How do I choose the right Red Velvet cake mix?
Absolutely! When selecting a Red Velvet cake mix, opt for well-known brands that use quality ingredients. Look for mixes that have natural cocoa powder as an ingredient rather than powdered sugar for a richer chocolate flavor. Checking online reviews or local recommendations can also help ensure you’re making a delicious choice.
How should I store leftover Dead Velvet Cake?
Store your Dead Velvet Cake in an airtight container in the refrigerator for up to 5 days. This keeps it moist and preserves the delightful flavors. If you don’t have an airtight container, you can wrap it tightly with plastic wrap, but be cautious about the frosting getting smudged.
Can I freeze Dead Velvet Cake?
Yes, you can! Wrap the cooled cake tightly in plastic wrap and then in aluminum foil to prevent freezer burn. This method will allow your cake to last up to 3 months in the freezer. When you’re ready to enjoy it, simply thaw it in the refrigerator overnight. For best results, frost it after thawing to maintain the frosting’s texture.
What should I do if my frosting is too thick?
If you find your frosting is too thick to spread, try adding 1 tablespoon of milk at a time until you reach your desired consistency. Mix thoroughly after each addition to avoid making it too thin. On the other hand, if your frosting is too runny, gradually mix in more powdered sugar until it thickens up to your liking.
Are there any dietary considerations I should keep in mind?
Yes, if you’re making this cake for someone with dietary restrictions, be aware that it contains common allergens such as gluten (from the cake mix), dairy (in the cream cheese and butter), and eggs. For a gluten-free version, you can look for gluten-free Red Velvet cake mixes. Substituting vegan cream cheese and butter is also an option for a dairy-free version! Always check ingredient labels for any additional allergens.
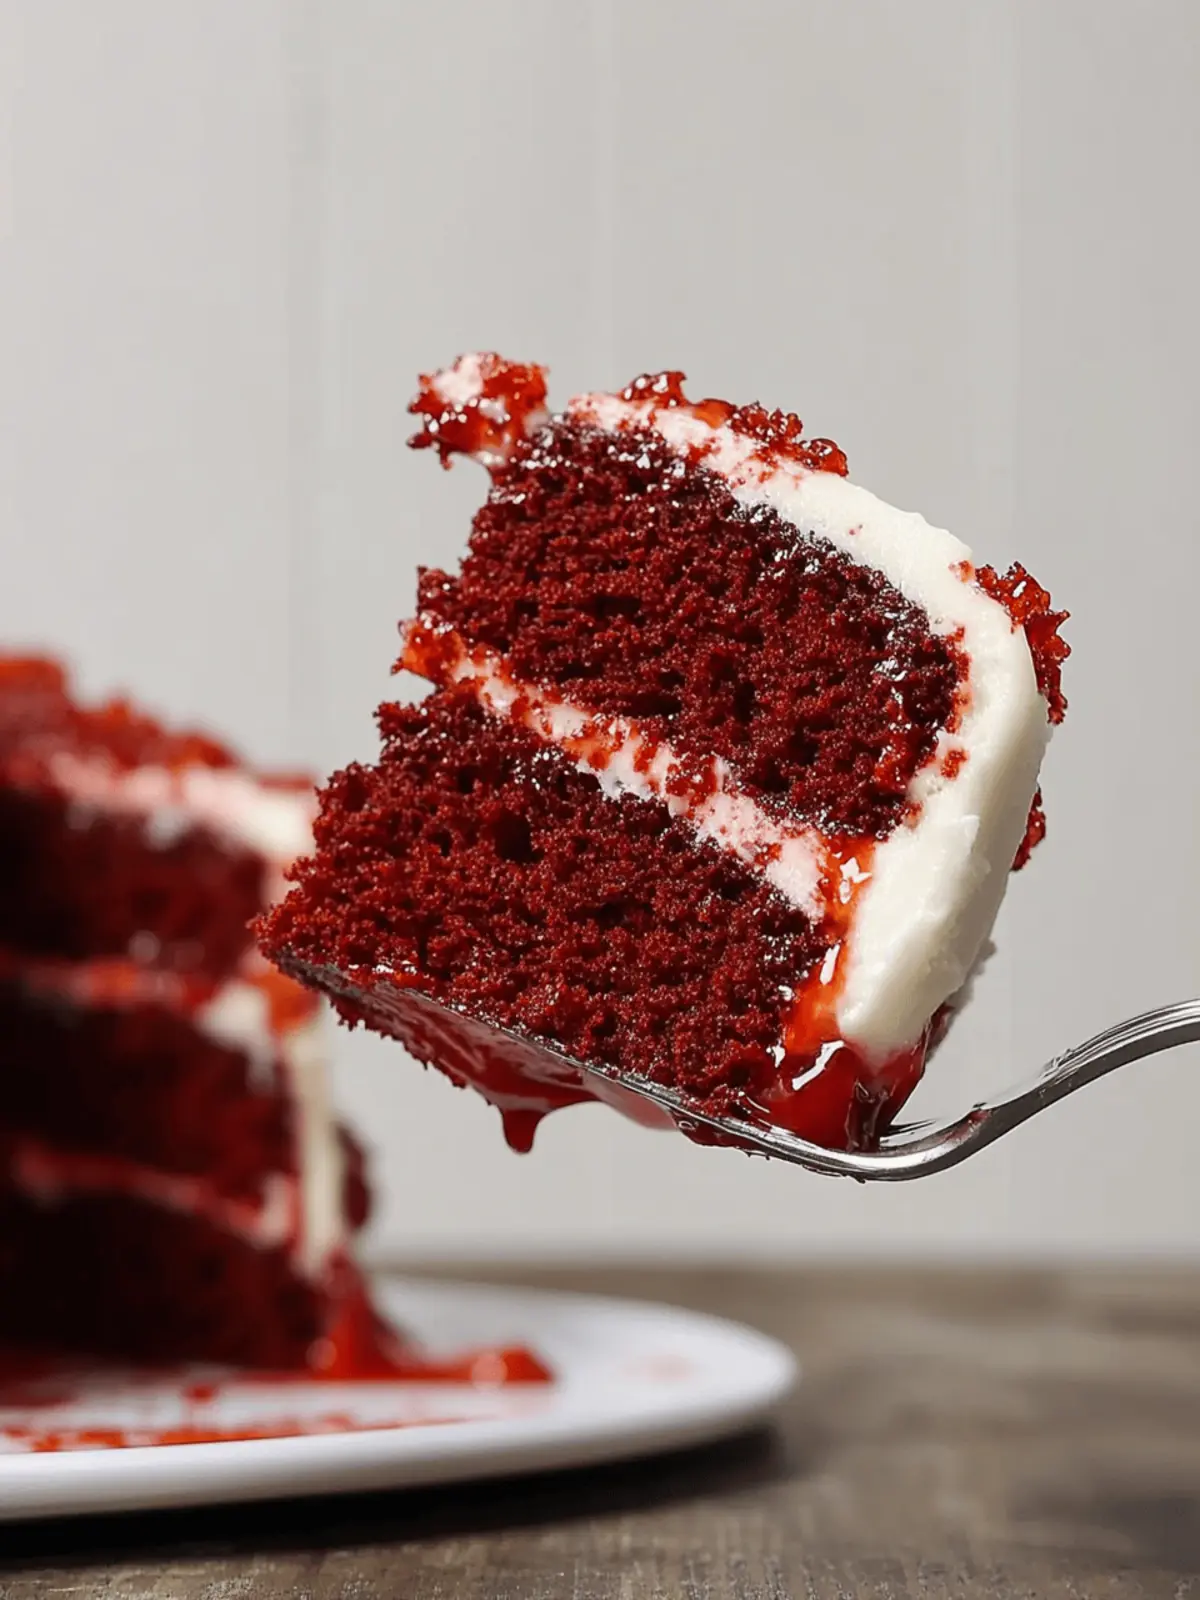
Dead Velvet Cake that Will Elevate Your Dessert Game
Ingredients
Equipment
Method
- In a mixing bowl, combine the Red Velvet cake mix with cold water and eggs as per package instructions. Mix until smooth, ensuring no lumps remain.
- Divide the batter evenly into prepared cake pans. Bake at 350°F, checking for doneness with a toothpick.
- Let the cakes sit in the pans for 30 minutes, then transfer to cooling racks to cool completely.
- In a large bowl, beat cream cheese and softened butter until fluffy. Gradually add powdered sugar, cornstarch, and vanilla extract until smooth.
- Place one cake layer on a serving plate, spread a layer of frosting in between, and add the second layer. Frost the top and sides as desired.

