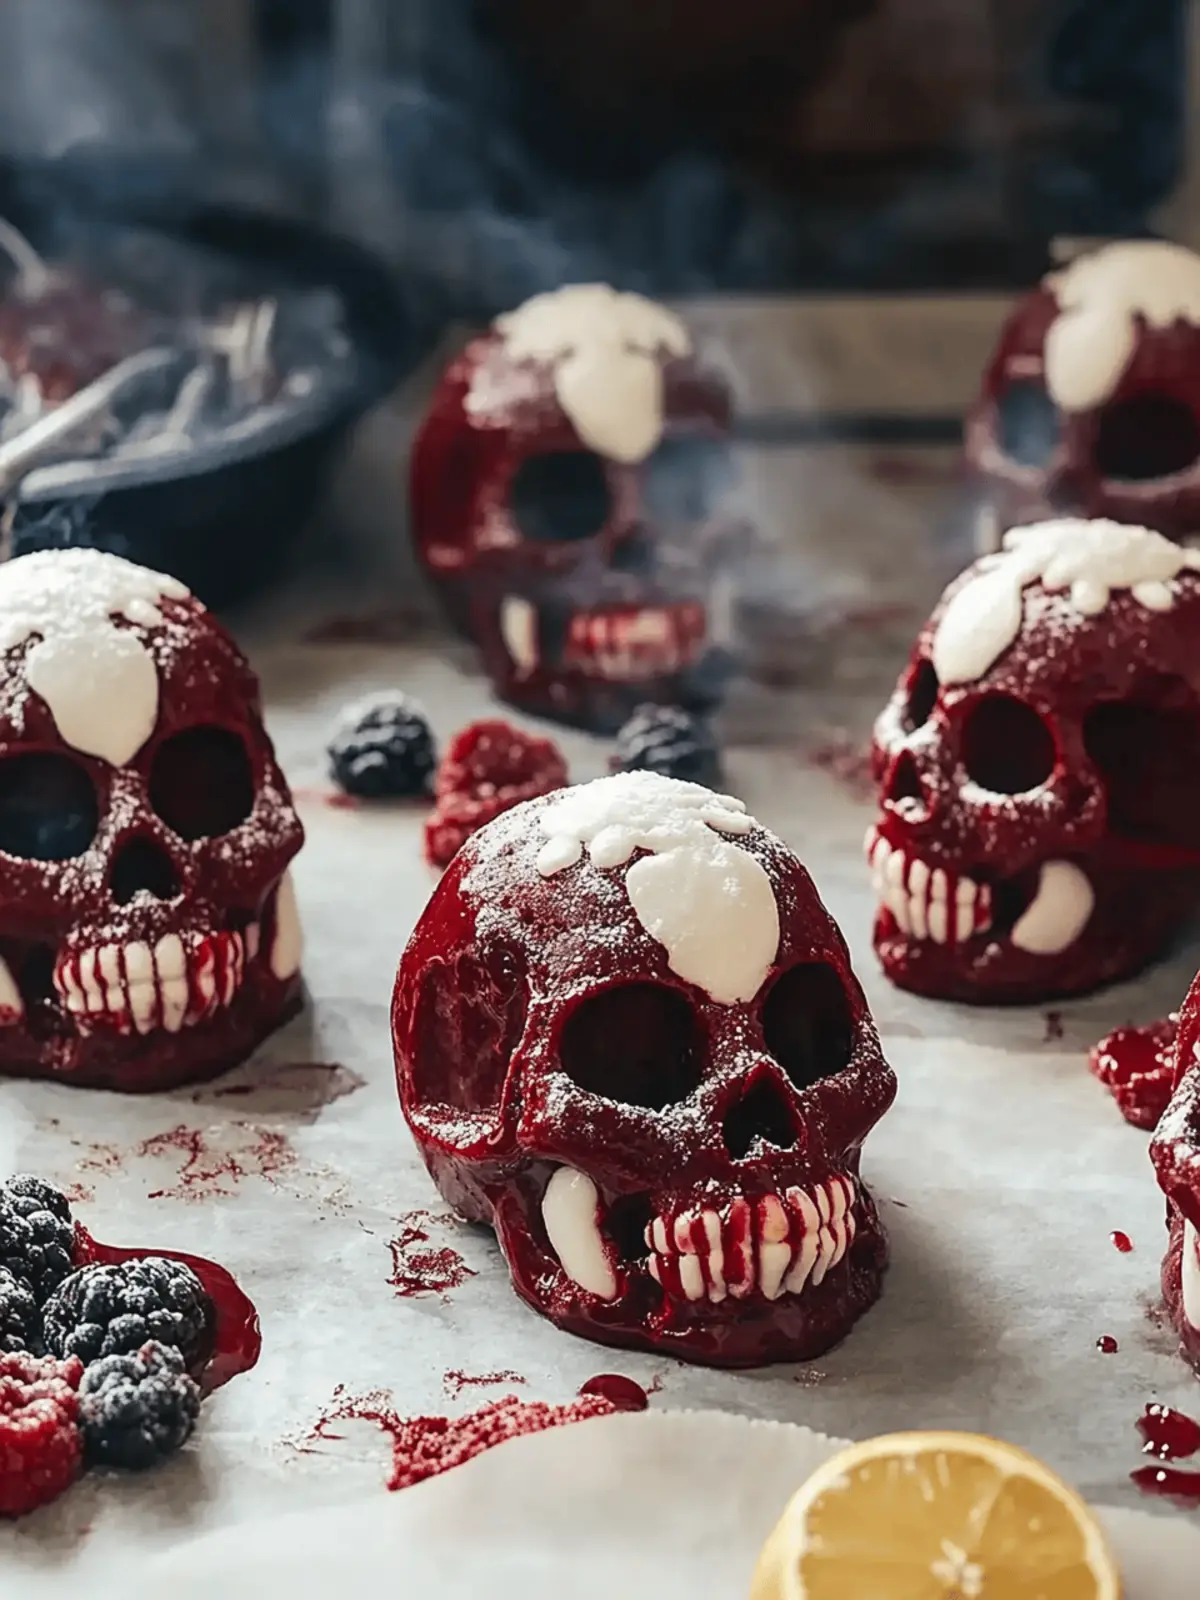
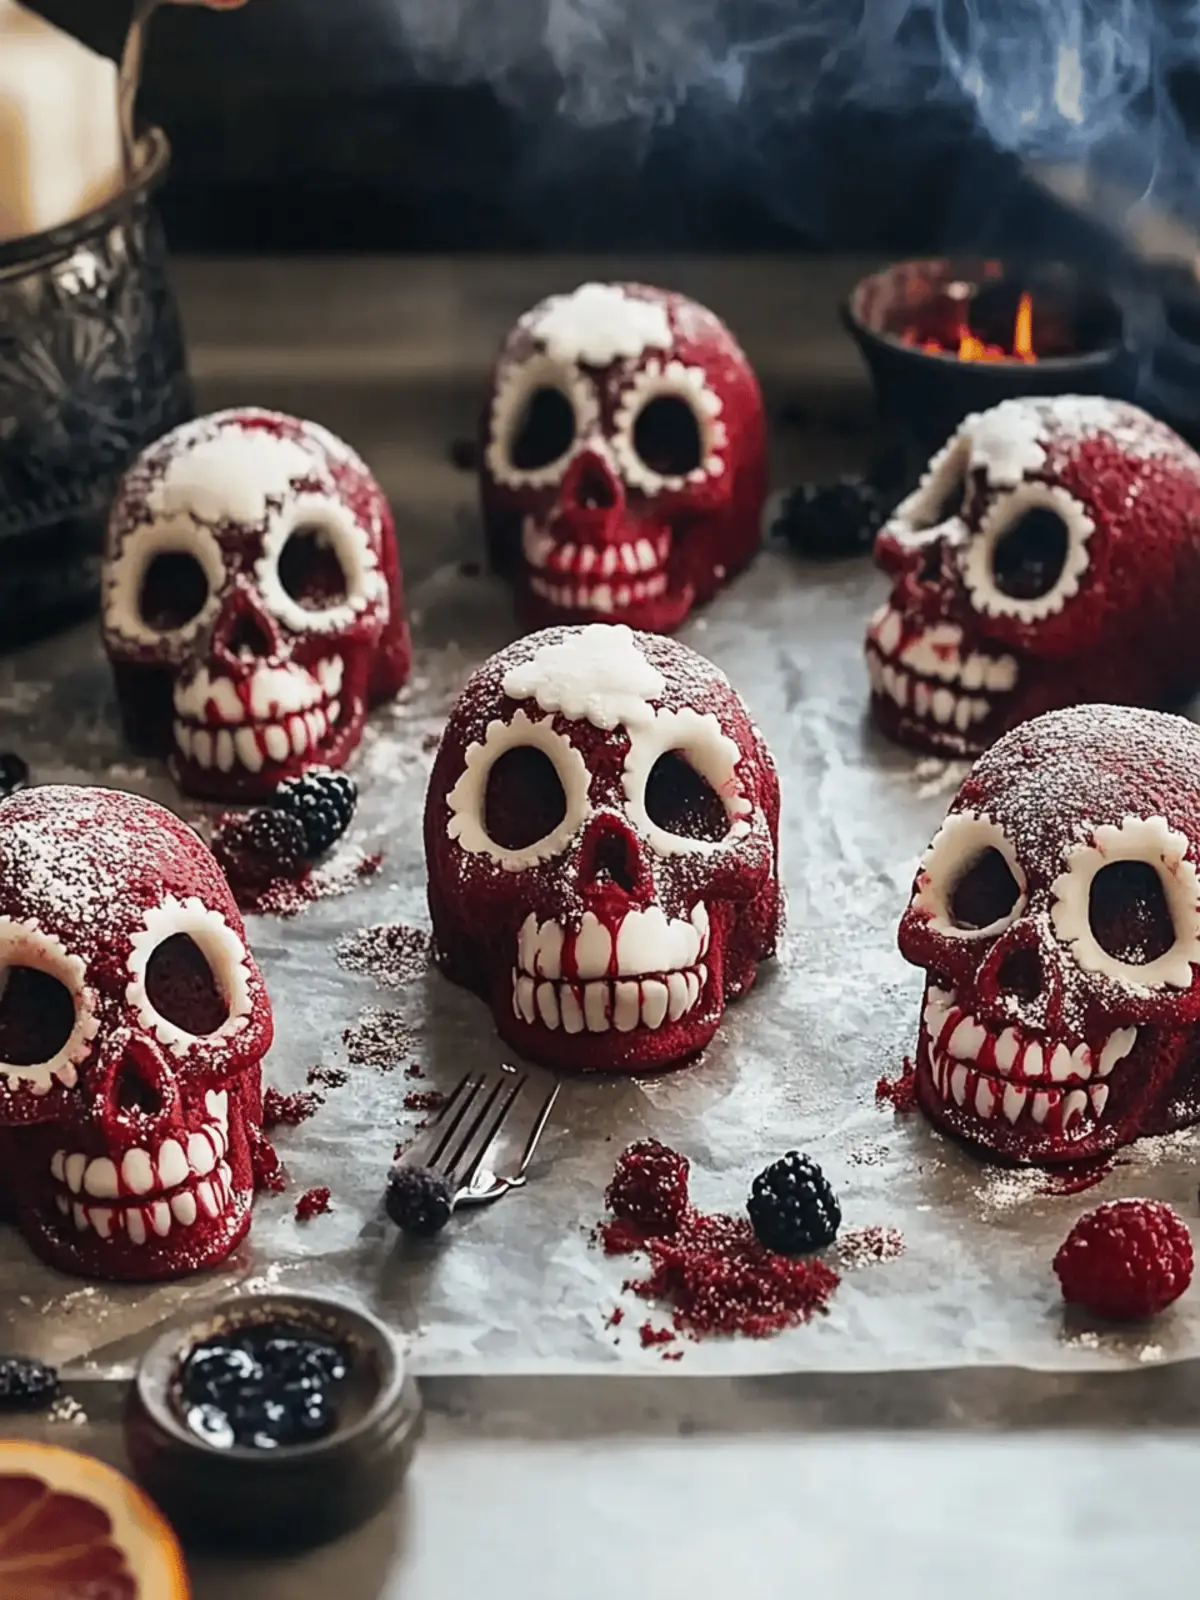
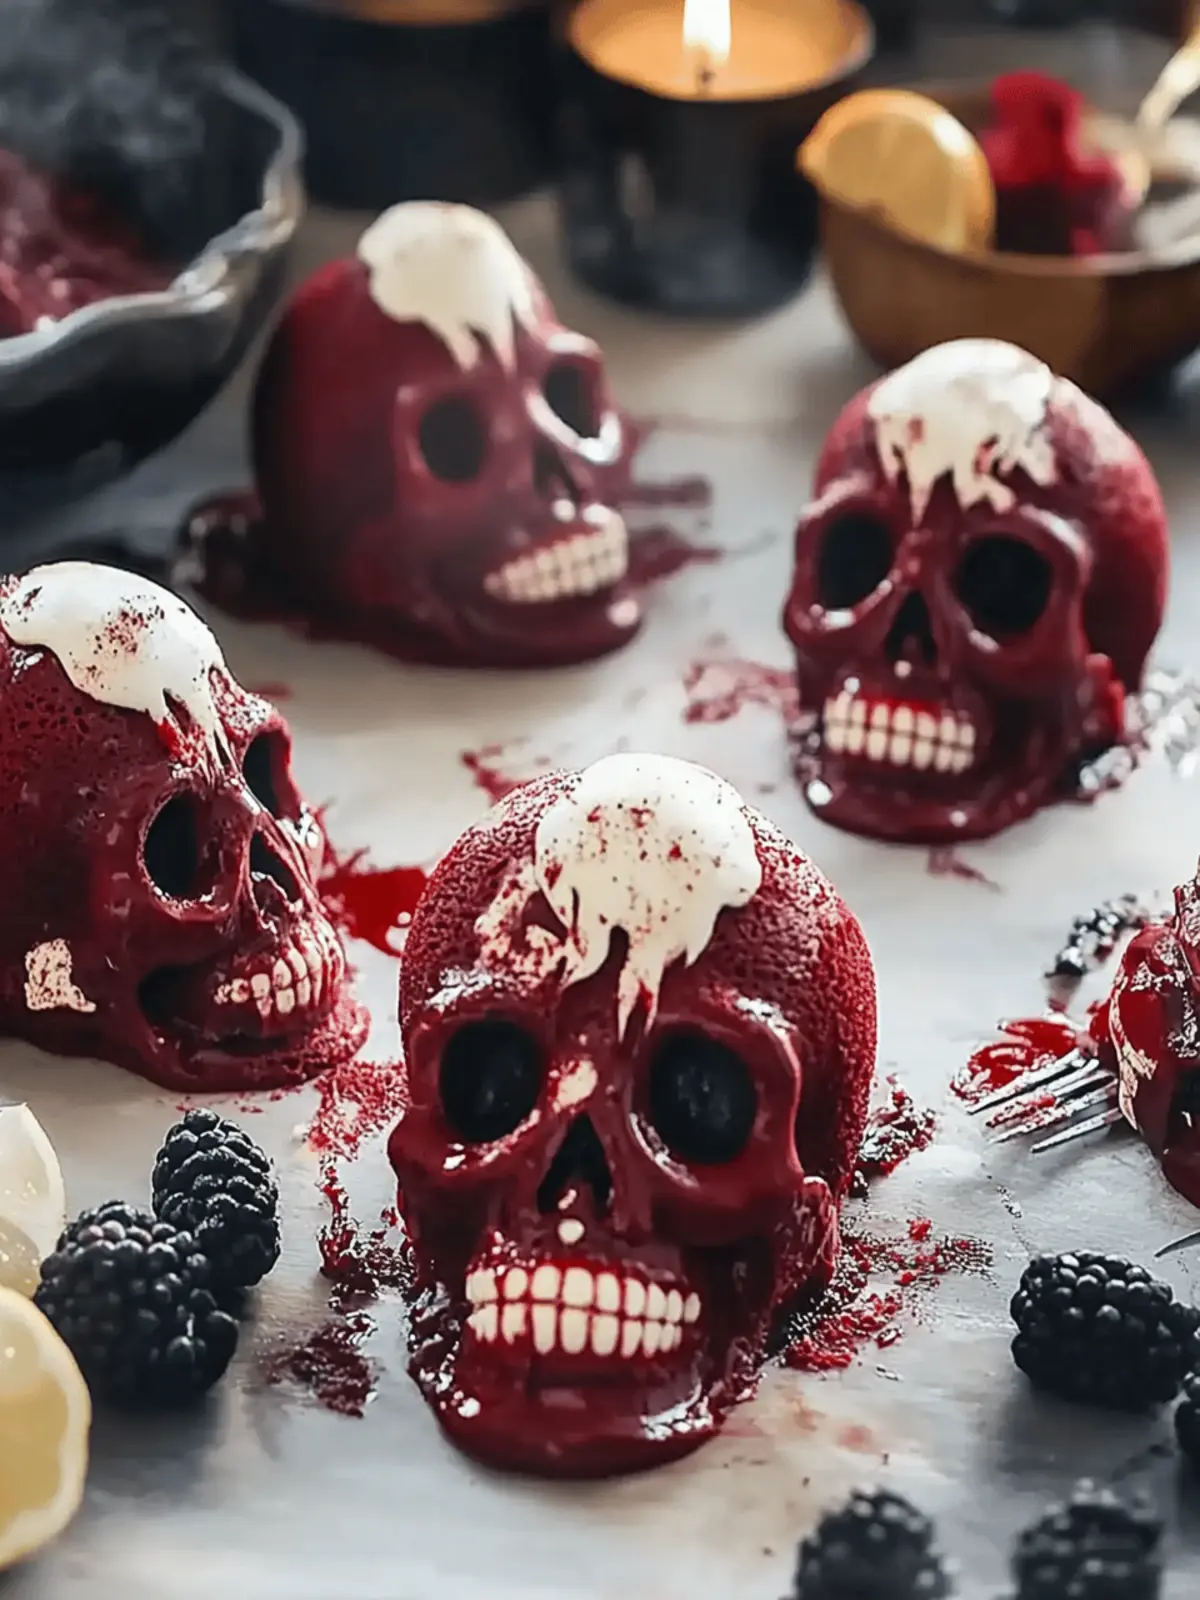
When the leaves begin to fall and a chill creeps into the air, there’s an undeniable urge to embrace all things cozy and festive. Enter my Gothic Red Velvet Skull Cakes! These delightful treats are perfect for Halloween gatherings or gothic-themed celebrations, instantly elevating any dessert table into a scene straight out of a spooky fairy tale. Picture this: a cutting into one of these eerie skull-shaped cakes, revealing a rich, crimson interior that is as delicious as it is dramatic.
As the subtle notes of cocoa and creamy frosting entice your senses, you’ll discover just how easy it is to create these stunning desserts. Whether you choose to make mini skull lava cakes with ooey-gooey centers or a magnificent skull bundt cake, each slice promises to be a showstopper. Plus, with variations to suit every palate, this recipe guarantees a hauntingly memorable experience that will leave your guests raving. Are you ready to impress with a dessert that is both frightfully fun and delectably delicious? Let’s get started!
Why are Gothic Red Velvet Skull Cakes a Must-Try?
Showstopper dessert: These gothic cakes are sure to be the highlight of any Halloween party.
Deliciously rich: The deep crimson crumb combined with creamy frosting provides a tantalizing balance of flavors.
Versatile options: From mini skull lava cakes to festive cupcakes, you can create a variety of treats to suit every occasion.
Easy to craft: With a simple recipe, even novice bakers can create these stunning desserts without a hitch!
Perfect for sharing: Their eye-catching design makes them ideal for gathering around with friends and family, sparking excitement around the table.
Gothic Red Velvet Skull Cake Ingredients
For the Cake
- All-Purpose Flour – Structure and stability; can substitute with gluten-free flour for a gluten-free version.
- Unsweetened Cocoa Powder – Adds depth of flavor; ensure it’s unsweetened for balanced sweetness.
- Baking Soda – Leavening agent for light texture; do not substitute, it’s essential for rise.
- Salt – Enhances flavor; crucial for balancing sweetness.
- Granulated Sugar – Sweetens the cake and contributes to moisture; can use coconut sugar for a lower glycemic index option.
- Unsalted Butter – Adds richness and moisture; use plant-based butter for a vegan version.
- Large Eggs – Provides structure and moisture; can substitute with flax eggs or applesauce for a vegan option.
- Buttermilk – Tenderizes the crumb and enhances flavor; substitute with dairy-free yogurt or plant-based milk plus vinegar for a vegan alternative.
- Red Food Coloring – Gives the iconic red hue; natural dyes can be used for a healthier option.
- Vanilla Extract – Flavor enhancer; use pure extract for better quality.
- Vinegar – Reacts with baking soda to create lift; essential for the recipe.
For the Cream Cheese Frosting
- Cream Cheese – For frosting; adds tangy sweetness; can substitute with dairy-free cream cheese.
- Powdered Sugar – Sweetens the frosting; can use coconut sugar powder for a less processed option.
With these ingredients, your Gothic Red Velvet Skull Cakes will not only taste divine but will also bring a show-stopping presence to your Halloween festivities!
How to Make Gothic Red Velvet Skull Cakes
-
Preheat Oven: Start by preheating your oven to 350°F (175°C). Grease your skull cake pan well to prevent any delightful disasters while baking!
-
Combine Dry Ingredients: Whisk together the all-purpose flour, cocoa powder, baking soda, and salt in a mixing bowl. This blend sets the foundation for a perfectly baked cake.
-
Cream Butter and Sugar: In a separate bowl, beat the softened unsalted butter and granulated sugar until fluffy and light. Then, add eggs one at a time, mixing well after each addition to ensure a smooth batter.
-
Mix Wet Ingredients: In another bowl, whisk together the buttermilk, red food coloring, vanilla extract, and vinegar. This mix will amplify the cake’s flavor and contribute to its moistness.
-
Combine Mixtures: Gradually alternate adding the dry mixture and the wet mixture into the butter-sugar blend. Mix until just combined and smooth; over-mixing can lead to a dense cake.
-
Fill Cake Molds: Carefully spoon the batter into the greased skull molds, filling them about three-quarters full. Tap the pans gently on the counter to release any trapped air bubbles.
-
Bake: Place the molds in the preheated oven and bake for 20-25 minutes for mini skulls or 45-55 minutes for a bundt cake. A toothpick inserted into the center should come out clean for perfect doneness.
-
Cool Completely: Allow the cakes to cool in the pan for about 10 minutes. Then, gently remove them and let the cakes cool completely on a wire rack before frosting.
-
Decorate: Pipe your cream cheese frosting onto the cooled cakes, and feel free to get creative! Use edible paints or raspberry drizzle to enhance the spooky skull appearance.
Optional: For an extra spooky touch, sprinkle some edible glitter over your frosting.
Exact quantities are listed in the recipe card below.
Gothic Red Velvet Skull Cakes Variations & Substitutions
Feel free to let your creativity run wild as you customize this delightful recipe to suit your taste buds!
- Gluten-Free: Swap all-purpose flour for a 1:1 gluten-free flour blend to create a cake that’s accessible for everyone.
- Dairy-Free: Use plant-based butter and dairy-free yogurt instead of buttermilk for a deliciously vegan treat. You’ll still capture the moist texture!
- Flavor Infusions: Add a tablespoon of orange zest for a pop of citrus or try almond extract for a lovely nutty undertone that beautifully complements the red velvet.
- Pumpkin Twist: Substitute half the buttermilk with canned pumpkin puree for a seasonal twist, creating a pumpkin-red velvet fusion that’s perfect for autumn!
- Chocolate Lovers: Replace half of the cocoa powder with melted dark chocolate to elevate the richness and satisfy any chocolate cravings.
- Mini Skull Cupcakes: Use the same batter to fill cupcake liners, adjusting the baking time to about 15-18 minutes for bite-sized masterpieces.
- Heat it Up: Add a pinch of cayenne pepper to the batter for a subtle kick, making your dessert surprisingly spicy and delightful!
- Nutty Crunch: Fold in chopped walnuts or pecans into the batter for added texture, creating a delightful bite in every skull-shaped slice.
With these tempting variations, every homemade cake can become a unique culinary adventure that will enchant and delight your guests!
What to Serve with Gothic Red Velvet Skull Cakes?
Elevate your Halloween feast with delectable sides and treats that perfectly complement these eerie desserts, creating a truly memorable gathering.
-
Creepy Cupcakes: Tiny treats decorated with ghostly frosting and candy eyes will add a whimsical touch to your dessert table.
-
Spooky Punch: A punch made from cranberry juice and ginger ale, served with creepy ice cubes (frozen gummy worms) offers a refreshing contrast to the rich cake.
-
Savory Pumpkin Soup: Creamy pumpkin soup garnished with crispy bacon bits or roasted pumpkin seeds sets a cozy, autumnal mood and balances the sweetness of the cake.
-
Witch’s Brew Cheese Board: A selection of spooky cheeses, black olives, and spooky-shaped crackers invites guests to nibble while waiting for dessert.
-
Blood Orange Salad: The vibrant color and refreshing citrus flavors of a blood orange salad provide a vibrant contrast and a hint of tartness to counterbalance the sweetness.
-
Meringue Ghosts: These light and airy meringues add a festive touch and melt in your mouth, keeping the theme fun yet elegant.
-
Chilling Charcuterie: Assemble a platter featuring meats, cheeses, and pickles styled with Halloween-themed garnishes for a savory option that pairs delightfully with the sweet cakes.
By harmonizing these spooky sides with your Gothic Red Velvet Skull Cakes, you’ll create an enchanting spread that delights and thrills your guests!
Make Ahead Options
These Gothic Red Velvet Skull Cakes are perfect for meal prep enthusiasts! You can prepare the batter up to 24 hours in advance by mixing the dry and wet ingredients separately and refrigerating them until you’re ready to bake. Keep the dry ingredients combined in one bowl and the wet ingredients in another, tightly covered to maintain freshness. When you’re ready to bake, simply bring the wet mixture to room temperature, combine it with the dry ingredients, and bake as directed. For frosting, make it up to 3 days ahead and store it in an airtight container in the refrigerator, allowing it to soften before spreading. Preparing ahead not only saves time but ensures your cakes will be just as delicious and romantic as ever!
Storage Tips for Gothic Red Velvet Skull Cakes
-
Room Temperature: Store undecorated cakes at room temperature for up to 2 days in an airtight container to keep them fresh and moist.
-
Fridge: If you’ve added frosting or want to extend freshness, refrigerate the cakes for up to 5 days. Ensure they’re well-covered to prevent drying out.
-
Freezer: For longer storage, freeze undecorated Gothic Red Velvet Skull Cakes for up to 2 months. Wrap them tightly in plastic wrap and then place in a freezer-safe bag.
-
Reheating: To enjoy your frozen cakes, thaw in the fridge overnight, and reheat individually in the microwave for 10-15 seconds if preferred warm.
Expert Tips for Gothic Red Velvet Skull Cakes
-
Choose Quality Ingredients: Use high-quality cocoa powder and pure vanilla extract for a richer flavor in your Gothic Red Velvet Skull Cakes.
-
Grease Generously: Make sure to grease your skull cake pan thoroughly. This prevents sticking and ensures easy removal after baking.
-
Check Doneness Carefully: Stick a toothpick into the center; it should come out clean or with a few moist crumbs. Avoid overbaking for a dry cake.
-
Let Them Cool: Always allow your cakes to cool completely before unmolding. This prevents breakage and helps maintain the spooky skull shape.
-
Frost with Flair: Get creative with your frosting! Use different colors or edible decorations to enhance the haunting look of your cakes.
-
Experiment with Variations: Try turning some batter into mini skull lava cakes for a gooey surprise inside, making your dessert experience even more delightful!
Gothic Red Velvet Skull Cakes Recipe FAQs
What type of flour should I use for Gothic Red Velvet Skull Cakes?
I recommend using all-purpose flour for the best texture and stability. If you need a gluten-free option, you can substitute it with a gluten-free flour blend. Just make sure to check the blend is suitable for baking for the best results!
How should I store the Gothic Red Velvet Skull Cakes?
You can store undecorated cakes at room temperature for up to 2 days in an airtight container. If they are frosted and you want to extend their freshness, refrigerate for up to 5 days. Just make sure they are well-covered to prevent them from drying out.
Can I freeze my Gothic Red Velvet Skull Cakes?
Absolutely! You can freeze undecorated cakes for up to 2 months. First, wrap them tightly in plastic wrap, and then place them in a freezer-safe bag or container to prevent freezer burn. To use them later, thaw the cakes in the fridge overnight, and if you prefer them warm, reheat individual slices in the microwave for about 10-15 seconds.
What if my cakes stick to the pan?
To avoid sticking, it’s really important to generously grease your skull cake pan before adding the batter. If they do stick, run a knife around the edges and gently shake them out—sometimes a little patience and a gentle tap on the counter can help release them without damage.
Are these cakes suitable for vegetarians?
Yes, the Gothic Red Velvet Skull Cakes are vegetarian! However, if you have any specific dietary considerations, such as allergies or vegan preferences, feel free to substitute ingredients like eggs and butter with plant-based alternatives.
Can I make variations of the Gothic Red Velvet Skull Cakes?
Yes! You can certainly explore several variations such as mini skull lava cakes for a gooey surprise or even transform the batter into skull cupcakes. The same ingredients work beautifully across different formats, allowing you to personalize your spooky dessert spread!
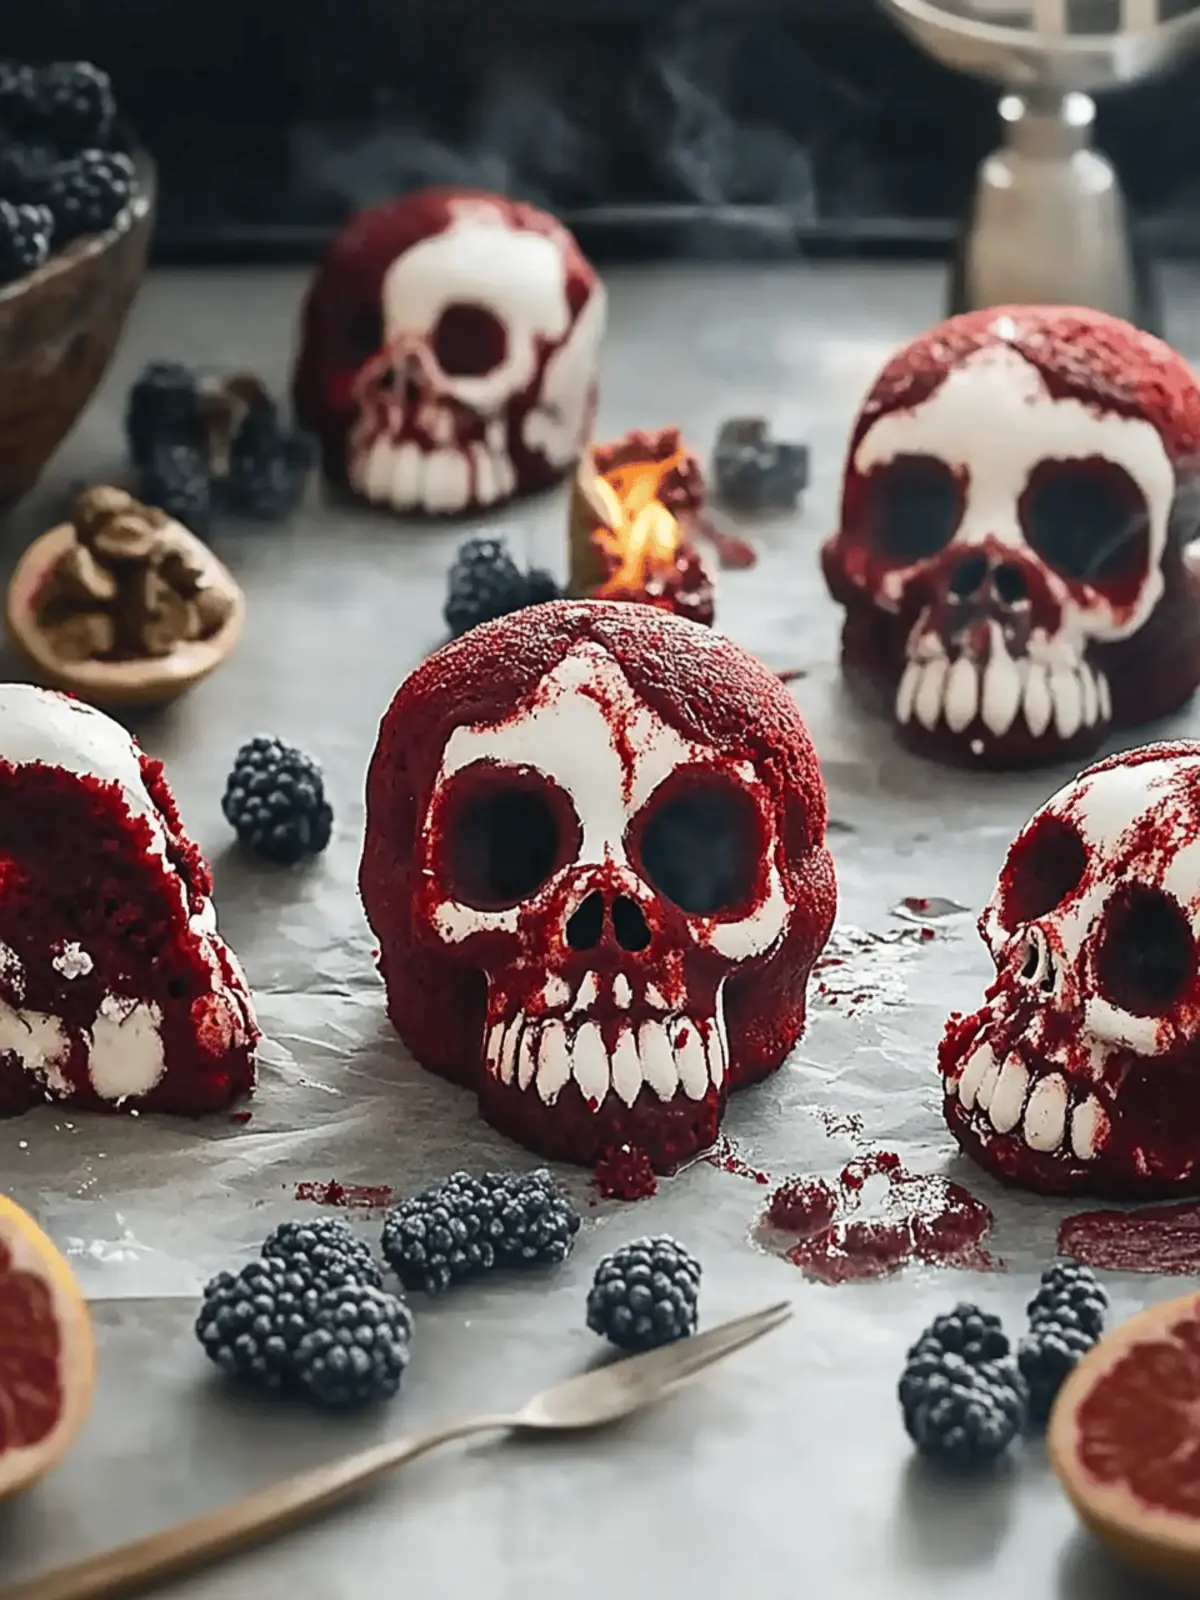
Gothic Red Velvet Skull Cakes: Spook Your Guests with Flavor
Ingredients
Equipment
Method
- Preheat your oven to 350°F (175°C). Grease your skull cake pan well to prevent any delightful disasters while baking.
- Whisk together the all-purpose flour, cocoa powder, baking soda, and salt in a mixing bowl.
- In a separate bowl, beat the softened unsalted butter and granulated sugar until fluffy, then add eggs one at a time.
- In another bowl, whisk together the buttermilk, red food coloring, vanilla extract, and vinegar.
- Gradually alternate adding the dry mixture and the wet mixture into the butter-sugar blend. Mix until just combined.
- Carefully spoon the batter into the greased skull molds, filling them about three-quarters full.
- Bake for 20-25 minutes for mini skulls or 45-55 minutes for a bundt cake. A toothpick inserted should come out clean.
- Allow the cakes to cool in the pan for about 10 minutes, then remove and let cool completely on a wire rack.
- Pipe your cream cheese frosting onto the cooled cakes and decorate as desired.
