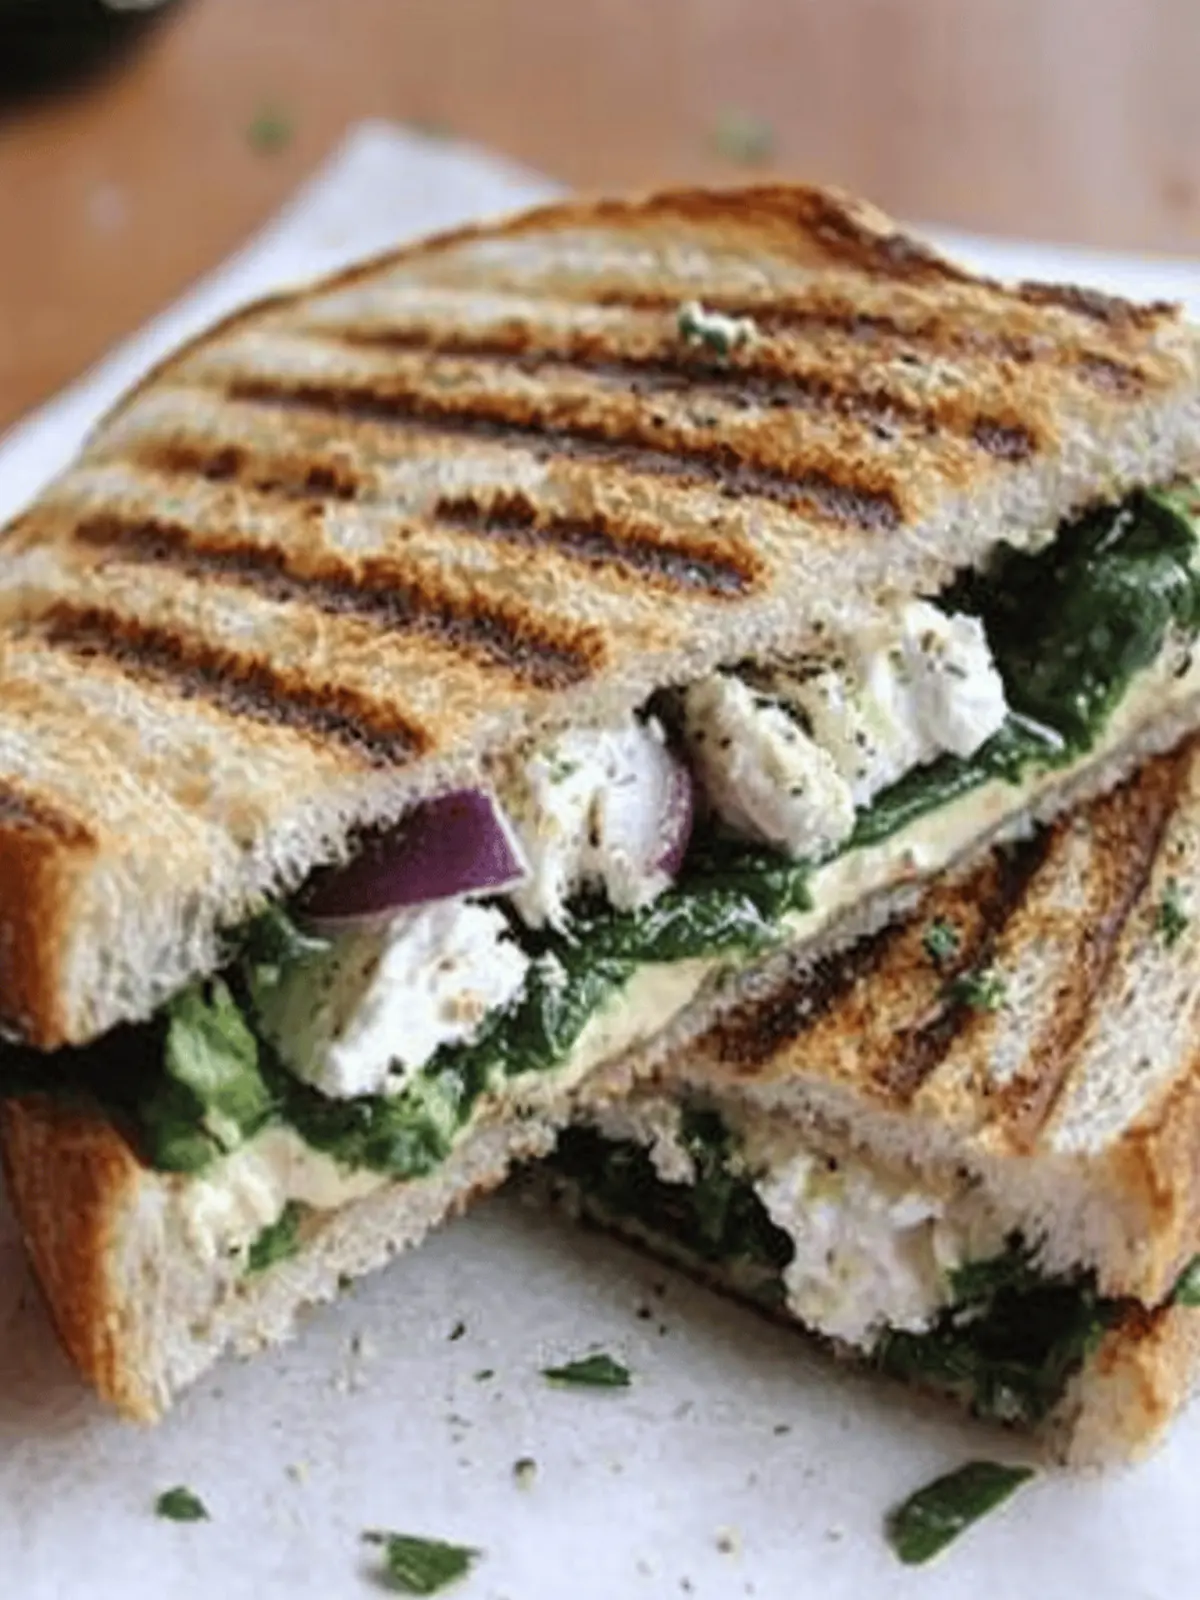
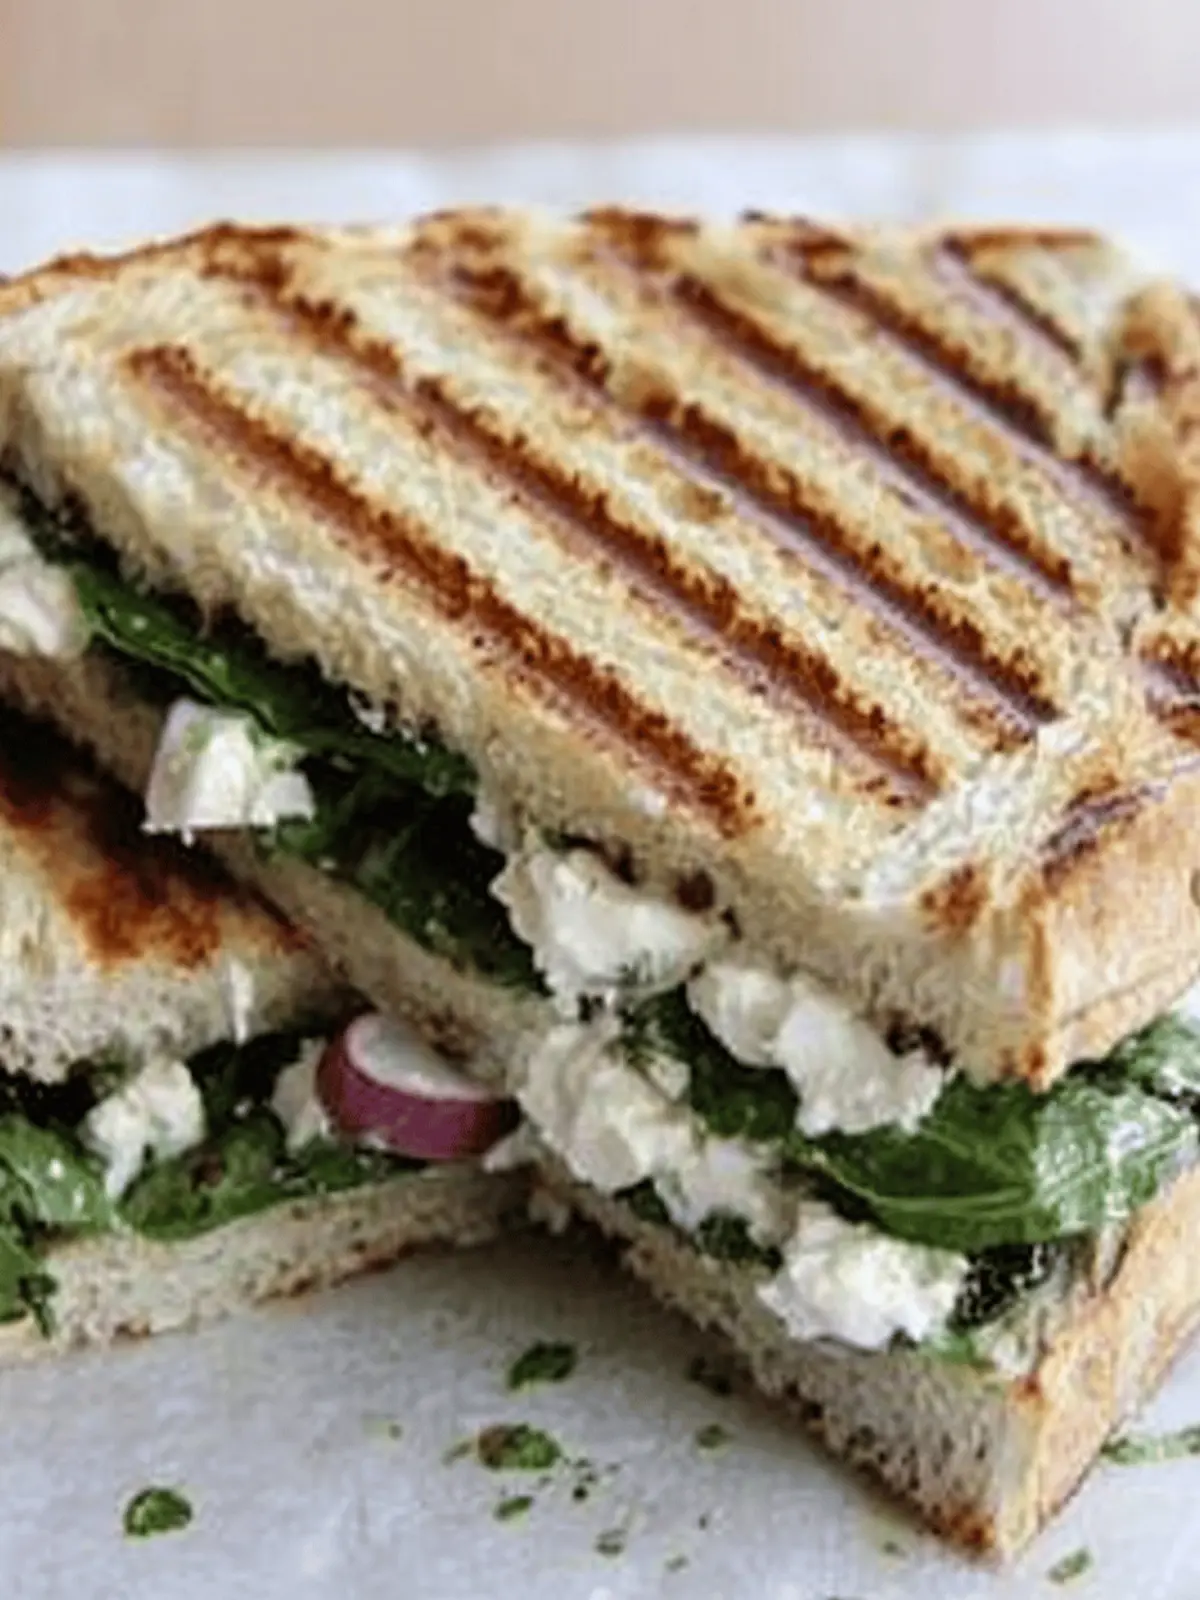
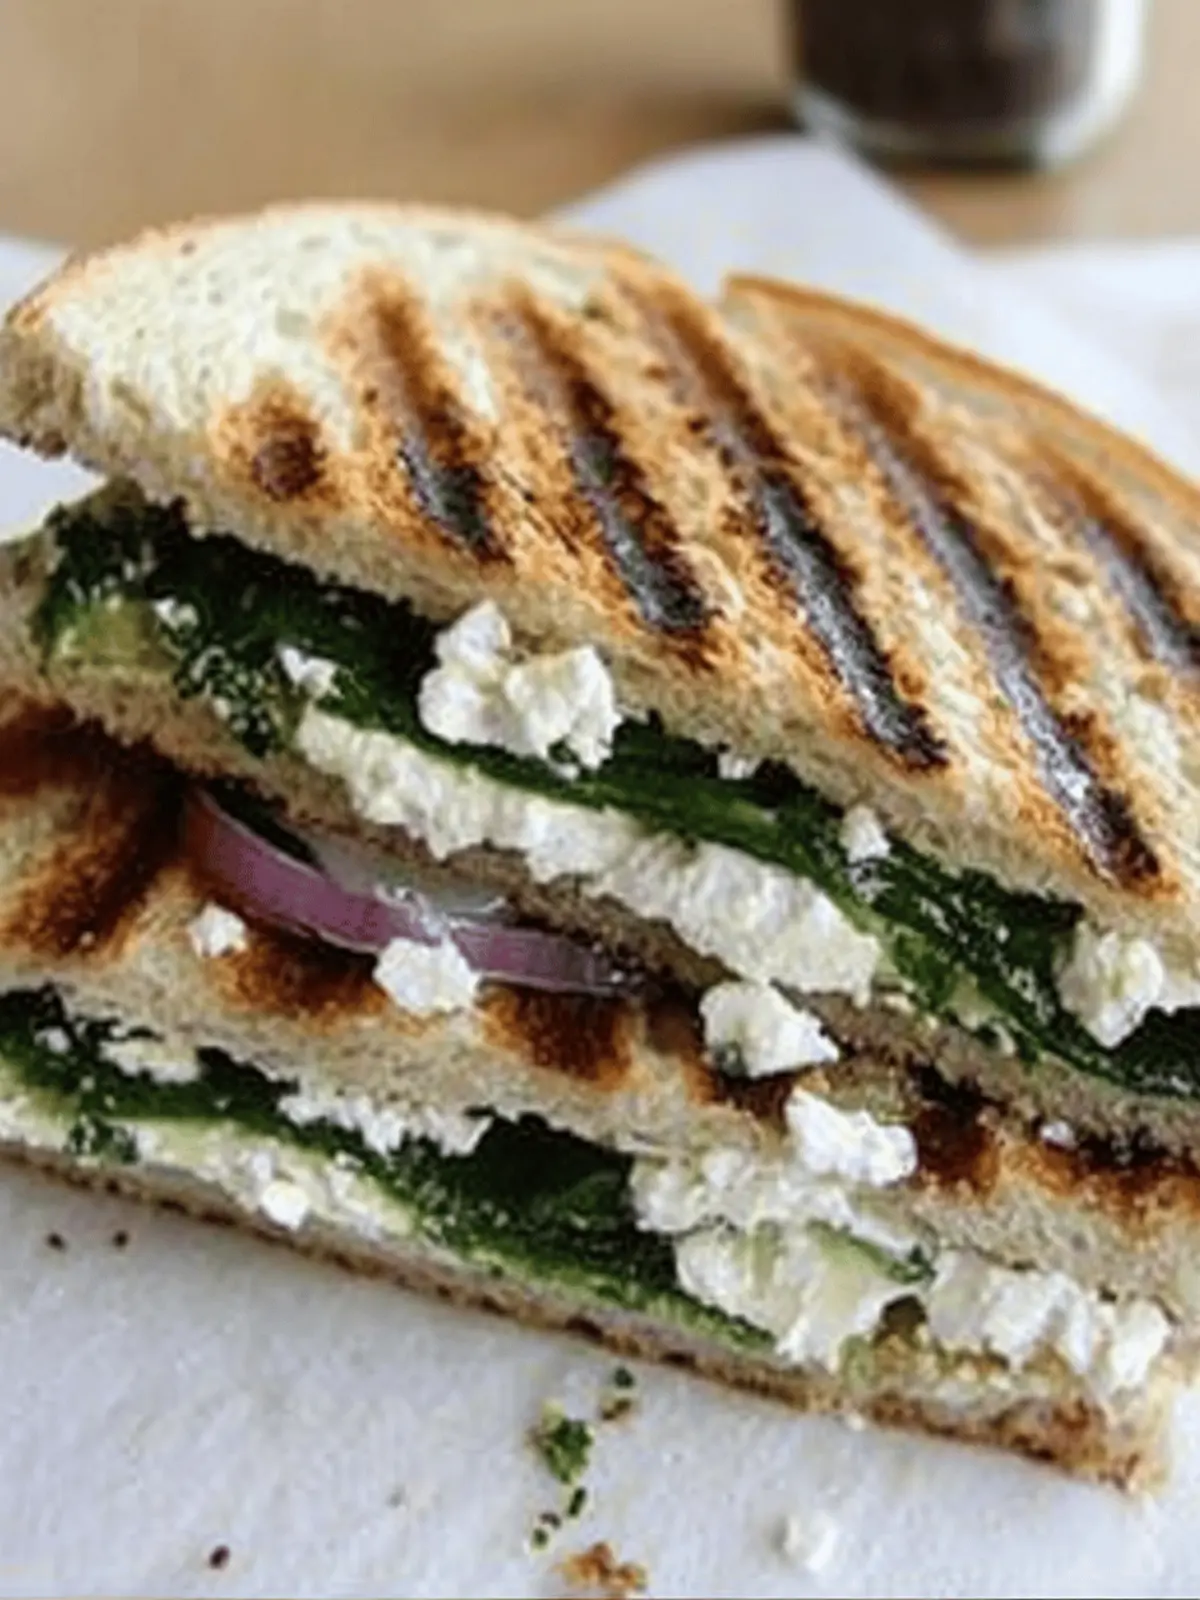
When I first introduced Greek-style paninis to my family, the kitchen erupted with laughter and delightful chatter around the table. With the sun shining outside, the fresh aroma of grilled chicken and tzatziki filled the air, instantly transporting us to a bustling taverna on a sunny Mediterranean coast. These paninis are not just sandwiches; they’re a celebration of flavor, wrapped in warm pita bread and loaded with fresh veggies, fragrant herbs, and tangy goodness.
Perfect for busy weeknights or casual gatherings, this easy recipe will have everyone asking for seconds. Whether you’re a seasoned chef or just looking to shake up your dinner routine, these Greek paninis promise to bring a touch of the Mediterranean to your home kitchen. So grab your ingredients and let’s dive into the delicious world of Greek cuisine—your taste buds will thank you!
Why are Greek Paninis a Family Favorite?
Uniquely Flavorful: Each bite of these Greek Paninis bursts with mouthwatering flavors, thanks to the robust tzatziki and fresh veggies.
Simple Preparation: Crafting these paninis is a breeze—even novice cooks will shine! Just a few easy steps and you’re ready to savor the Mediterranean.
Versatile Ingredients: Feel free to mix and match fillings; whether you prefer chicken, tofu, or extra veggies, customizing is part of the fun!
Crowd-Pleasing Appeal: Perfect for dinner parties and family meals alike, these paninis will satisfy even the pickiest eaters and leave everyone raving.
Warm and Comforting: Each panini is grilled to perfection, delivering that warm, cozy satisfaction we all crave at mealtime.
Enjoy this delightful dish at your next gathering or family dinner and watch it become a beloved staple!
Greek Panini Ingredients
• Gather these delicious ingredients for ideal Greek paninis:
For the Sandwiches
- Pita Bread – The doughy perfection that cradles all your fillings. Substitution: Whole wheat or gluten-free pita makes a great alternative.
- Cooked Chicken or Tofu – This lean protein takes center stage in each panini. Note: Grilling adds a delightful smoky flavor.
- Sliced Cucumbers – Provide a refreshing crunch that balances the richness. Substitution: Shredded carrots offer a sweet twist.
- Tomato Slices – Juicy and vibrant, these color-packed veggies enhance the flavor profile. Note: Use ripe heirloom tomatoes for extra sweetness.
- Red Onion – Adds a zesty sharpness that brightens the sandwich. Substitution: Green onions can offer a milder taste.
- Feta Cheese (optional) – This tangy cheese crumbles beautifully, giving that authentic Greek touch. Note: Goat cheese works wonderfully as an alternative.
For the Tzatziki
- Greek Yogurt – The creamy base that packs a tangy punch. Tip: Opt for full-fat yogurt for richer flavor.
- Fresh Dill – Herbaceous goodness that elevates the tzatziki. Substitution: Mint can also add a refreshing twist.
- Minced Garlic – The aromatic key ingredient that amps up the zest. Note: Adjust the amount to your taste preference.
- Sliced Cucumbers – These add extra crunch and freshness to the sauce. Tip: Squeeze out excess water for thicker tzatziki.
Elevate your meal with these tasty components for a delightful experience in each bite of your Greek paninis!
How to Make Greek Paninis
-
Prepare the Tzatziki: Start by slicing cucumbers and mixing them with Greek yogurt, minced garlic, and fresh dill in a bowl. Refrigerate for about 30 minutes to let the flavors develop beautifully.
-
Cook the Protein: Grill or roast your chicken or tofu until it’s fully cooked and lightly golden, about 6-8 minutes each side for chicken, or until tofu is crisp and warm.
-
Slice the Pita: Cut pita bread in half to create pockets. This allows for the delicious fillings to snugly fit inside.
-
Layer the Fillings: Begin layering your cooked protein, sliced cucumbers, juicy tomato slices, zesty red onion, and crumble feta cheese (if using) into each pita pocket.
-
Add Tzatziki: Drizzle tzatziki generously inside each sandwich for that creamy, herby goodness that brings all the flavors together.
-
Grill the Panini: Preheat a panini press or grill pan and place the stuffed pita pockets inside. Cook for about 3-5 minutes, or until the outside is golden and slightly crispy.
Optional: Serve with a side of fresh Greek salad for a complete meal.
Exact quantities are listed in the recipe card below.
Make Ahead Options
These Greek Paninis are a lifesaver for busy weeknights! You can prepare the tzatziki sauce up to 24 hours in advance by mixing the cucumbers, Greek yogurt, garlic, and dill, then refrigerating it to allow the flavors to meld together beautifully. Additionally, grill or roast the chicken or tofu and slice it about 3 days ahead of time; just make sure to keep it stored in an airtight container in the refrigerator to maintain freshness. When you’re ready to serve, simply stuff the pita pockets with the prepared fillings, add the tzatziki, and grill for that delightful crispy finish. Enjoy delicious, stress-free Greek Paninis that will impress your family without the last-minute rush!
Greek Panini Variations
Feel free to mix it up with these delightful twists that elevate your Greek Paninis to new heights!
-
Dairy-Free: Swap out feta for avocado, creating a creamy, rich texture without dairy. The avocado adds its own unique flavor, making each bite luscious and satisfying.
-
Spicy Kick: Add sliced jalapeños or a dash of chili flakes for a fiery pop! This twist will take your paninis from mellow to memorable.
-
Herb-Infused: Replace dill in the tzatziki with mint for a refreshing twist. This variation transports you to a summer brunch, brightening the dish with aromatic flair.
-
Veggie Loaded: Throw in roasted bell peppers or artichokes for extra layers of taste. These additions create a delightful interplay of sweet and savory that everyone will love.
-
Protein Variety: Exchange chicken for grilled lamb or halloumi cheese. This change infuses your panini with bold Mediterranean flavors, pleasing both meat-lovers and vegetarians alike.
-
Zesty Citrus: Squeeze a bit of lemon juice over the fillings before grilling for a vibrant boost. The citrus brightness enhances all the flavors, making every bite zing with freshness!
-
Crunch Factor: Add crispy lettuce or kale for extra texture in your panini. The crunch brings an exciting element that beautifully balances the creaminess of the tzatziki.
-
Pesto Spread: Swap tzatziki for a layer of basil pesto. This substitution adds a delightful herbaceous note, transforming your meal into a gourmet delight worthy of any culinary gathering!
How to Store and Freeze Greek Paninis
- Room Temperature: Greek paninis are best served fresh, but if left out, consume them within 2 hours to ensure food safety.
- Fridge: Store assembled paninis in an airtight container for up to 1 day. Avoid adding tzatziki until ready to serve to prevent sogginess.
- Freezer: For longer storage, freeze unassembled paninis (without tzatziki) wrapped tightly in plastic wrap and foil for up to 3 months.
- Reheating: To reheat, thaw if frozen, then grill or use a panini press until warmed through and crispy, ensuring a delightful texture with each bite.
What to Serve with Classic Greek-Style Pita Sandwiches?
Elevate your dining experience with vibrant sides that enhance the fresh and tangy notes of your Greek-style pita sandwiches.
- Greek Salad: A classic pairing, this salad offers refreshing tomatoes, cucumbers, and olives, complementing the flavors of your sandwiches wonderfully.
- Crispy Potato Wedges: Seasoned to perfection, these warm and crunchy wedges make for a hearty side that guests will love. For added flair, serve with a squeeze of lemon!
- Roasted Vegetables: A medley of roasted bell peppers and zucchini creates a colorful dish that adds sweetness and earthiness to your meal. Serve it warm for the best texture.
- Tabbouleh: This zesty parsley salad brings a burst of freshness and brightens your table. It’s a great way to incorporate more herbs into your meal.
- Hummus and Pita Chips: For a delightful appetizer, serve a side of hummus with crispy pita chips—perfect for dipping and sharing.
- Refreshing Lemonade or Iced Tea: A light drink like homemade lemonade or iced tea balances the savory flavors and adds a refreshing twist to your meal.
Enjoy crafting a delightful Mediterranean feast that will leave your family and friends asking for more!
Expert Tips for Greek Paninis
-
Fresh Ingredients: Always opt for fresh veggies and herbs to elevate your Greek Paninis. They amplify flavor and maintain a vibrant crunch.
-
Grill Time: Make sure your grill or panini press is adequately preheated. This helps achieve that sought-after crispy texture without drying out the filling.
-
Avoid Overstuffing: Resist the urge to overload your panini. Overstuffing can lead to a messy sandwich and increased risk of tearing the pita.
-
Perfect Tzatziki: Allow the tzatziki sauce at least 30 minutes in the fridge before serving. This chilling time is essential for the flavors to meld beautifully.
-
Customization Freedom: Don’t hesitate to experiment with different proteins or veggie combinations. It’s a fun way to discover new favorite flavors in your Greek Paninis!
-
Make-Ahead Tips: Prepare your tzatziki and chop veggies in advance. This will save time on busy weeknights while keeping your meal fresh and delicious!
Greek Paninis Recipe FAQs
What kind of pita bread should I use for Greek paninis?
Absolutely! A traditional pita bread is essential for these Greek paninis, as it holds the fillings beautifully. You can also use whole wheat pita for a healthier option or gluten-free pita if you have dietary restrictions. Make sure it’s fresh!
How should I store leftover Greek paninis?
For the best freshness, store assembled Greek paninis in an airtight container in the fridge for up to 1 day. To prevent sogginess, I recommend adding the tzatziki sauce only right before you’re ready to enjoy them. If you want to make them ahead, wrap the unassembled paninis tightly in plastic wrap and foil for up to 3 months in the freezer.
Can I freeze Greek paninis, and how do I do it?
Yes, you can freeze Greek paninis! To do this, prepare the sandwiches without tzatziki. Wrap each panini tightly in plastic wrap followed by aluminum foil to prevent freezer burn. These can be stored for up to 3 months. When you’re ready to eat, thaw overnight in the fridge and then grill or use a panini press until crispy and warmed through.
What should I do if my paninis are getting soggy?
If your Greek paninis are turning soggy, it may be due to excess moisture from the veggies or tzatziki. To prevent this, I suggest squeezing any excess water out of cucumbers before adding them to your panini. Additionally, you can serve the tzatziki on the side rather than inside the sandwich to maintain that perfect crunch!
Can I use other proteins besides chicken or tofu in my Greek paninis?
Very! Feel free to swap out the chicken for grilled shrimp, lamb, or even falafel for a vegetarian twist. The flavor pairings are endless! Consider trying different meats or going fully plant-based to customize the paninis according to your preferences.
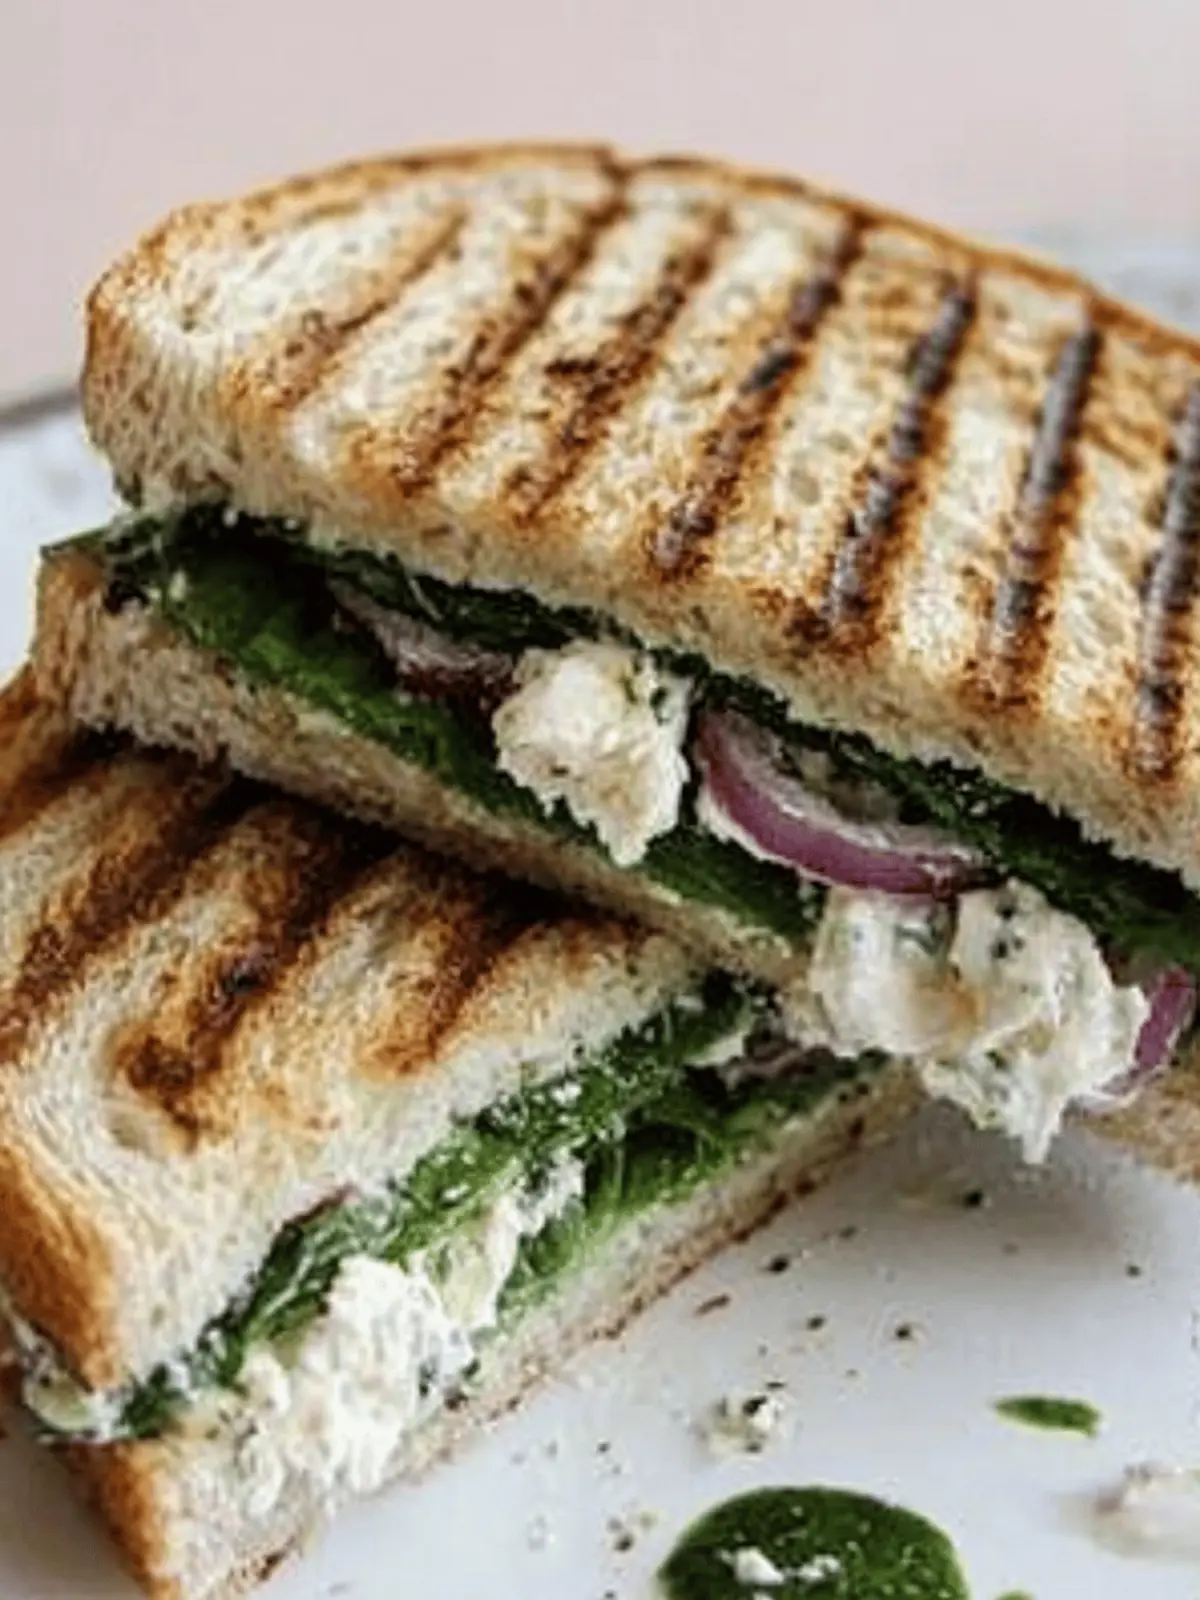
Delicious Greek Paninis with Tzatziki for Easy Dinners
Ingredients
Equipment
Method
- Prepare the Tzatziki: Start by slicing cucumbers and mixing them with Greek yogurt, minced garlic, and fresh dill in a bowl. Refrigerate for about 30 minutes to let the flavors develop beautifully.
- Cook the Protein: Grill or roast your chicken or tofu until it’s fully cooked and lightly golden, about 6-8 minutes each side for chicken, or until tofu is crisp and warm.
- Slice the Pita: Cut pita bread in half to create pockets. This allows for the delicious fillings to snugly fit inside.
- Layer the Fillings: Begin layering your cooked protein, sliced cucumbers, juicy tomato slices, zesty red onion, and crumble feta cheese (if using) into each pita pocket.
- Add Tzatziki: Drizzle tzatziki generously inside each sandwich for that creamy, herby goodness that brings all the flavors together.
- Grill the Panini: Preheat a panini press or grill pan and place the stuffed pita pockets inside. Cook for about 3-5 minutes, or until the outside is golden and slightly crispy.

