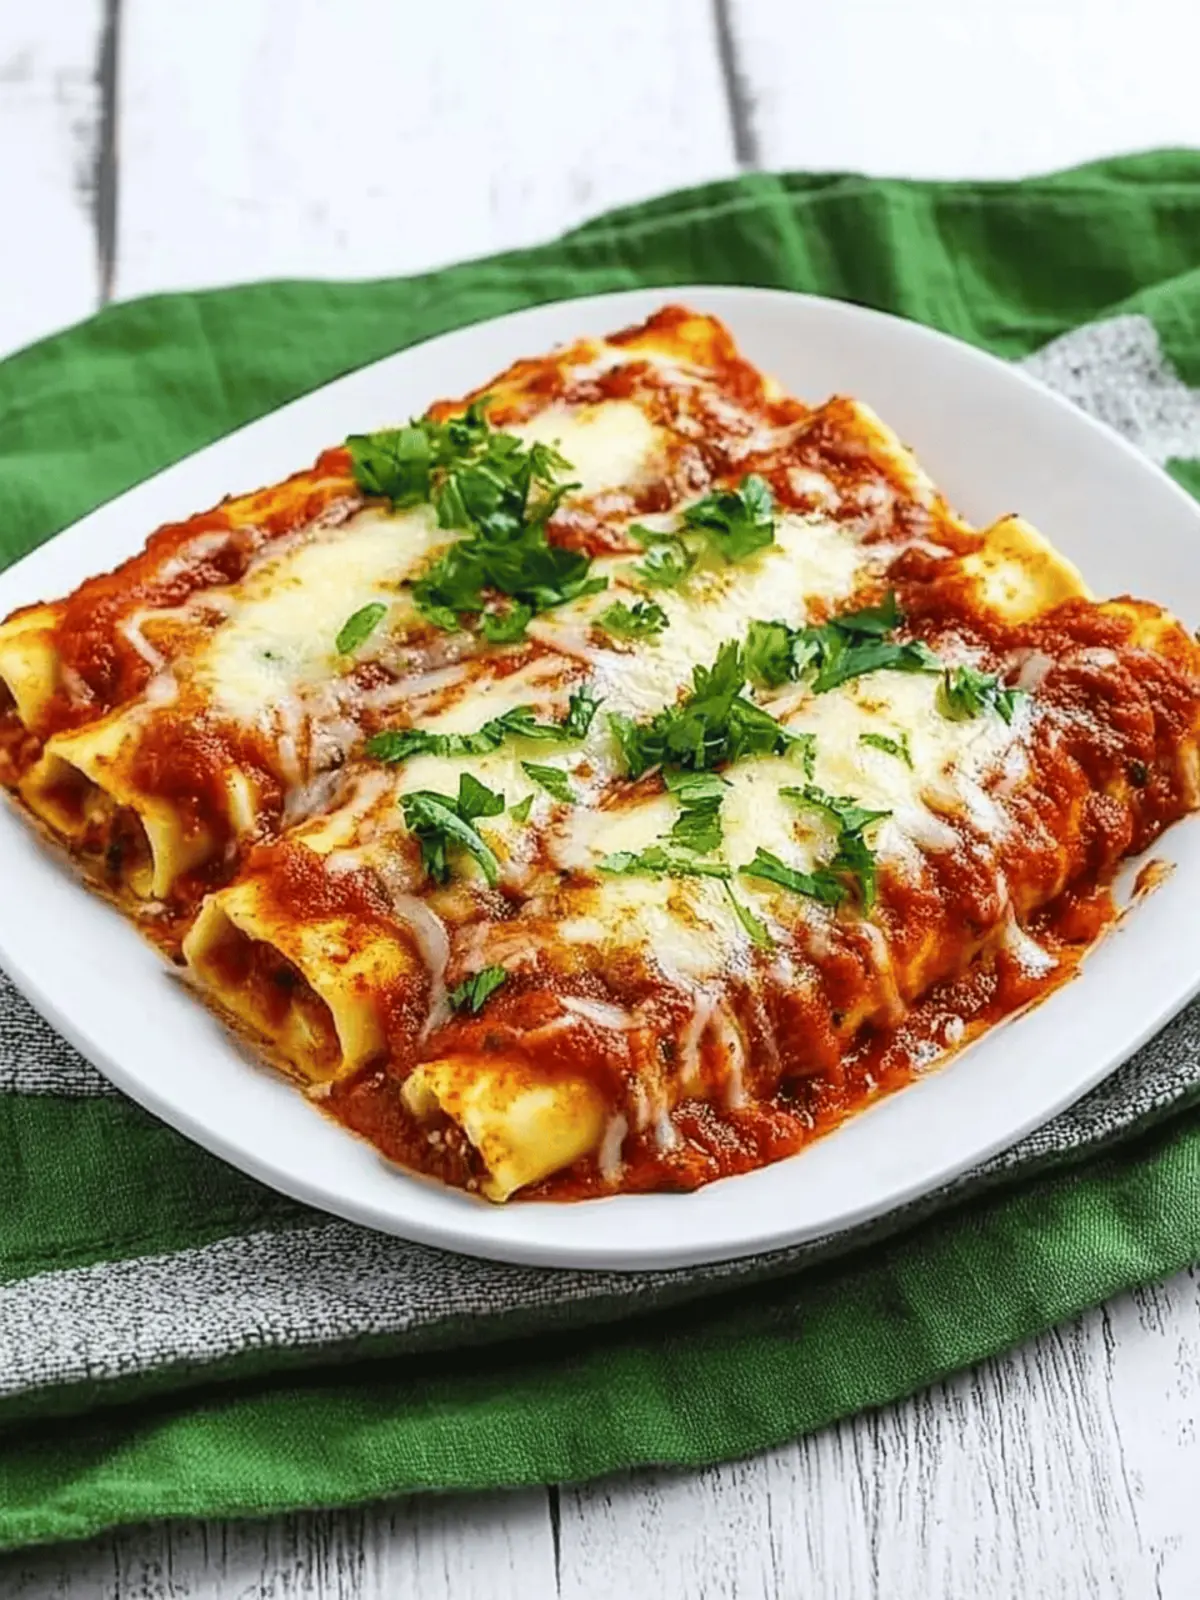
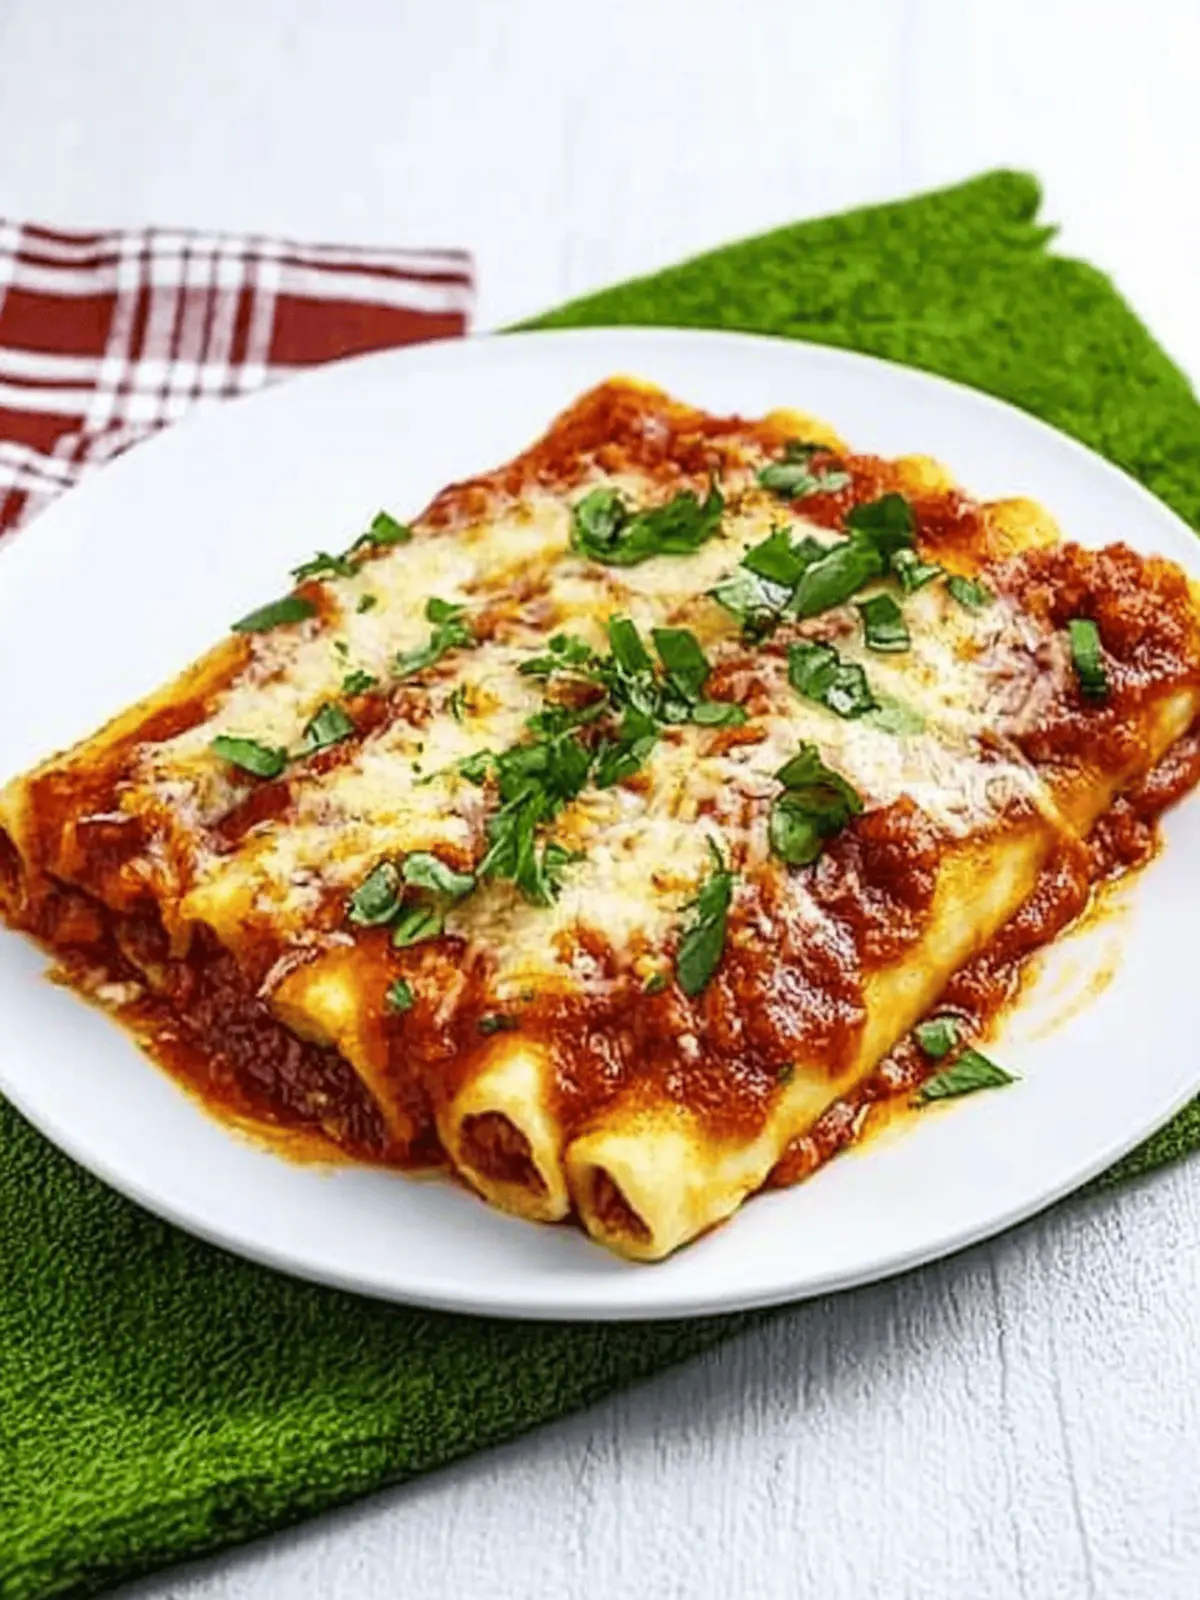
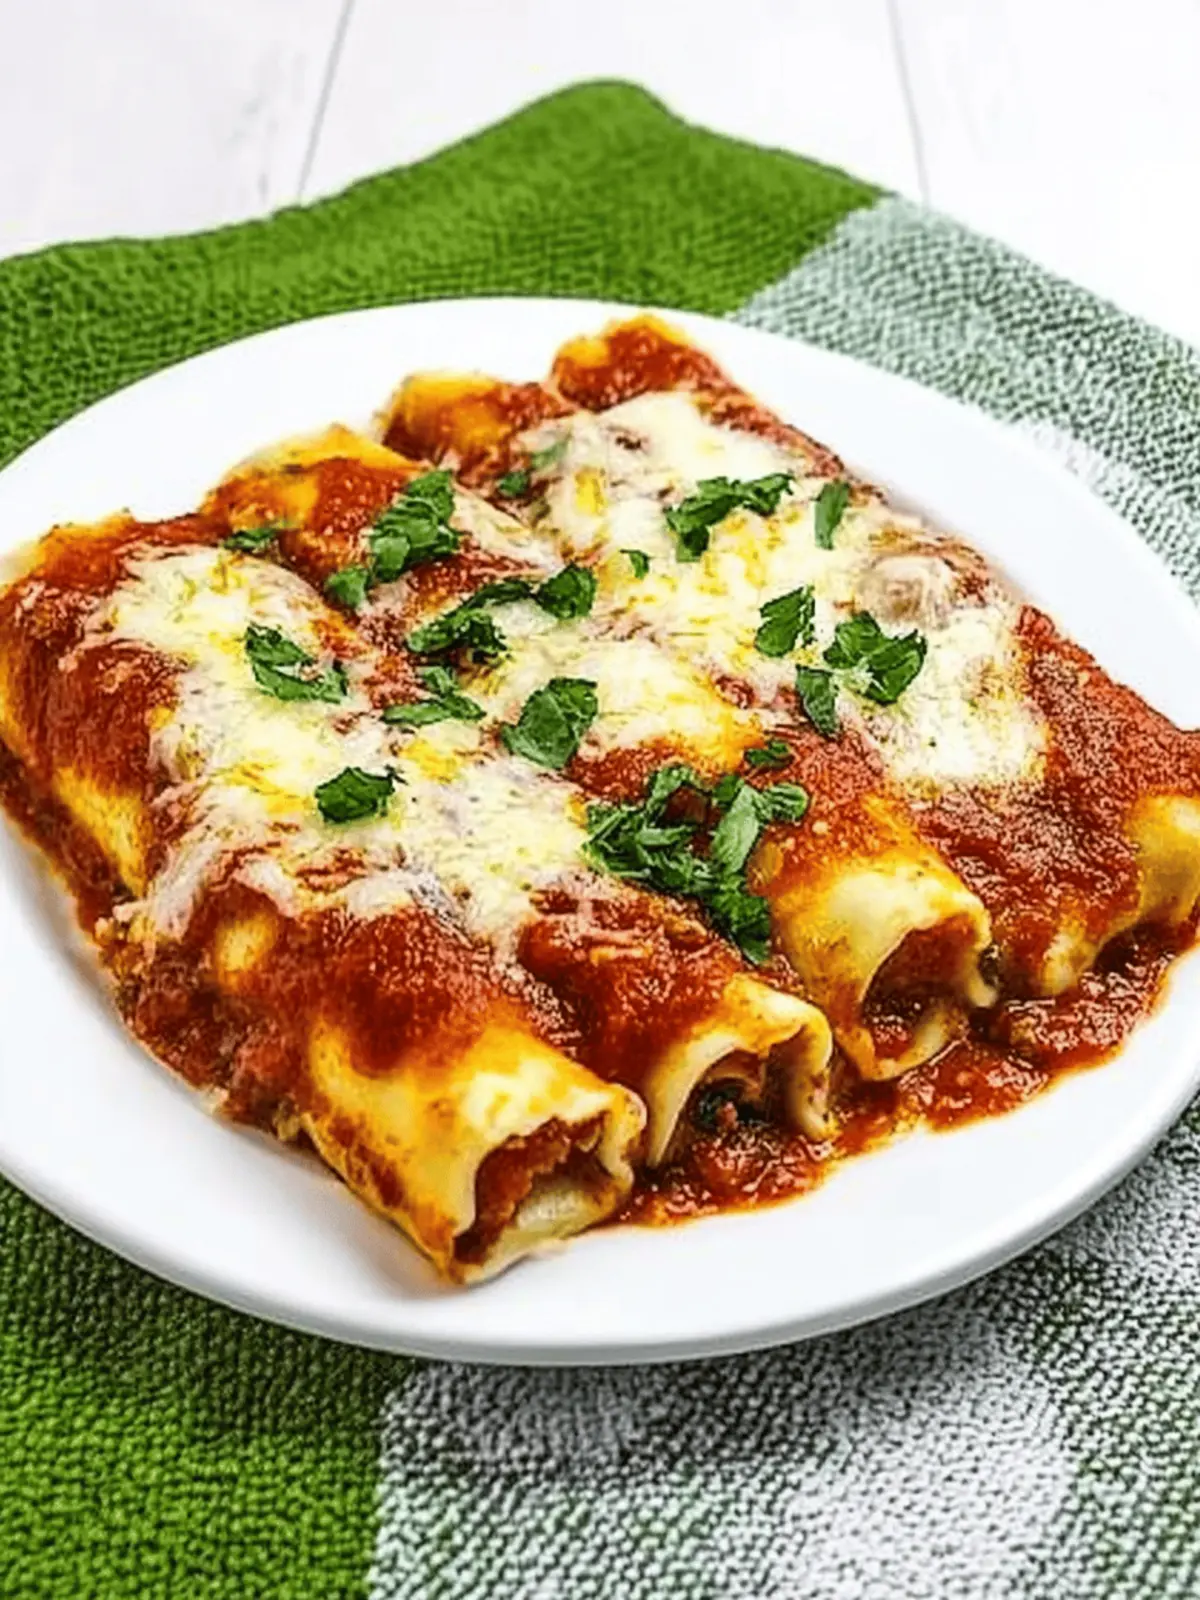
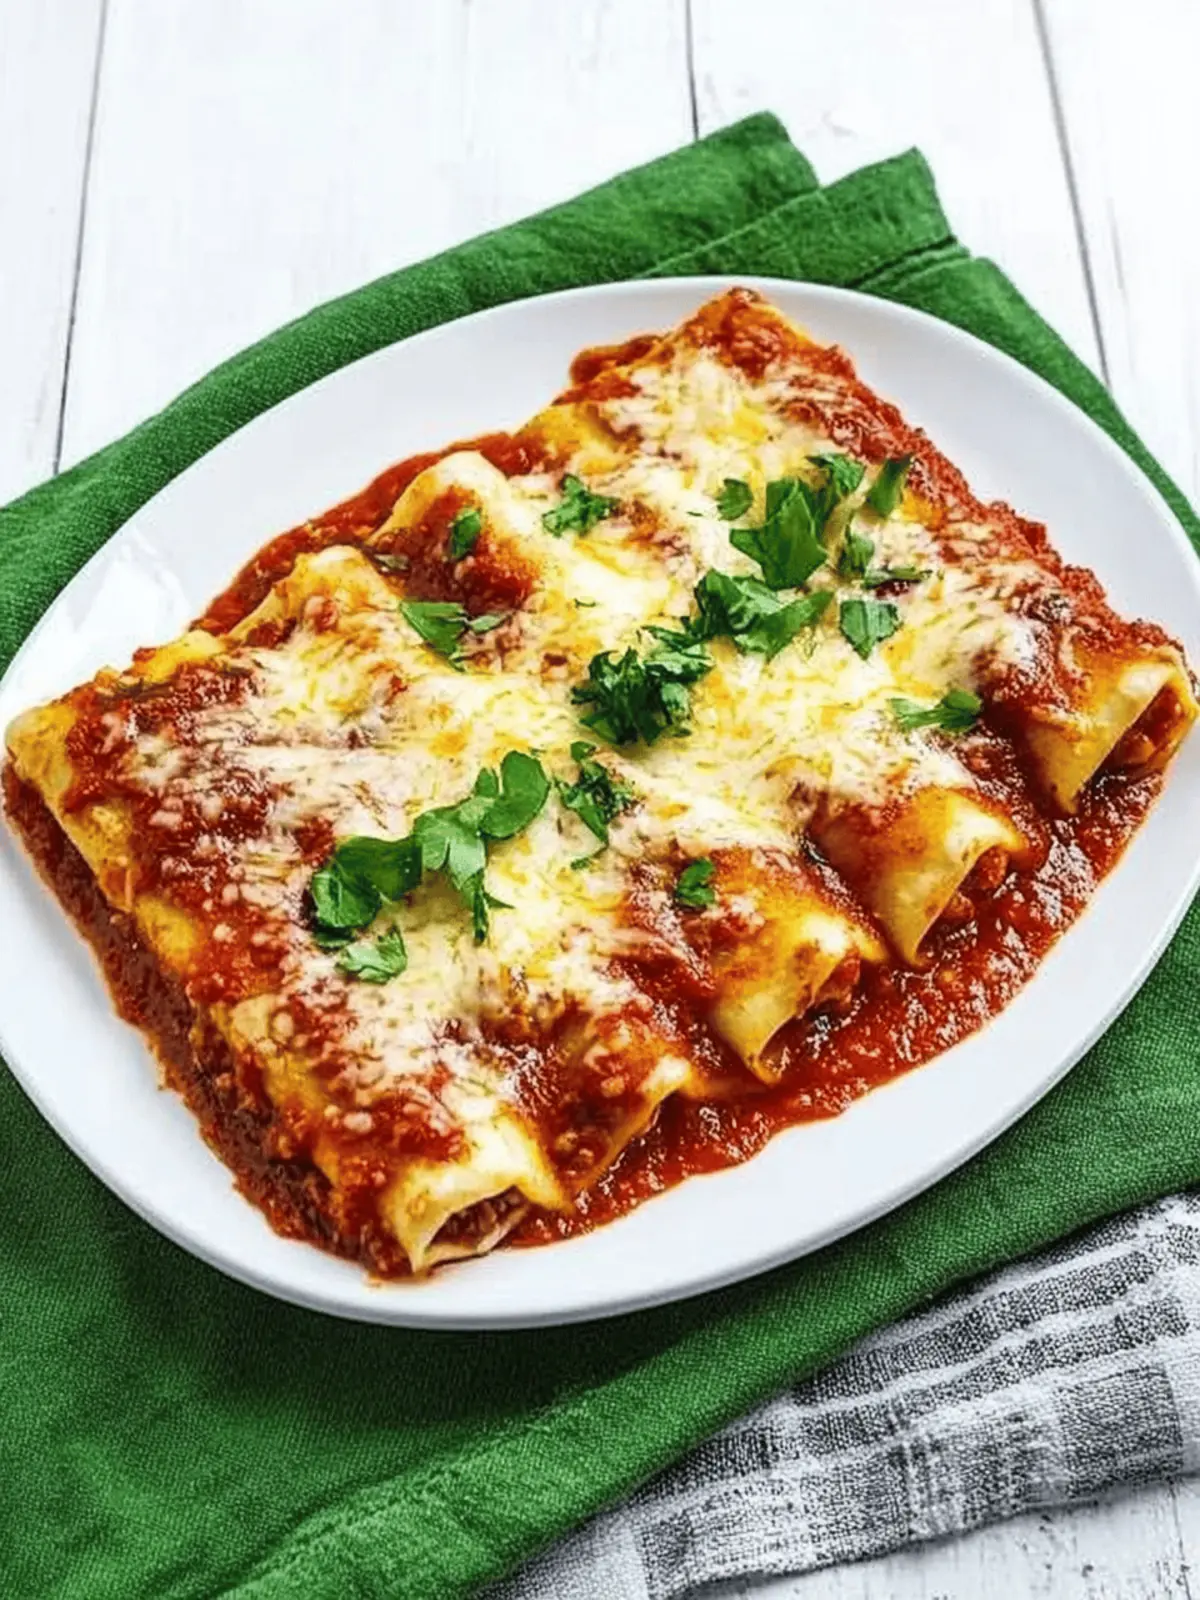
There’s something truly satisfying about crafting your own pasta from scratch, especially when it’s destined to become a warm, indulgent dish like homemade manicotti. One evening, as I was exploring my kitchen, the idea of rolling out fresh dough paired with a luscious ricotta filling struck me like a burst of inspiration. The result? A beautiful plate of creamy, cheesy goodness that transports you straight to Italy with every bite.
This homemade manicotti is not just a meal; it’s an experience that brings family together around the dinner table. With its delicate pasta pockets cradling a creamy filling and smothered in marinara sauce, it’s the perfect antidote to the fast food fatigue we all know too well. Plus, once you perfect this recipe, you’ll discover it’s ideal for make-ahead meals—giving you more time to savor that first slice. Ready to elevate your home cooking? Let’s dive into this delightful culinary journey!
Why is homemade manicotti a must-try dish?
Heavenly Creaminess: The rich ricotta filling creates a luscious experience that melts in your mouth.
Fresh Pasta Experience: Rolling your own pasta brings a delightful texture that shop-bought simply can’t match.
Family Favorite: With its cheesy goodness and marinara smothering, this dish is sure to please both kids and adults alike.
Meal Prep Hero: Make and freeze these delicious manicotti in advance for an effortless weeknight dinner whenever you need it.
Endless Variations: Add your favorite herbs or veggies for a customized twist on this classic, ensuring each bite is uniquely yours!
Homemade Manicotti Ingredients
For the Pasta
• All-purpose flour – Provides structure to the pasta; use semolina for chewier texture.
• Water – Hydrates the flour for the right dough consistency.
• Eggs – Binds the dough and enhances flavors; large eggs work best.
• Salt – Enhances the flavor in both pasta and filling.
For the Filling
• Ricotta cheese – Adds creaminess to the filling; substitute with cottage cheese for a lower-fat option.
• Romano cheese (grated) – Offers a sharp flavor; Parmesan can be used as a substitute.
• Parsley (chopped) – Adds freshness and color; optional but recommended for extra flavor.
• Mozzarella cheese – Melts beautifully to finish off the dish; can replace with low-moisture mozzarella.
• Pepper – For seasoning; optional, can omit for a milder flavor.
For Assembly
• Marinara sauce – Adds rich flavor and moisture; essential for that comforting finish.
With these ingredients at hand, you’re on your way to creating the most delicious homemade manicotti that everyone will savor!
How to Make Homemade Manicotti
-
Make the Pasta Dough: Combine all-purpose flour and salt in a large bowl, then form a well in the center. Add water and eggs, mixing until a dough forms. Knead the dough until smooth, then cover it and let it rest for 30 minutes.
-
Prepare the Filling: In a mixing bowl, combine ricotta cheese, grated Romano cheese, chopped parsley, salt, and pepper. Blend gently until creamy, adjusting seasoning to your taste for the perfect balance.
-
Roll Out the Dough: After resting, divide the pasta dough into manageable pieces. Using a pasta machine or a rolling pin, roll each piece out thinly for a delicate and tender texture.
-
Cut into Sheets: Carefully cut the rolled-out dough into rectangles big enough to handle the filling. Aim for dimensions that will easily fold around your creamy treasures.
-
Fill the Pasta: Spoon the ricotta filling onto one end of each piece of pasta. Roll it tightly, tucking in the filling as you go, to create a delicious manicotti shape.
-
Assemble in Baking Dish: Begin by spreading a layer of marinara sauce at the bottom of a baking dish. Place the filled manicotti on top, then generously cover with more marinara to keep everything moist.
-
Top with Cheese: Sprinkle mozzarella cheese over the assembled manicotti. Cover the dish tightly with foil to lock in moisture during baking.
-
Bake: Place the baking dish in a preheated oven at 375°F (190°C) and bake for 30-40 minutes, or until the manicotti are bubbly and golden on top.
-
Serve: Let your masterpiece rest for a few minutes before serving. This will help ensure each slice retains its delicious filling.
Optional: Garnish with fresh parsley for an extra touch of flavor and color.
Exact quantities are listed in the recipe card below.
What to Serve with Homemade Creamy Manicotti?
Complement your culinary creation with delightful side dishes that elevate every bite.
-
Garlic Bread: The warm, toasty goodness of garlic bread pairs perfectly to soak up the rich marinara sauce, enhancing your dining experience.
-
Caesar Salad: Crisp romaine lettuce and crunchy croutons with creamy dressings provide a refreshing contrast to the rich flavors of the manicotti.
-
Roasted Vegetables: A colorful medley of seasonal vegetables brings heartiness and nutrition to your plate, balancing the creamy cheese.
-
Bruschetta: Fresh tomatoes, basil, and a drizzle of olive oil on toasted bread offer a bright, zesty flavor that complements the dish exquisitely.
-
Italian Red Wine: A glass of Chianti or Valpolicella will elevate your meal, pairing beautifully with the flavors of cheese and marinara.
-
Tiramisu: For dessert, this creamy coffee-flavored treat completes your Italian feast, leaving your guests with a sweet aftertaste they won’t forget.
Enjoy a symphony of flavors that perfectly harmonize with your homemade manicotti, creating a memorable meal experience for family and friends!
Homemade Manicotti Variations
Feel free to play with flavors and ingredients to make this pasta dish truly your own!
-
Spinach Addition: Fold in briefly sautéed spinach into the ricotta filling for added nutrition and vibrant color. It’s a classic pairing that enhances both flavor and health.
-
Mushroom Medley: Mix in cooked, finely chopped mushrooms for an earthy twist. The mushrooms add depth and a lovely umami flavor that complements the creamy cheese.
-
Cheddar Twist: Substitute half of the ricotta with sharp cheddar cheese to give a surprise kick to each bite. This creates a rich, hearty filling that kids will adore!
-
Gluten-Free Option: Replace all-purpose flour with a gluten-free pasta blend for a celiac-friendly alternative. This way, everyone can enjoy the creamy goodness without worry.
-
Herb Infusion: Play with fresh herbs like basil or thyme in your ricotta filling for an aromatic twist. Each herb brings a unique fragrance, taking your dish to the next level.
-
Spicy Kick: Add crushed red pepper flakes into your filling or sprinkle over the top before baking for a spicy kick. It’s excellent if you enjoy a little heat!
-
Zucchini Noodles: For a low-carb alternative, use zucchini noodles instead of traditional pasta for a lighter take. They’ll soak up the sauce beautifully while keeping it refreshing.
-
Bechamel Sauce: Swap marinara for a creamy bechamel sauce instead for a luxurious and rich dish. The mild flavor of bechamel wraps around the manicotti like a warm hug!
How to Store and Freeze Homemade Manicotti
Fridge: Store leftover homemade manicotti in an airtight container for up to 3 days. Reheat in the oven at 350°F (175°C) until warmed through.
Freezer: Freeze uncooked manicotti on a baking sheet until firm, then transfer to Ziploc bags. They can be stored for up to 3 months without losing flavor.
Reheating: To reheat frozen manicotti, bake directly from frozen at 375°F (190°C) for 50-60 minutes, covering with foil to prevent drying out.
Make-Ahead: Prepare and assemble your homemade manicotti in advance, refrigerating for up to a day before baking, letting the flavors meld beautifully.
Make Ahead Options
These homemade manicotti are perfect for meal prep! You can prepare the pasta dough and filling up to 24 hours in advance. Simply roll out the dough and fill it, then assemble the manicotti in your baking dish with marinara sauce. Cover tightly and refrigerate until you’re ready to bake. For longer storage, freeze the uncooked manicotti for up to 3 months—freeze them on a baking sheet first before transferring to a zip-top bag to maintain their shape. When ready to serve, bake directly from the freezer, adding an extra 10-15 minutes to the cooking time for perfectly creamy dough that’s just as delicious!
Expert Tips for Homemade Manicotti
-
Thin Dough: Roll your pasta dough as thin as possible. A thinner pasta yields a more tender bite that complements the creamy filling beautifully.
-
Creamy Filling: Ensure your ricotta mixture is smooth and well seasoned. Taste the filling before stuffing to avoid underwhelming flavors in your homemade manicotti.
-
Rest in Sauce: Let the assembled manicotti sit in the marinara sauce for a few minutes before baking. This steams the pasta and enhances creaminess in every bite.
-
Freezing Technique: To freeze uncooked manicotti, place them on a cookie sheet until solid, then transfer to Ziploc bags to keep them fresh for up to 3 months.
-
Filling Method: Use a piping bag to fill your manicotti for mess-free stuffing. It allows you to control the amount of filling without spilling.
Homemade Creamy Manicotti Recipe FAQs
What type of flour should I use for the pasta?
I recommend using all-purpose flour for a soft texture, but you can also use semolina flour for a chewier bite. Both work wonderfully, so feel free to choose based on your preference!
How long can I store leftover homemade manicotti in the fridge?
You can store leftover homemade manicotti in an airtight container for up to 3 days. Simply reheat in the oven at 350°F (175°C) until warmed through, making it an easy option for those busy weeknights.
Can I freeze uncooked manicotti, and how do I do it?
Absolutely! To freeze uncooked manicotti, place them on a baking sheet in a single layer and freeze until solid, about 1-2 hours. Then, transfer them to Ziploc bags, where they can be stored for up to 3 months. When you’re ready to enjoy, bake them directly from frozen at 375°F (190°C) for 50-60 minutes, covering with foil to retain moisture.
What should I do if my pasta dough is too sticky?
If your dough is too sticky, dust it with a little more flour until it reaches a smooth consistency. Make sure to knead it well, as this helps the dough come together. You want it tacky but not overly sticky—it should be easy to handle!
Can I make manicotti ahead of time?
Yes, you can prepare and assemble your homemade manicotti in advance. Just refrigerate them for up to a day before baking. This not only saves you time but allows the flavors to meld, making them even more delicious!
Are there any dietary considerations for this recipe?
If you have dietary restrictions, you can substitute ricotta with cottage cheese for a lower-fat option. Additionally, make sure to check cheese labels for allergens, especially if you have lactose intolerance or specific cheese allergies. Using gluten-free pasta can also make this recipe more inclusive for those with gluten sensitivities.

Creamy Homemade Manicotti: A Fresh Pasta Delight
Ingredients
Equipment
Method
- Combine all-purpose flour and salt in a large bowl, then form a well in the center. Add water and eggs, mixing until a dough forms. Knead the dough until smooth, then cover it and let it rest for 30 minutes.
- In a mixing bowl, combine ricotta cheese, grated Romano cheese, chopped parsley, salt, and pepper. Blend gently until creamy, adjusting seasoning to your taste.
- After resting, divide the pasta dough into manageable pieces. Roll each piece out thinly for a delicate and tender texture.
- Carefully cut the rolled-out dough into rectangles big enough to handle the filling.
- Spoon the ricotta filling onto one end of each piece of pasta. Roll it tightly, tucking in the filling as you go.
- Spread a layer of marinara sauce at the bottom of a baking dish. Place the filled manicotti on top, then generously cover with more marinara.
- Sprinkle mozzarella cheese over the assembled manicotti. Cover the dish tightly with foil.
- Place the baking dish in a preheated oven at 375°F (190°C) and bake for 30-40 minutes, or until bubbly and golden on top.
- Let your masterpiece rest for a few minutes before serving.


