
There’s something truly delightful about combining two beloved treats into one whimsical creation. As I first rolled out the dough for this Chocolate Chip Cookie Sushi, the sweet aroma enveloped the kitchen, and I couldn’t help but smile at the cheerful thought of enjoying sushi, not from the sea, but from the heart of a dessert dream. This no-bake wonder invites you to embrace your creativity, offering a chewy cookie exterior that envelopes any sweet filling your heart desires—from luscious Nutella to fluffy marshmallow. Each slice resembles a sushi roll, making it perfect for parties, picnics, or simply satisfying a sweet craving on a cozy evening at home. So, if you’re tired of the same old desserts and looking for a fun way to impress your friends or family, this easy and customizable recipe is your ticket to a delicious adventure! Let’s dive in and create these delightful rolls that are sure to make everyone smile!
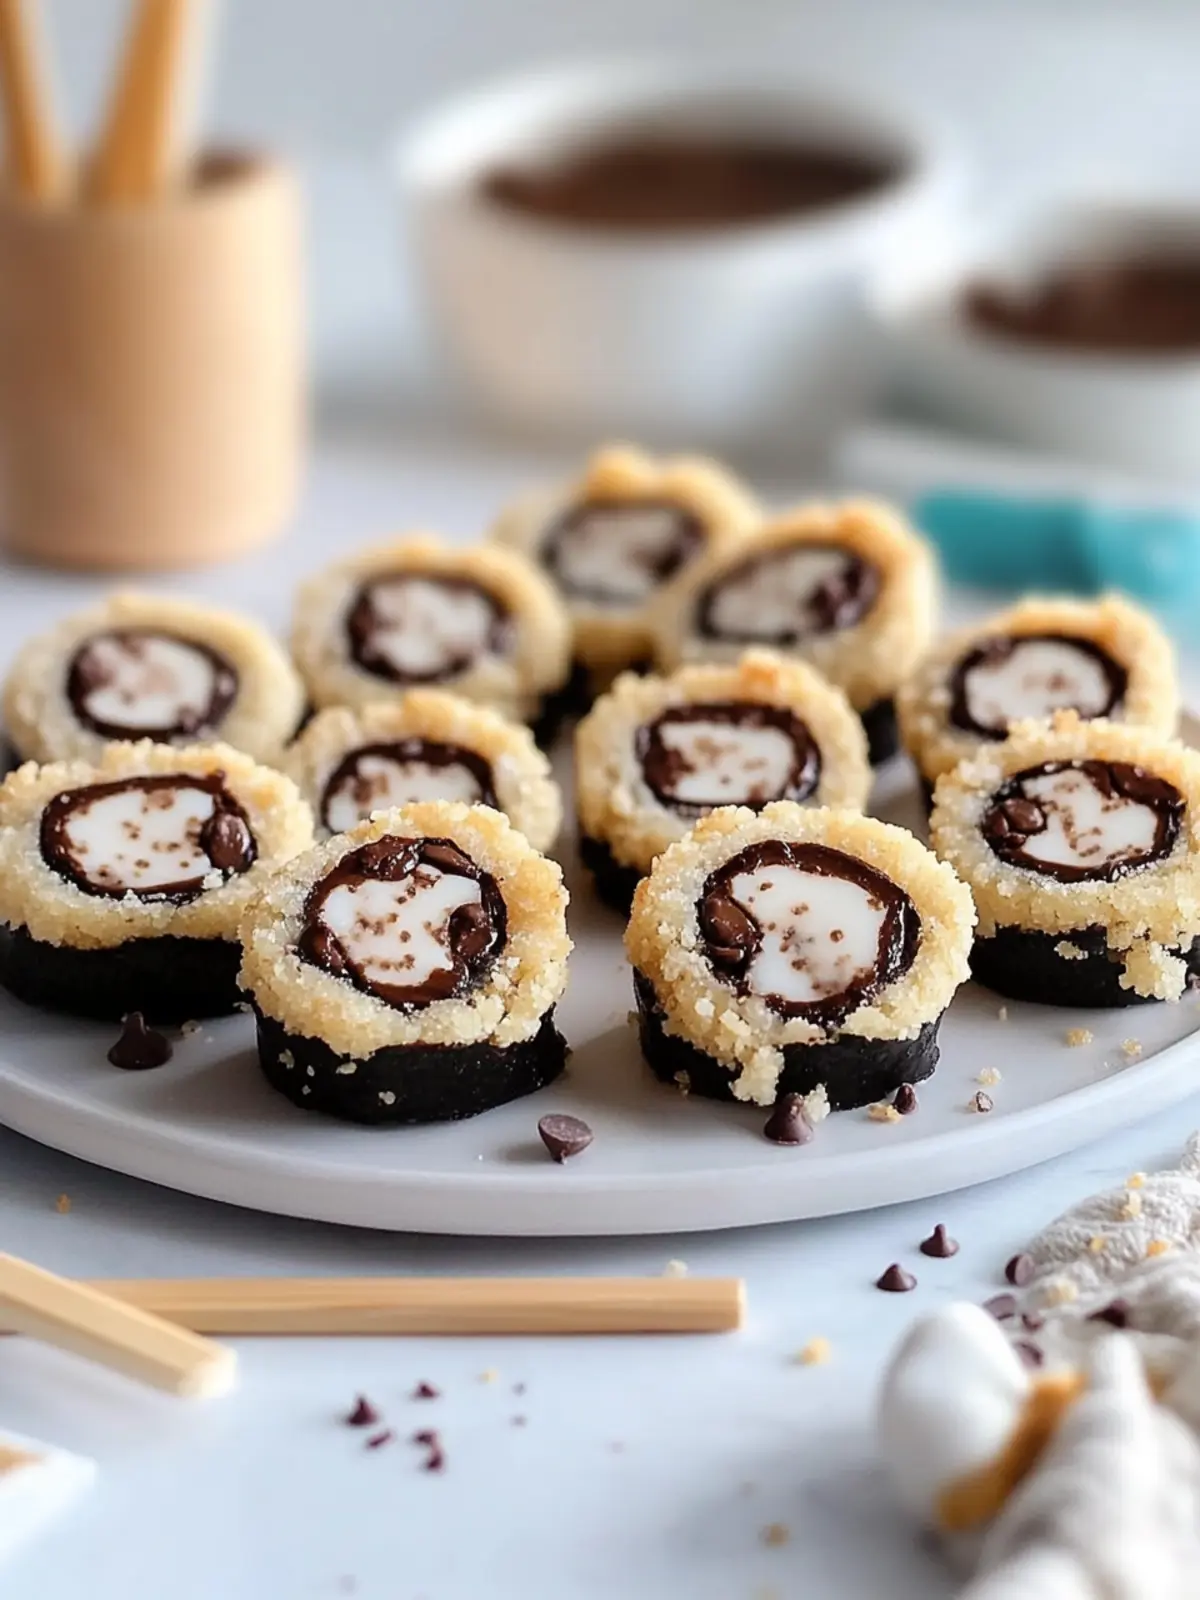
Why is Chocolate Chip Cookie Sushi so special?
Unforgettable Fun: This no-bake treat brings smiles to faces, combining the joy of sushi with the nostalgia of chocolate chip cookies.
Endless Customization: Tailor these rolls to your taste by choosing from sweet fillings like Nutella, peanut butter, or marshmallow fluff.
Quick & Easy: With minimal steps, you can whip up this delightful dessert in no time—perfect for busy days!
Crowd-Pleaser: Whether it’s birthday parties or family gatherings, everyone will be eager to try this creative twist on desserts.
Charming Presentation: Each slice resembles sushi rolls, making them fun to serve and a hit on your dessert table. For even more culinary inspiration, check out my fun party desserts.
Chocolate Chip Cookie Sushi Ingredients
For the Cookie Dough
- Butter – Provides richness and a creamy texture; can substitute with vegan butter for a dairy-free option.
- Granulated Sugar – Adds sweetness and contributes to the cookie dough’s texture; possible substitution with coconut sugar for a lower glycemic index.
- Brown Sugar – Enhances moisture and provides depth of flavor; can use maple sugar for subtle caramel notes if desired.
- Milk – Binds ingredients and adds moisture; non-dairy milk can be used for a lactose-free version.
- Vanilla Extract – Offers floral notes and enhances overall flavor; can be replaced with almond extract for an exciting twist.
- All-Purpose Flour – Forms the structure of the dough; consider heat-treated flour or gluten-free alternatives if concerned about raw flour.
- Mini Chocolate Chips – Provides extra chocolate flavor throughout the cookie dough; can be swapped with chopped nuts or dried fruit for diversity.
For the Filling
- Nutella/Peanut Butter/Marshmallow Fluff/Fruit Leather – Each filling transforms the cookie sushi; any sweet spread or soft fruit can work as delicious variations.
With this Chocolate Chip Cookie Sushi recipe, you’re set for a delightful and fun no-bake dessert that everyone will love!
How to Make Chocolate Chip Cookie Sushi
-
Make the Dough: In a large mixing bowl, cream together the softened butter, granulated sugar, and brown sugar until the mixture is light and fluffy. Add the milk and vanilla, mixing well before gradually stir in the all-purpose flour and a pinch of salt until a smooth dough forms. Finally, fold in the mini chocolate chips for an extra touch of delight.
-
Shape the Dough: Lay out a sheet of parchment paper and place the dough on top. Use a rolling pin to carefully roll the dough into a rectangle, about ¼ inch thick. This ensures your sushi rolls will have a nice, consistent shape!
-
Add Filling: Select your favorite filling (like Nutella or peanut butter) and spread it evenly over the dough, leaving a small border around the edges to avoid overflow. This will create a sweet surprise in every bite!
-
Roll Up: Using the parchment paper as a guide, gently roll the dough into a log shape, jelly-roll style. Be sure to roll tightly to keep your fillings secure and create perfect sushi slices.
-
Chill: Wrap the log in parchment or plastic wrap and refrigerate for 10-15 minutes to firm up. This step makes slicing much easier and helps solidify that dreamy cookie sushi structure!
-
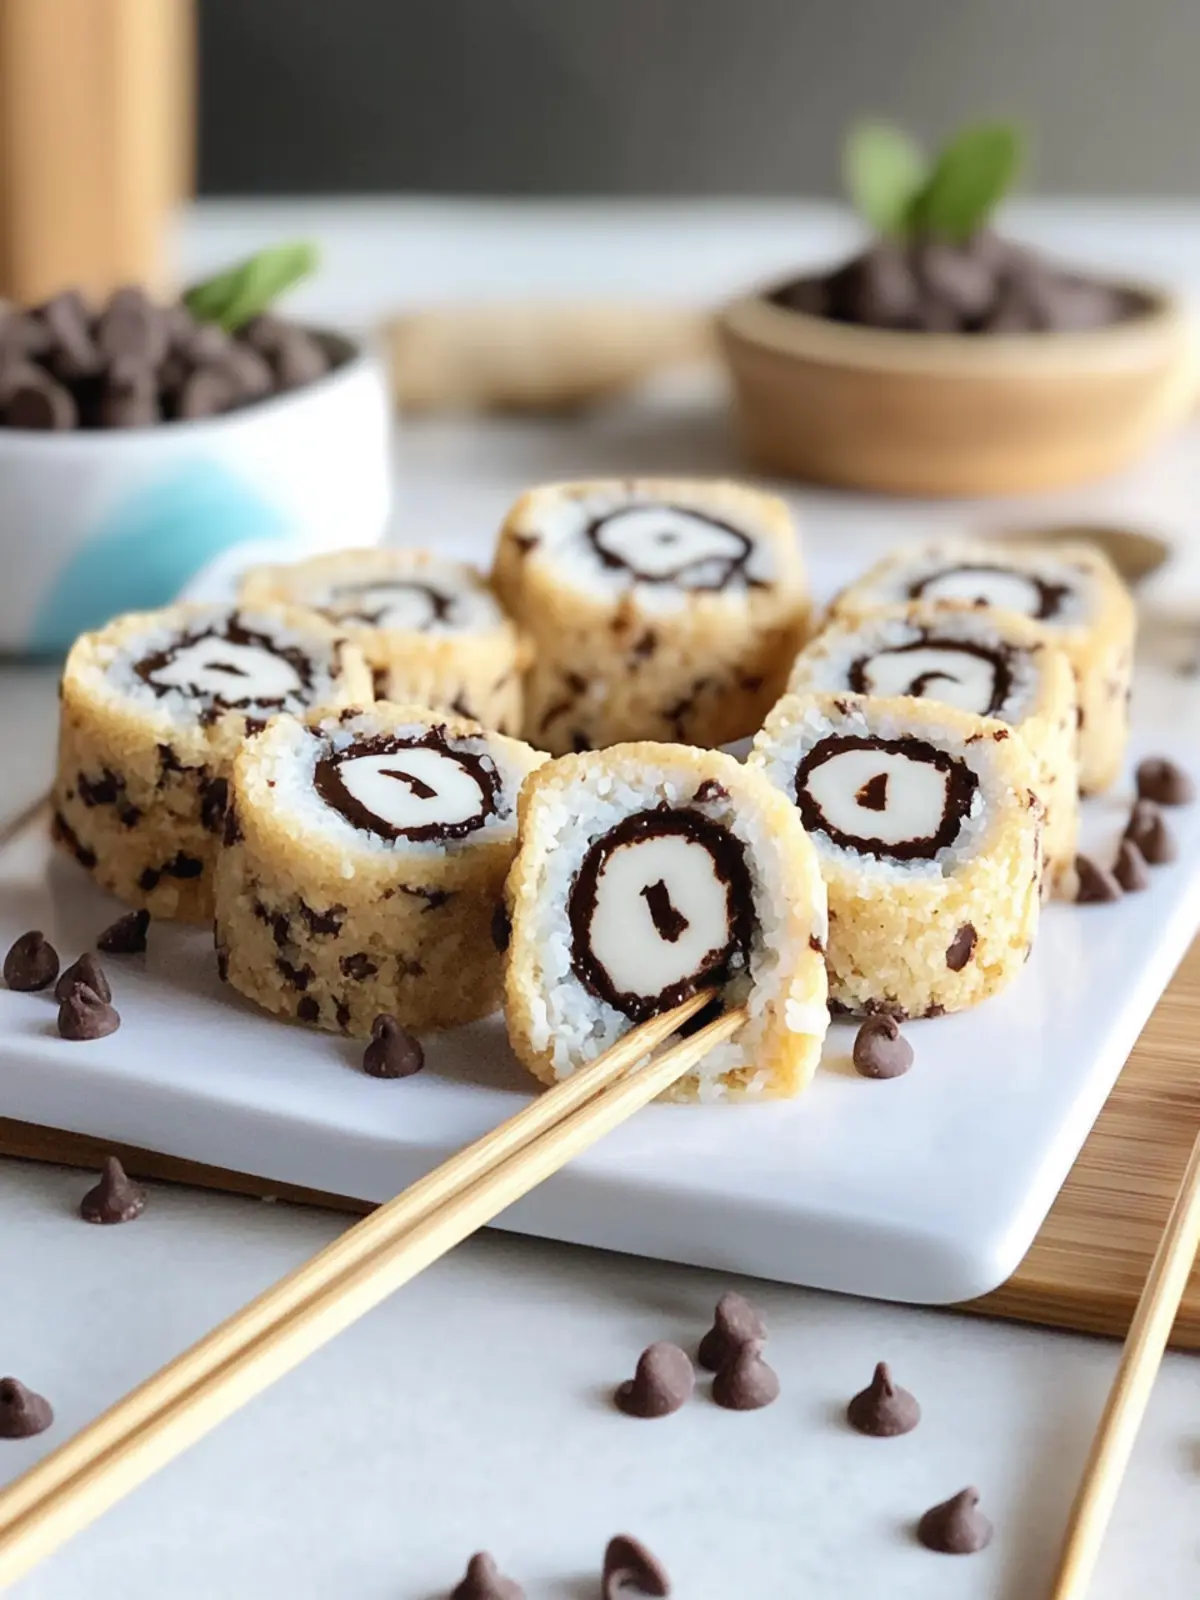
Slice & Serve: Once chilled, remove the log from the refrigerator and carefully slice it into 1-inch pieces. Serve as fun and whimsical sushi rolls, inviting everyone to enjoy this delightful treat!
Optional: Drizzle with melted chocolate for an extra indulgent touch!
Exact quantities are listed in the recipe card below.
Make Ahead Options
These delicious Chocolate Chip Cookie Sushi are perfect for meal prep enthusiasts! You can make the cookie dough up to 24 hours in advance, simply mixing and rolling it into a log, then wrapping it tightly in plastic wrap and refrigerating. The dough can also be filled and rolled ahead of time; just chill for 10-15 minutes, then cover and refrigerate for up to 3 days. To maintain the cookie’s quality, avoid cutting it until you’re ready to serve. When you’re set to enjoy these delightful treats, slice the log into 1-inch pieces and serve chilled for a fun and whimsical dessert everyone will love!
How to Store and Freeze Chocolate Chip Cookie Sushi
Fridge: Store your Chocolate Chip Cookie Sushi in an airtight container for up to 5 days. This keeps the flavors fresh while maintaining that delightful chewy texture.
Freezer: If you’d like to enjoy your sushi rolls later, you can freeze them! Wrap each piece tightly in plastic wrap or foil, then place them in a freezer-safe bag. They can last up to 2 months.
Thawing: When you’re ready to indulge, simply transfer the frozen sushi rolls to the refrigerator and let them thaw overnight before serving.
Reheating: These treats are best enjoyed chilled, but for a warm twist, pop them in the microwave for about 10-15 seconds to slightly soften the cookie dough without melting the fillings.
Chocolate Chip Cookie Sushi Variations
Feel free to explore these creative twists that will take your Chocolate Chip Cookie Sushi to the next level!
- Nutty Delight: Substitute Nutella with a nut butter for an earthy flavor; almond butter adds a rich, creamy element.
- Fruity Twist: Replace marshmallow fluff with fruit preserves; strawberry or raspberry add a delightful burst of flavor.
- S’mores Inspiration: Combine mini marshmallows and chocolate chips in the filling for a captivating, campfire-inspired treat.
- Tropical Vibes: Try adding cream cheese and mango puree for a refreshing, tropical filling that transports you to the beach.
- Cocoa Infusion: Mix cocoa powder into the cookie dough for a chocolatey base; this enhances the indulgence with every bite.
- Granola Crunch: Incorporate crunchy granola into the filling for added texture and an unexpected twist that everyone will love!
- Peppermint Surprise: Swap chocolate chips with crushed peppermint candies for a festive seasonal version that’s a perfect treat during the holidays.
- Spicy Heat: Add a dash of cayenne or chili powder to the filling for a surprising kick that beautifully contrasts with the sweetness.
With these variations, the fun doesn’t stop at just the original recipe—let your imagination run wild! Enjoy customizing your dessert sushi to match your cravings or impress your guests.
Expert Tips for Chocolate Chip Cookie Sushi
-
Chilling Time: Don’t skip the chilling step! It helps the dough firm up, making it easier to slice without losing its shape.
-
Filling Variations: Explore your creativity! Substitute Nutella with different spreads like almond butter or add fresh fruits for a refreshing twist to your Chocolate Chip Cookie Sushi.
-
Safety First: Always ensure that the cookie dough ingredients are safe to consume raw. Use heat-treated flour and edible cookie dough if concerned.
-
Presentation Matters: For clean slices, use a sharp knife or dental floss to cut through the rolls. This prevents squishing and ensures beautiful sushi-like pieces.
-
Storage Tips: Keep your Cookie Sushi in an airtight container for up to 5 days in the fridge or freeze for future sweet cravings. Thaw in the fridge before serving for best results!
What to Serve with Chocolate Chip Cookie Sushi?
Indulge your guests’ sweet cravings and elevate your dessert experience with delightful pairings to complement this fun creation.
-
Vanilla Ice Cream: The creamy, cool texture enhances the chewy cookie dough, creating a perfect blend of flavors and temperatures.
-
Whipped Cream: A light, fluffy topping adds an airy contrast, making each bite even more indulgent and delightful to the palate.
-
Fresh Berries: Juicy raspberries or strawberries offer a fresh, tart contrast to the sweet cookie sushi, balancing the flavors beautifully.
-
Chocolate Drizzle: A warm, rich chocolate sauce drizzled on top elevates the visual appeal and adds an extra layer of chocolatey goodness.
-
Fruit Salad: A mix of seasonal fruits brings brightness and freshness to your dessert table while cutting through the sweetness with a pop of natural flavor.
-
Milk or Milk Alternatives: Pairing this treat with a cold glass of milk can evoke a nostalgic experience, enhancing the cookie goodness with every sip.
-
Coffee or Espresso: A small cup of rich coffee can offset the sweetness of the sushi rolls, creating a delightful after-dinner drink pairing.
-
Caramel Sauce: Drizzle some warm caramel over your sushi rolls for an added layer of flavor that complements the chocolate and sweetness beautifully.

Chocolate Chip Cookie Sushi Recipe FAQs
How do I select the right ingredients for the cookie dough?
Absolutely! For the best flavor, use high-quality butter and fresh ingredients. Look for butters that are creamy and smooth. If using milk, opt for one that’s pasteurized. A general guideline is to avoid butter with a high water content, as it affects the dough’s consistency.
How long can I store Chocolate Chip Cookie Sushi in the fridge?
You can store your Chocolate Chip Cookie Sushi in an airtight container in the fridge for up to 5 days. Make sure it’s sealed tight to keep those delightful flavors intact!
Can I freeze Chocolate Chip Cookie Sushi? How?
Very! To freeze, individually wrap each slice of chocolate chip cookie sushi in plastic wrap or foil. Then, place them in a freezer-safe bag or container. They can be frozen for up to 2 months. When you want to savor this treat, just thaw in the refrigerator overnight for the best results—no need to worry about any texture loss!
What should I do if my dough is too sticky or crumbly?
If your dough is too sticky, try adding a little more flour, a tablespoon at a time, until the desired consistency is reached. On the other hand, if it’s too crumbly, add a splash more milk or melted butter to help bind the ingredients. Don’t be afraid to get your hands a bit messy—it’s all part of the fun!
Are there any dietary considerations for my Chocolate Chip Cookie Sushi?
Yes! If you’re catering to dietary restrictions, consider using vegan butter and non-dairy milk for a dairy-free version. Also, be cautious with certain fillings; for example, if you’re accommodating nut allergies, substitute peanut butter with sunbutter or whipped cream cheese and opt for fillings like fruit leather or marshmallow fluff instead. Always remember to check ingredient labels for allergens!
Can pets eat Chocolate Chip Cookie Sushi?
No, it’s best to keep this sweet treat away from pets. Ingredients like chocolate and sugar can be harmful to animals, and it’s always a good idea to check with your veterinarian about what’s safe for your furry friends.

Chocolate Chip Cookie Sushi: A Fun No-Bake Treat You’ll Love
Ingredients
Equipment
Method
- In a large mixing bowl, cream together the softened butter, granulated sugar, and brown sugar until light and fluffy. Add the milk and vanilla, mixing well before gradually stirring in the all-purpose flour and a pinch of salt until a smooth dough forms. Finally, fold in the mini chocolate chips.
- Lay out a sheet of parchment paper and place the dough on top. Use a rolling pin to carefully roll the dough into a rectangle, about ¼ inch thick.
- Select your favorite filling (like Nutella or peanut butter) and spread it evenly over the dough, leaving a small border around the edges.
- Using the parchment paper as a guide, gently roll the dough into a log shape, jelly-roll style, ensuring to roll tightly.
- Wrap the log in parchment or plastic wrap and refrigerate for 10-15 minutes to firm up.
- Once chilled, remove the log from the refrigerator and carefully slice it into 1-inch pieces. Serve as fun and whimsical sushi rolls.