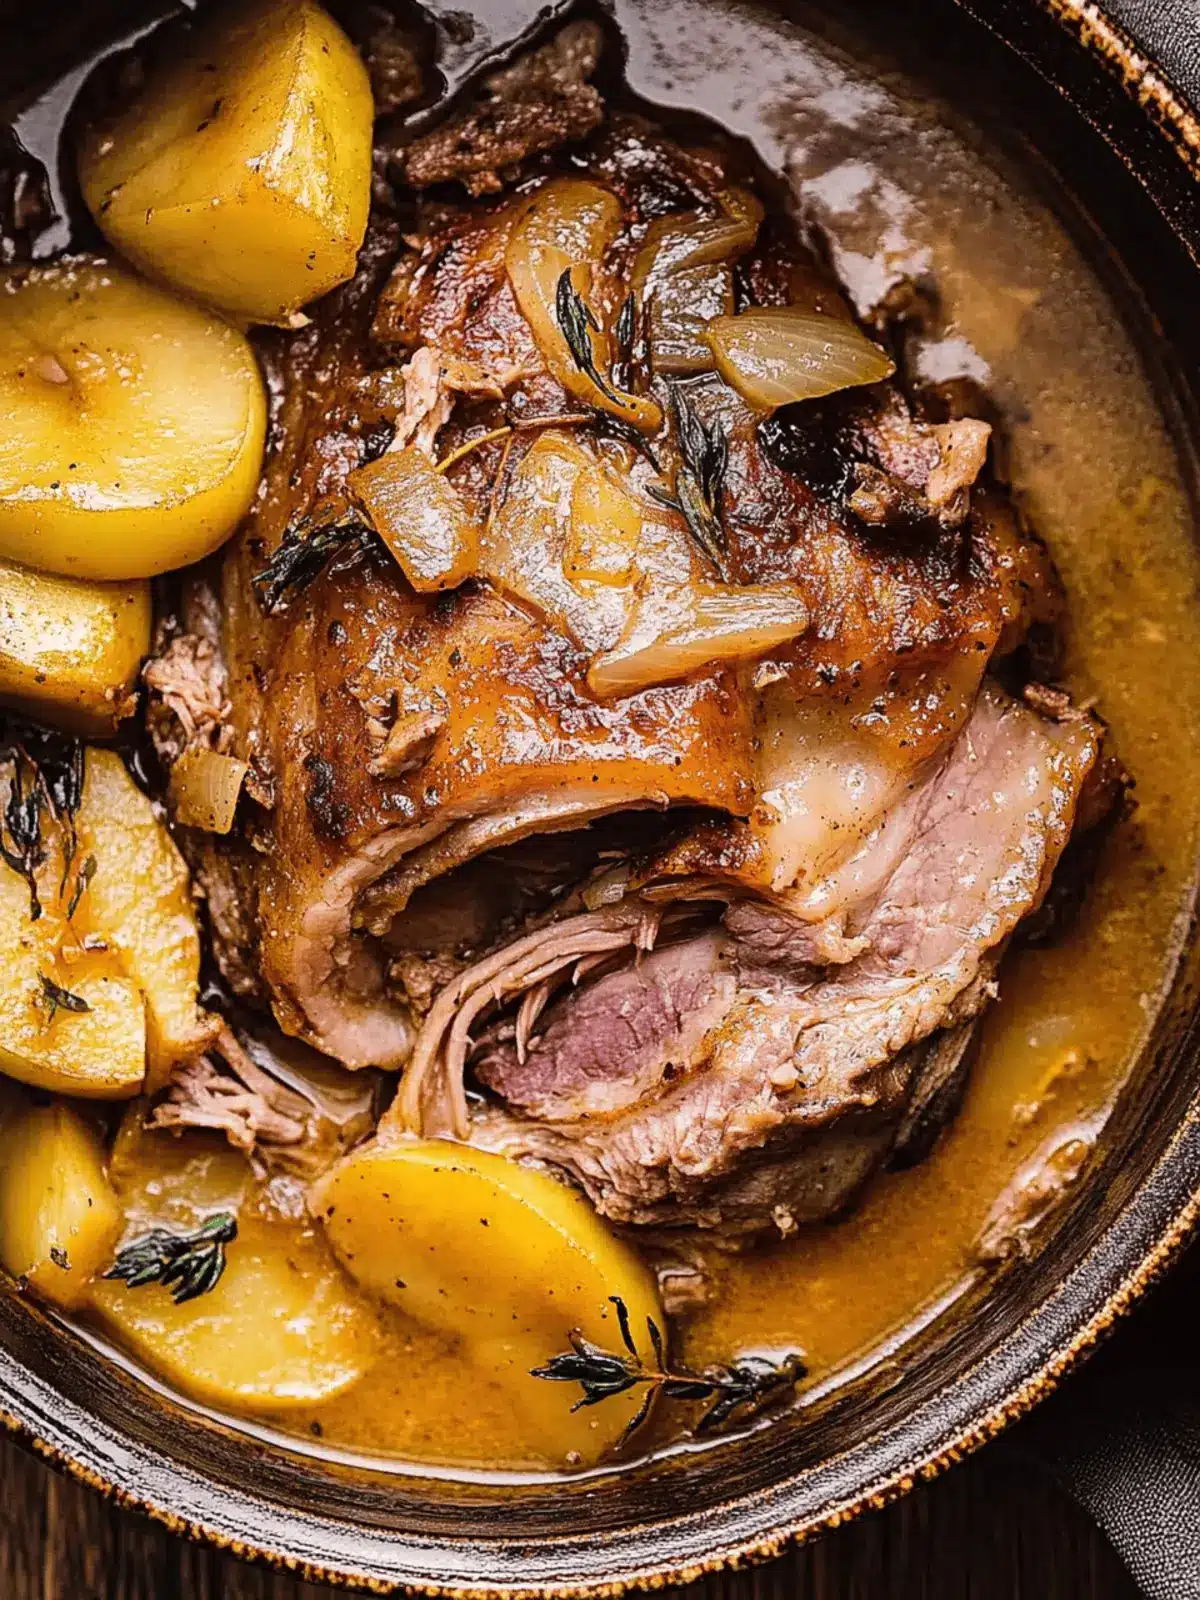
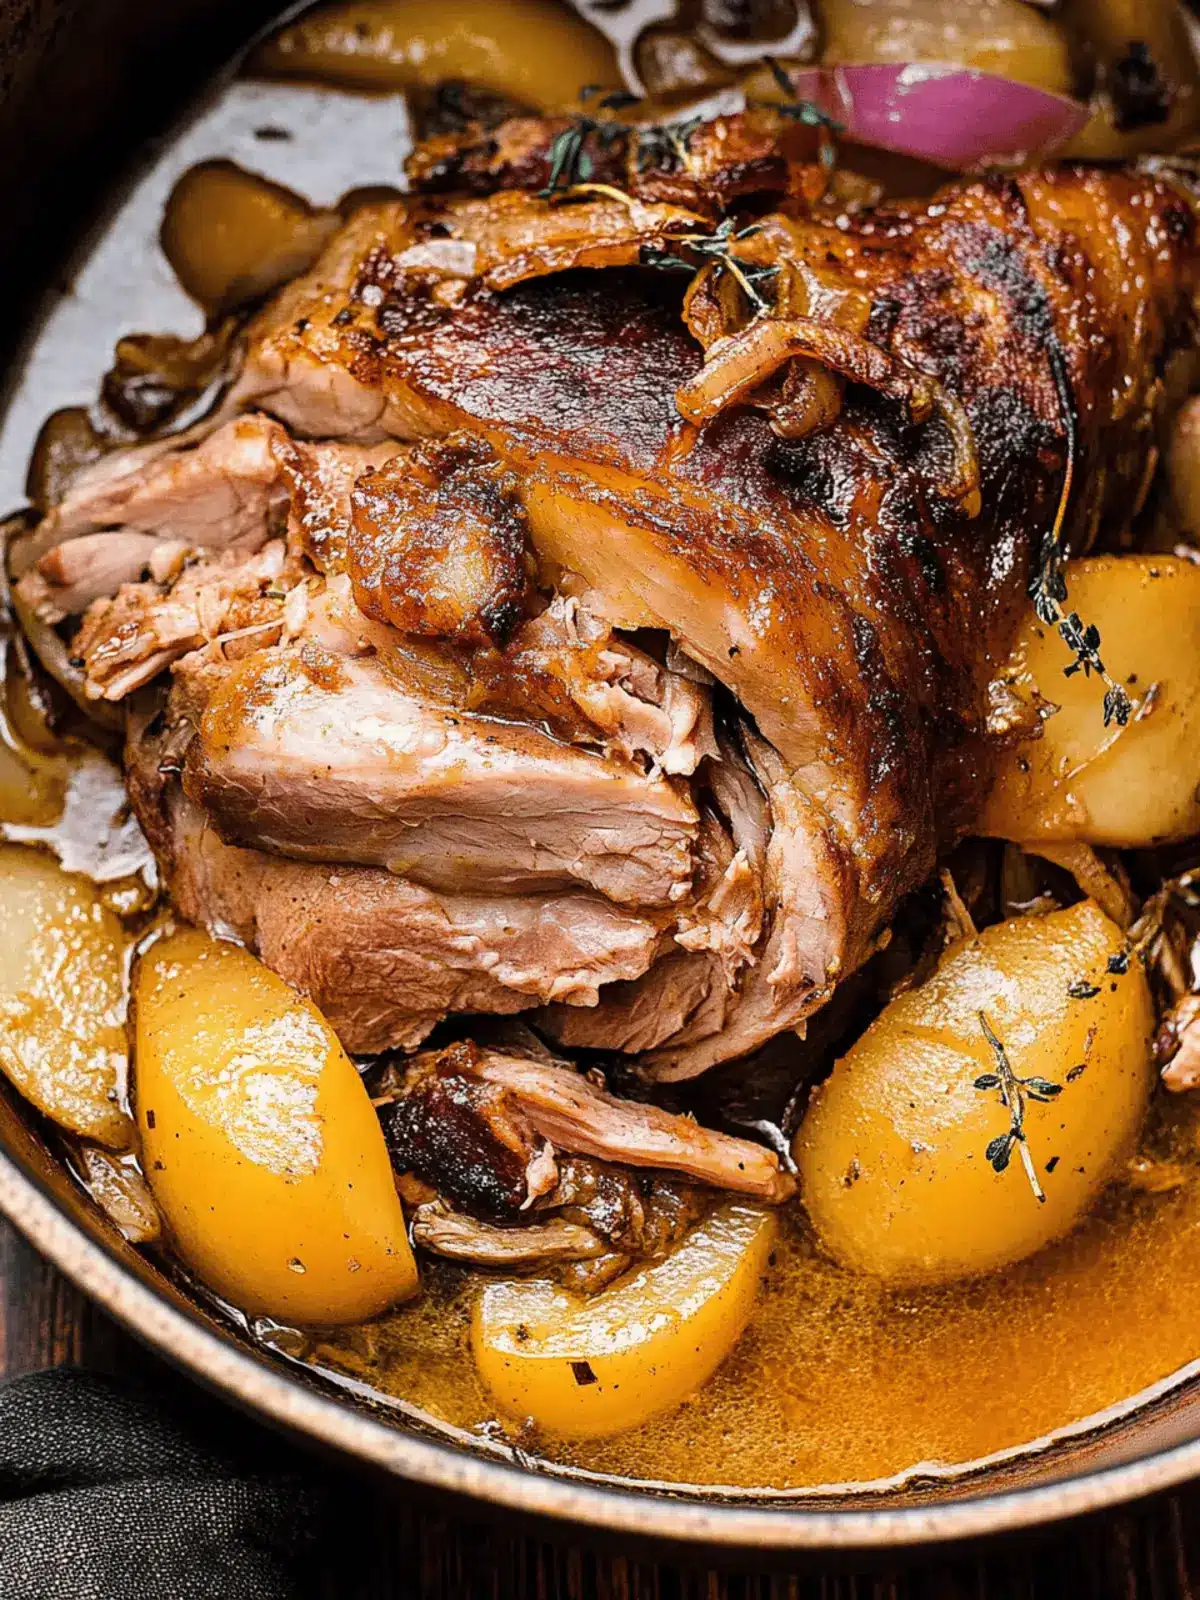
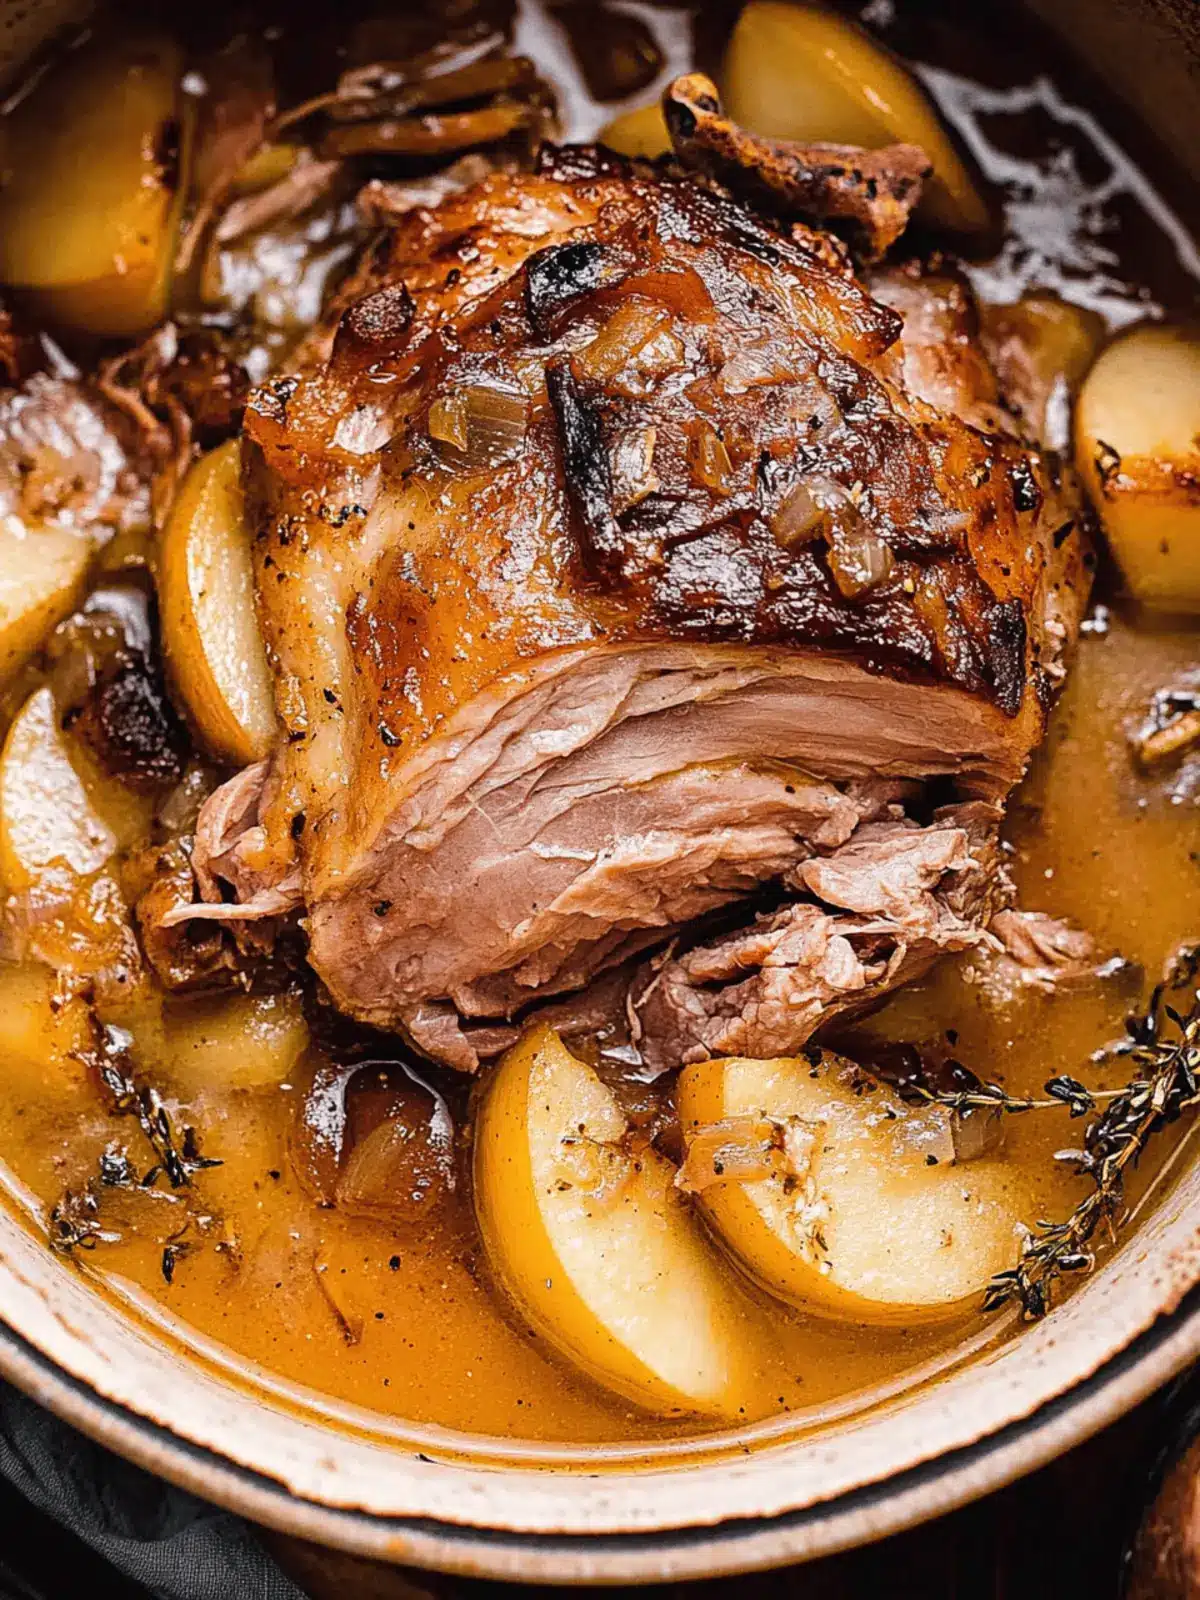
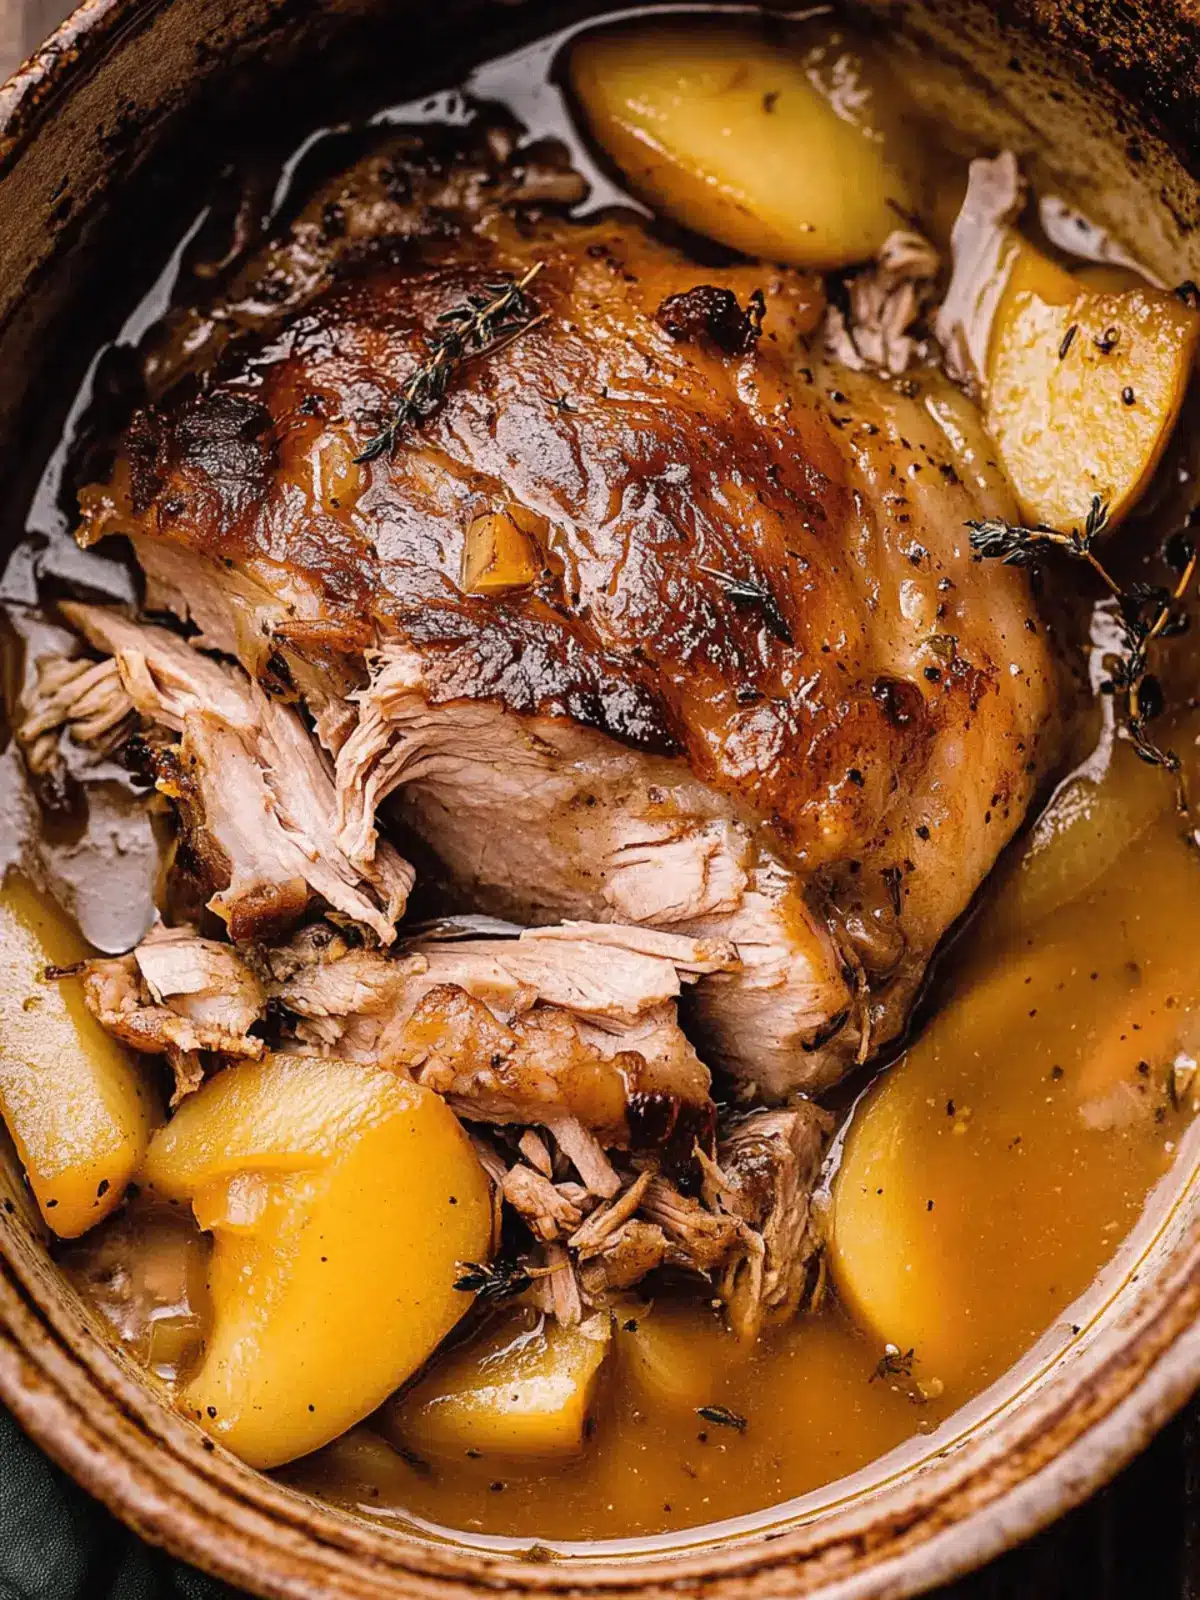
As the days grow shorter and the air turns crisp, I find myself craving the cozy, heartwarming flavors of fall. One chilly evening, I decided to shake things up in the kitchen, and that’s when I discovered the sheer delight of Apple Cider Braised Pork Shoulder. Imagine the sweet and tangy aroma of fresh apple cider mingling with savory pork and aromatic herbs wafting throughout your home—a comforting embrace for your senses. This one-pot wonder is not just a meal; it’s a warm gathering around the table, perfect for family and friends alike.
With minimal prep and effortless cooking, you’ll have a dish that effortlessly melds sweet apples with rich, tender meat, ideal for lazy weekends or festive get-togethers. And if you’re looking for versatile cooking methods, fear not—you can whip this up in an Instant Pot or Slow Cooker just as easily. So grab your apron and let’s turn your kitchen into a cozy haven with this delightful recipe!
Why is Apple Cider Braised Pork Shoulder a must-try?
Comforting flavors: This dish captures the essence of fall with its rich blend of sweet apple cider and savory herbs.
One-pot meal: Simplify your cooking and cleanup with this hearty, all-in-one recipe that’s perfect for busy weeknights or leisurely weekends.
Versatile cooking methods: Whether using a Dutch oven, Instant Pot, or Slow Cooker, you can easily tailor this dish to your schedule.
Crowd-pleaser: With its irresistible aroma and flavors, your family and friends will be drawn to the table, ready to savor each bite.
Budget-friendly: Using pork shoulder not only delivers tender results but is also kind to your wallet, making it a wise choice for hearty meals.
Make-ahead option: Prepare this dish a day ahead for even richer flavors, and simply reheat for a hassle-free dinner.
Apple Cider Braised Pork Shoulder Ingredients
For the Pork
• Pork Shoulder Roast (4-5 lbs) – This main protein provides richness and tenderness; consider using bone-in for added flavor.
• Neutral Oil (2 tablespoons) – Used for searing the pork; can substitute with canola or avocado oil for high smoke points.
For the Braising Liquid
• Fresh Apple Cider (2 cups) – Adds sweetness and acidity; ensure this is not confused with apple cider vinegar.
• Chicken Stock or Broth (2 cups) – Provides depth to the braising liquid; can use low-sodium for a lighter flavor.
• Dijon Mustard (2 tablespoons) – Offers tang and complexity to the flavor profile.
• Dehydrated Minced Onion (1 tablespoon) – Adds concentrated onion flavor; can substitute with 1.5 teaspoons of onion powder.
For Aromatics
• Garlic (1 head) – Whole garlic adds savory notes; cut off the top to expose cloves for roasting.
• Fresh Rosemary Sprigs (3) – Provides an aromatic, earthy flavor that complements the pork beautifully.
• Fresh Thyme Sprigs (4) – Enhances the dish with its subtle flavor, perfect for a cozy vibe.
For Added Sweetness and Texture
• Red Onion (1, thick slices) – Adds sweetness and texture; can partially substitute with yellow onions if needed.
• Firm Apples (2, peeled and wedged) – Infuses sweetness; choose varieties like Honeycrisp or Gala for best results.
This Apple Cider Braised Pork Shoulder is not just a recipe; it’s a comforting journey into fall flavors that your taste buds will adore!
How to Make Apple Cider Braised Pork Shoulder
-
Preheat Oven: Set your oven to 325°F to get the perfect cooking environment ready for this cozy dish.
-
Prepare Pork: Trim any excess fat from your pork shoulder and cut it into large pieces if desired; pat it dry and season with salt and pepper for added flavor.
-
Sear Pork: In a Dutch oven, heat oil over medium-high heat. Sear the pork pieces until they’re beautifully browned on all sides, about 4-5 minutes per side.
-
Mix Braising Liquid: In a separate bowl, whisk together the fresh apple cider, chicken stock, Dijon mustard, and minced onion until well blended.
-
Combine Ingredients: Pour the prepared braising liquid over the seared pork, and add in the head of garlic. Tie together the rosemary and thyme sprigs, then place them into the pot.
-
Braise: Cover the pot with a lid, then place it in the oven. Let it cook for about 3 hours, flipping the meat halfway through until it’s fork-tender.
-
Add Apples and Onions: In the last 30-45 minutes of cooking, add your thickly sliced red onions and apple wedges around the pork. Keep covered and continue to braise until everything is tender.
-
Rest and Serve: Once cooked, let the pork rest in the flavorful liquid for about 30 minutes before serving. Squeeze the softened roasted garlic into the sauce for an extra burst of flavor and season to taste.
Optional: Garnish with fresh herbs for an aromatic touch before serving.
Exact quantities are listed in the recipe card below.
Apple Cider Braised Pork Shoulder Variations
Feel free to experiment with these fun twists that make this dish uniquely yours!
-
Chicken Substitute: Swap bone-in chicken thighs for a lighter option; adjust the cooking times accordingly for tender results.
-
Root Vegetable Boost: Add chopped carrots or parsnips to the braise for heartiness and extra flavor; they’ll soak up the savory goodness beautifully.
-
Thicker Sauce: If you love a rich sauce, whisk a cornstarch slurry into the liquid before serving to create a luscious, gravy-like consistency.
-
Herb Swap: Replace rosemary and thyme with sage or parsley for a different aromatic twist; each herb brings its unique essence to the dish.
-
Spicy Kick: Toss in a pinch of red pepper flakes or add a diced jalapeño for a touch of heat; it’ll balance wonderfully with the sweetness of the cider.
-
Fruit Variation: Try using pears instead of apples for a delightful change; their flavor melds perfectly with the savory pork and broth.
-
Slow Cooker Variation: For a more hands-off approach, cook in a slow cooker on low for 6-8 hours; the pork will be incredibly tender.
-
Serving Style: Serve the pulled pork on crusty slider buns for a fun tailgate treat, garnished with crunchy coleslaw for added texture and flavor.
Helpful Tricks for Apple Cider Braised Pork Shoulder
-
Meat Selection: Always opt for bone-in pork shoulder for maximum flavor; boneless is faster but can lack depth.
-
Avoid Overcooking: Monitor your pork’s tenderness; overcooking can lead to dry meat, so remove it from the oven once fork-tender.
-
Firm Apples: Choose varieties like Honeycrisp or Gala. Soft apples break down quickly, resulting in mushy texture in your Apple Cider Braised Pork Shoulder.
-
Thicken Sauce: If you prefer a thicker sauce, add a cornstarch slurry just before serving to achieve a gravy-like consistency.
-
Layering Flavors: Don’t rush the searing process; a nice brown crust on the pork will enhance the overall flavor of the dish.
Make Ahead Options
These Apple Cider Braised Pork Shoulder preparations are perfect for busy home cooks looking to save time without compromising on flavor! You can season and sear the pork, then prepare the braising liquid up to 24 hours in advance; simply refrigerate these components in separate airtight containers. To maintain quality, keep the meat covered to prevent drying out and store the liquid away from direct light. When you’re ready to serve, just combine everything in the Dutch oven, adding your garlic and fresh herbs, and braise as directed. This way, you’ll enjoy a cozy, home-cooked meal with minimal effort midweek!
What to Serve with Apple Cider Braised Pork Shoulder?
The perfect meal isn’t just about the main dish; it’s about creating a delightful experience that tantalizes the taste buds and warms the heart.
-
Creamy Mashed Potatoes: Rich and buttery, they absorb the delicious braising sauce, making each bite a savory delight.
-
Roasted Root Vegetables: Their natural sweetness and caramelization beautifully complement the flavors of the pork, adding a lovely crunch to the meal.
-
Brussels Sprouts with Bacon: The crispy, smoky elements from the bacon perfectly counterbalance the sweet apple cider, creating a dynamic flavor explosion.
-
Garlicky Green Beans: Fresh and vibrant, they add color and a slight crunch, enhancing the dish’s texture with every forkful.
-
Warm Bread Rolls: Perfect for mopping up any extra sauce, these rolls provide a cozy, comforting addition and a delightful crunch.
-
Apple Crisp: This dessert echoes the apple theme and offers a sweet finish, with warm, spiced flavors that mirror the main course beautifully.
-
Spiced Apple Cider: Serve this beverage warm for a sweet, aromatic drink that pairs wonderfully with the pork’s savory notes.
No matter which sides you choose, each complement will elevate your hearty Apple Cider Braised Pork Shoulder to a memorable family feast.
How to Store and Freeze Apple Cider Braised Pork Shoulder
Fridge: Store leftovers in an airtight container for up to 3 days. Make sure the pork is cooled before sealing to avoid condensation.
Freezer: After cooling, freeze in an airtight container or freezer bag for up to 3 months. Portioning helps with easier thawing and reheating later.
Reheating: To reheat, thaw overnight in the fridge, then warm gently on the stovetop or in the oven. Add a splash of broth to keep the meat moist and flavorful.
Make-Ahead Tip: This Apple Cider Braised Pork Shoulder can be made a day in advance, allowing flavors to deepen even more.
Apple Cider Braised Pork Shoulder Recipe FAQs
What type of apples are best for this recipe?
I recommend using firm apples like Honeycrisp or Gala because they maintain their texture during cooking. Avoid softer varieties, like Granny Smith, which can turn mushy and lose their shape in the braise.
How should I store leftovers?
To store leftovers, place them in an airtight container in the fridge for up to 3 days. Let the pork cool completely before sealing to avoid condensation buildup, which can make it soggy.
Can I freeze Apple Cider Braised Pork Shoulder?
Absolutely! Once cooled, you can freeze the pork in an airtight container or freezer bag for up to 3 months. I recommend dividing it into portions for easier reheating. Just thaw overnight in the refrigerator before reheating.
What if my pork isn’t tender after the braising time?
If your pork isn’t fork-tender after the suggested cooking time, simply return it to the oven and continue braising in 30-minute increments until it is. It’s essential to ensure the heat is sufficient and not to open the lid too often, as this can release steam.
Is this recipe suitable for those with dietary restrictions?
This dish contains pork and mustard, which some might be allergic to. For those on a gluten-free diet, ensure the Dijon mustard is gluten-free. Also, consider substituting chicken thighs for a lighter option if you prefer not to use pork. Always check labels and consult with dietary restrictions as needed.
How can I enhance the flavor of my braising liquid?
To deepen the flavor of your braising liquid, you can add a splash of balsamic vinegar or some additional herbs, such as sage or bay leaves, during the cooking process. Just remember to taste and adjust the seasoning towards the end for the best results!

Hearty Apple Cider Braised Pork Shoulder for Cozy Nights
Ingredients
Equipment
Method
- Preheat Oven: Set your oven to 325°F to get the perfect cooking environment ready for this cozy dish.
- Prepare Pork: Trim any excess fat from your pork shoulder and cut it into large pieces if desired; pat it dry and season with salt and pepper.
- Sear Pork: In a Dutch oven, heat oil over medium-high heat. Sear the pork pieces until they’re beautifully browned on all sides, about 4-5 minutes per side.
- Mix Braising Liquid: In a separate bowl, whisk together the fresh apple cider, chicken stock, Dijon mustard, and minced onion until well blended.
- Combine Ingredients: Pour the prepared braising liquid over the seared pork, and add in the head of garlic. Tie together the rosemary and thyme sprigs and place them into the pot.
- Braise: Cover the pot with a lid, then place it in the oven. Let it cook for about 3 hours, flipping the meat halfway through until it's fork-tender.
- Add Apples and Onions: In the last 30-45 minutes of cooking, add your thickly sliced red onions and apple wedges around the pork.
- Rest and Serve: Once cooked, let the pork rest in the flavorful liquid for about 30 minutes before serving.


